
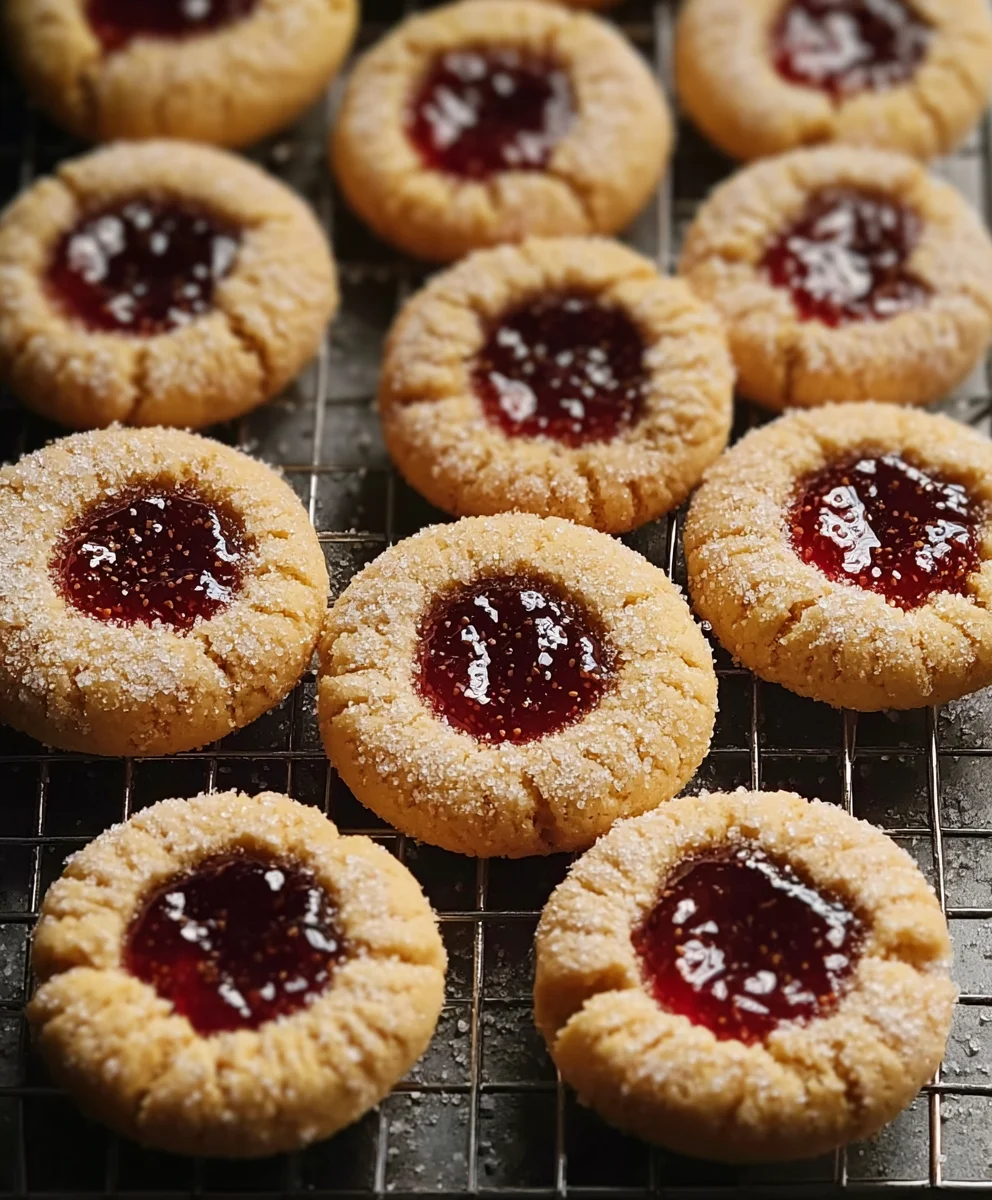
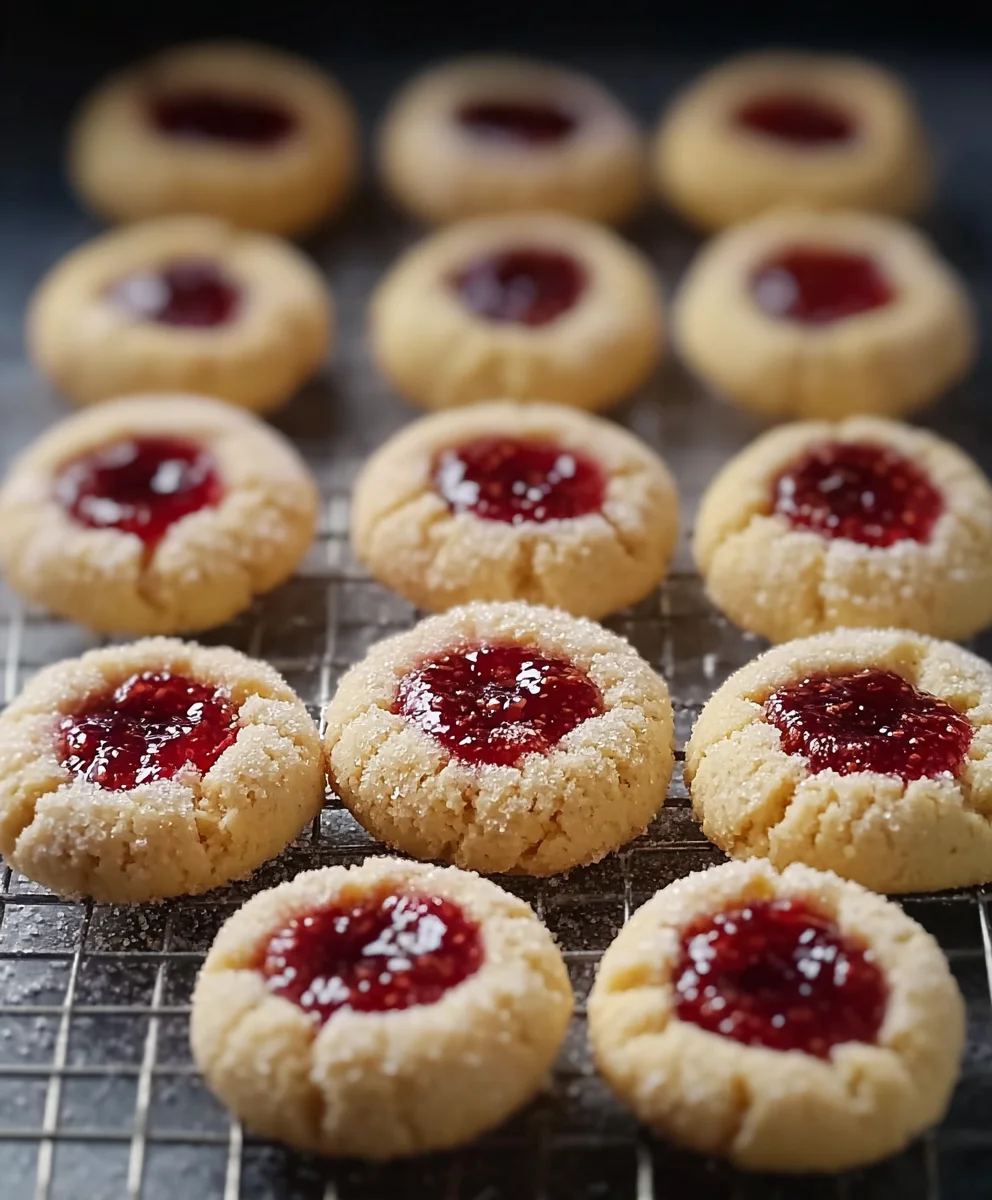
Thumbprint cookies are more than just a sweet treat; they’re a nostalgic journey for many of us. There’s something inherently charming and comforting about these delightful little cookies, with their signature indentation holding a dollop of glistening jam or rich chocolate. They evoke memories of childhood kitchens, holiday baking sessions, and the simple joy of sharing something homemade. What truly makes thumbprint cookies so universally loved is their incredible versatility. Whether you prefer a classic buttery shortbread base bursting with almond extract, or a slightly more robust gin extractgerbread version, there’s a thumbprint cookie to suit every palate. The magic lies in that simple, yet perfect, thumbprint, creating a unique textural contrast and a beautiful canvas for your chosen filling. Today, we’re diving into a recipe that captures the heart of what makes thumbprint cookies so incredibly special, promising a delightful baking experience and even more delightful results!
Ingredients:
- ⅓ cup powdered sugar, unsifted
- 1 stick (½ cup) unsalted butter, softened to room temperature
- 1 large egg yolk
- 1 teaspoon vanilla extract
- ¼ teaspoon fine salt
- ⅛ teaspoon almond extract
- 1¼ cups all-purpose flour
- ⅓ cup granulated white sugar, for rolling
- ½ cup fruit jam (any flavor you prefer, such as raspberry, apricot, or strawberry)
- 1 cup powdered sugar, for glaze
- 1 tablespoon milk (or water), for glaze
Preparing the Thumbprint Cookie Dough
The foundation of any great Thumbprint cookie is a tender, buttery dough that holds its shape perfectly. This recipe starts with creaming the softened butter and powdered sugar together until light and fluffy. This step is crucial for incorporating air, which contributes to the cookies’ delicate texture. Ensure your butter is truly at room temperature – not melted, but soft enough that your finger leaves an indentation easily. This will allow it to emulsify with the sugar properly, creating a smooth base. Gradually beat in the egg yolk, followed by the vanilla extract and the subtle hint of almond extract. The almond extract adds a lovely layer of complexity that complements the fruity jam beautifully. In a separate bowl, whisk together the all-purpose flour and fine salt. Gradually add the dry ingredients to the wet ingredients, mixing on low speed until just combined. Be careful not to overmix the dough at this stage, as this can develop the gluten in the flour and result in tougher cookies. The dough will be soft and slightly sticky.
Chilling and Shaping the Cookies
Once the dough is mixed, it’s essential to chill it. Wrap the dough tightly in plastic wrap and refrigerate for at least 30 minutes, or until it’s firm enough to handle. Chilling the dough makes it much easier to roll into balls and prevents the cookies from spreading too much during baking. While the dough is chilling, prepare your workspace for rolling. Pour the ⅓ cup of granulated white sugar into a shallow bowl. Preheat your oven to 350°F (175°C) and line baking sheets with parchment paper. This prevents sticking and makes for easy cleanup. After the dough has chilled, scoop out portions of dough, about 1 to 1.5 inches in diameter, using a small cookie scoop or a spoon. Roll each portion into a smooth ball. Then, roll each ball generously in the granulated sugar, coating it completely. This sugar coating will create a slightly crisp exterior and a beautiful sparkle on the finished cookies. Place the sugared dough balls about 2 inches apart on the prepared baking sheets.
Creating the Thumbprint Indentations
Now comes the signature step for these Thumbprint cookies! Using your thumb (or the back of a small spoon, if you prefer to keep your hands cleaner), gently press an indentation into the center of each sugared dough ball. Aim to create a well that is deep enough to hold the jam, but not so deep that it goes all the way through the cookie. The walls of the indentation should be sturdy. As you press, be mindful not to crack the edges of the cookie. If the dough starts to get too soft, you can briefly pop the baking sheet back into the refrigerator for a few minutes. This indent will be where the delicious jam filling is nestled. This technique ensures that the jam stays contained and creates that classic visual appeal of Thumbprint cookies.
Baking and Filling the Cookies
Bake the cookies in the preheated oven for 10-12 minutes, or until the edges are lightly golden and the centers are set. They should not be deeply browned. The exact baking time will depend on your oven and the size of your cookies. Keep a close eye on them during the last few minutes of baking. Once baked, remove the baking sheets from the oven and let the cookies cool on the sheets for about 5 minutes before transferring them to a wire rack to cool completely. It’s crucial that the cookies are fully cooled before you fill them, otherwise, the jam might melt and ooze out, or the glaze will melt. Once the cookies are completely cool, it’s time to add the delightful jam filling. Spoon about ½ to 1 teaspoon of your chosen fruit jam into each indentation. Don’t overfill, as the jam will expand slightly when warmed.
Glazing and Finishing the Thumbprint Cookies
For the final touch, we’ll prepare a simple glaze to drizzle over the cookies. In a small bowl, whisk together the 1 cup of powdered sugar with the 1 tablespoon of milk (or water) until smooth and pourable. You want a consistency that is thick enough to cling to the cookies but thin enough to drizzle. Add more milk or powdered sugar a tiny bit at a time to achieve the desired consistency. Using a spoon or a piping bag with a small tip, drizzle the glaze artfully over the cooled Thumbprint cookies. You can create a random drizzle or more patterned lines. The glaze adds a touch of sweetness and visual appeal, making these cookies truly irresistible. Let the glaze set completely before serving or storing. These Thumbprint cookies are best enjoyed within a few days of baking and can be stored in an airtight container at room temperature.
Conclusion:
There you have it! You’ve mastered the art of creating delightful Thumbprint Cookies. These sweet little gems are a perfect balance of buttery cookie and luscious filling, making them an absolute crowd-pleaser. I hope you enjoyed the process as much as I did, and I can’t wait for you to share them with your loved ones. Experimenting with different preserves, jams, or even a dollop of chocolate ganache can transform these classic cookies into something truly unique. So go ahead, get creative, and make these Thumbprint Cookies your own! Don’t be afraid to get your hands a little messy; it’s all part of the fun!
Frequently Asked Questions about Thumbprint Cookies:
Q: What’s the best way to store Thumbprint Cookies?
Store your cooled Thumbprint Cookies in an airtight container at room temperature. They should stay fresh and delicious for up to 5 days. For longer storage, you can freeze them in a single layer on a baking sheet until firm, then transfer them to a freezer-safe bag or container for up to 3 months. Just be sure to thaw them completely before enjoying.
Q: My thumbprint indents are too deep or too shallow. How can I get them just right?
The key is gentle pressure. Use the tip of your thumb (or a small measuring spoon if you prefer) to create an indent in the center of each cookie before baking. Don’t press all the way through to the baking sheet. If your dough is too soft and the indent collapses, try chilling the dough for an extra 15-20 minutes before forming the indents. If they’re too shallow, you might need to apply a bit more consistent pressure.
Q: Can I use something other than fruit preserves for the filling?
Absolutely! While fruit preserves are traditional, the possibilities are endless. Consider using a small dollop of caramel sauce, melted chocolate chips, a spoonful of nut butter, or even a simple cream cheese filling. Just ensure your filling isn’t too liquidy before baking, as it can spread too much. Some fillings, like chocolate ganache, are best added after the cookies have cooled.
Classic Thumbprint Cookies
Easy and delicious thumbprint cookies with a buttery, tender dough filled with fruit jam and topped with a sweet glaze.
Ingredients
-
⅓ cup powdered sugar, unsifted
-
1 stick (½ cup) unsalted butter, softened to room temperature
-
1 large egg yolk
-
1 teaspoon vanilla extract
-
¼ teaspoon fine salt
-
⅛ teaspoon almond extract
-
1¼ cups all-purpose flour
-
⅓ cup granulated white sugar, for rolling
-
½ cup fruit jam (any flavor)
-
1 cup powdered sugar, for glaze
-
1 tablespoon milk (or water), for glaze
Instructions
-
Step 1
Cream together softened butter and powdered sugar until light and fluffy. Beat in the egg yolk, vanilla extract, and almond extract. Gradually add the flour and salt mixture, mixing until just combined. -
Step 2
Wrap the dough tightly in plastic wrap and refrigerate for at least 30 minutes until firm. Preheat oven to 350°F (175°C) and line baking sheets with parchment paper. Prepare a shallow bowl with granulated white sugar for rolling. -
Step 3
Scoop dough into 1-1.5 inch balls, roll into smooth balls, then roll generously in granulated sugar. Place balls 2 inches apart on prepared baking sheets. -
Step 4
Gently press an indentation into the center of each dough ball using your thumb or the back of a spoon, creating a well deep enough for jam but not all the way through. -
Step 5
Bake for 10-12 minutes, or until edges are lightly golden. Let cool on baking sheets for 5 minutes, then transfer to a wire rack to cool completely. -
Step 6
Spoon about ½ to 1 teaspoon of fruit jam into each cooled indentation. -
Step 7
Whisk together 1 cup powdered sugar and 1 tablespoon milk (or water) until smooth and pourable for the glaze. Drizzle glaze over the filled cookies and let set completely before serving.
Important Information
Nutrition Facts (Per Serving)
It is important to consider this information as approximate and not to use it as definitive health advice.
Allergy Information
Please check ingredients for potential allergens and consult a health professional if in doubt.
Leave a Comment