
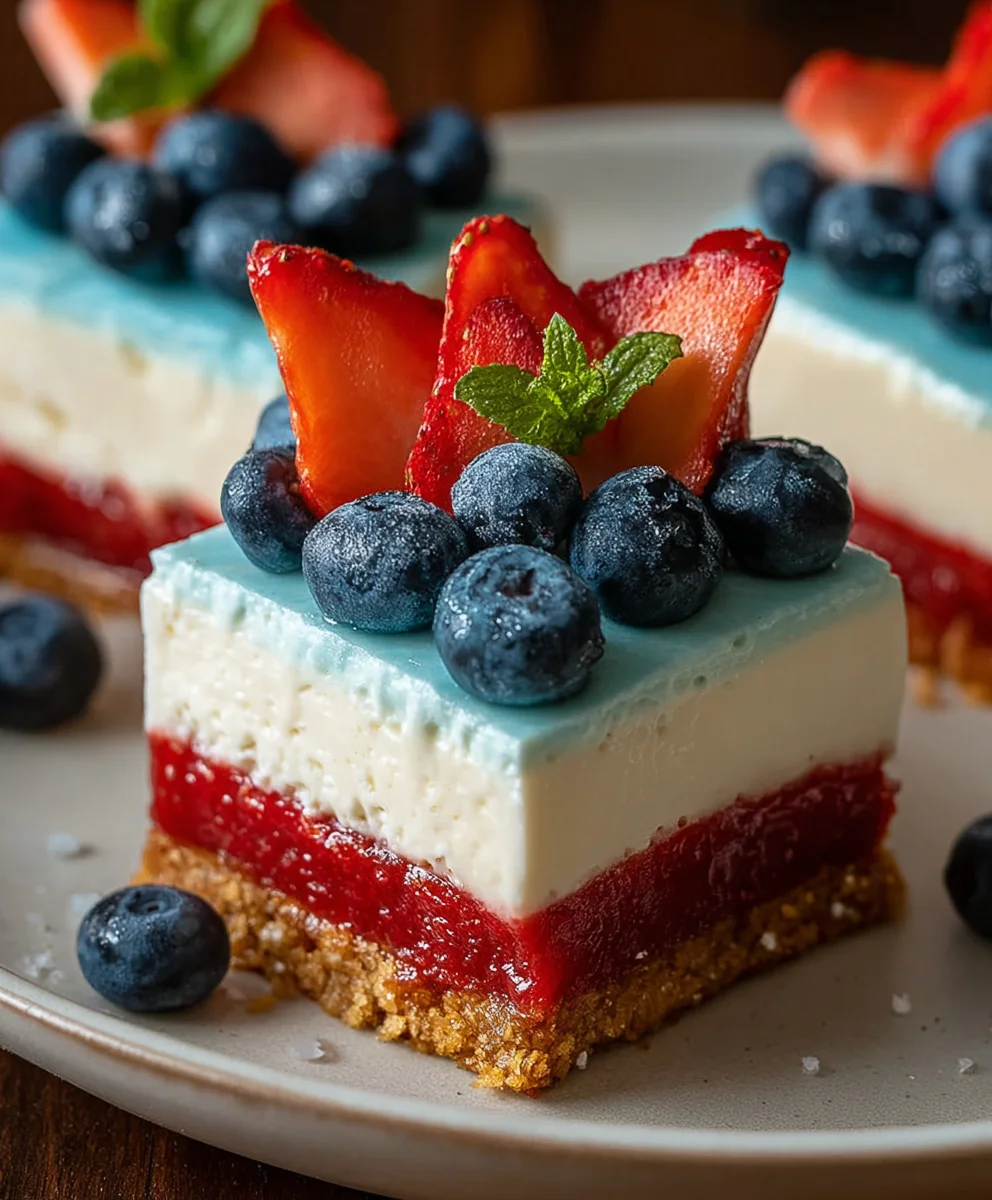
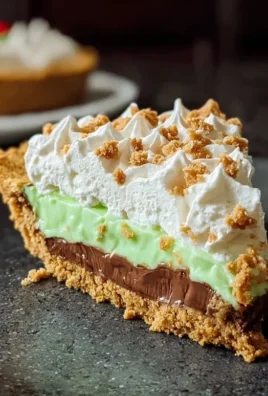
No Bake Patriotic Cheesecake is more than just a dessert; it’s a vibrant celebration on a plate, a truly show-stopping centerpiece for any summer gathering, from backyard barbecues to dazzling Fourth of July festivities. Imagine layers of creamy, dreamy cheesecake, subtly sweet and wonderfully smooth, all nestled atop a crisp, buttery graham cracker crust. What truly sets this No Bake Patriotic Cheesecake apart, and why do we adore it so much? It’s the effortless beauty and the burst of flavor! The magic lies in its simplicity – no oven required, meaning less fuss and more time to enjoy the company. Plus, the stunning visual appeal, with its bold red, white, and blue layers, not only delights the eyes but also promises a refreshing and delightful taste experience that’s guaranteed to be a crowd-pleaser. This No Bake Patriotic Cheesecake is the perfect way to add a touch of edible artistry and deliciousness to your patriotic celebrations.
Ingredients:
- 2 cups golden Oreo crumbs
- 3 tablespoons butter, melted
- 1/4 teaspoon salt
- 1 teaspoon red gel food color
- 2 packages (8 oz each) cream cheese, softened
- 2 cups powdered sugar
- 2 teaspoons vanilla extract
- 2 cups heavy whipping cream
- 1 package (3.94 oz) blue raspberry Jell-O
- 1 cup boiling water
- 6 oz cream cheese, softened
- 6 tablespoons butter, softened
- 3 cups powdered sugar
- 1 teaspoon vanilla extract
- Fresh blueberries
No Bake Patriotic Cheesecake Instructions
Step 1: Preparing the Golden Oreo Crust
First, let’s get our crust ready for this delicious No Bake Patriotic Cheesecake. In a medium bowl, combine the 2 cups of golden Oreo crumbs with the 3 tablespoons of melted butter and the 1/4 teaspoon of salt. Mix everything together until the crumbs are evenly moistened. You want the mixture to resemble wet sand. This is crucial for a crust that holds its shape well after chilling. I like to press this mixture firmly into the bottom of a 9-inch springform pan. You can use the bottom of a glass or a measuring cup to get a nice, even layer. Once pressed, place the pan in the refrigerator to chill while we prepare the filling. This chilling process will help the crust set and prevent it from crumbling when you serve the cheesecake.
Step 2: Creating the Red Layer
Now, let’s move on to our vibrant red layer. In a large bowl, beat together the 2 packages (8 oz each) of softened cream cheese until it’s smooth and creamy. This ensures there are no lumps in our filling. Next, gradually add the 2 cups of powdered sugar and beat until well combined and fluffy. Incorporate the 2 teaspoons of vanilla extract, mixing until it’s fully incorporated. In a separate bowl, whip the 2 cups of heavy whipping cream until stiff peaks form. Gently fold about half of this whipped cream into the cream cheese mixture. Don’t overmix; we want to keep that airy texture. Now, divide this creamy mixture into two equal portions. To one portion, add the 1 teaspoon of red gel food color and mix gently until the color is uniform and a beautiful, vibrant red. This might take a little time to get the desired intensity, so don’t be afraid to add a tiny bit more food coloring if needed, but be careful not to make it too dark.
Step 3: Assembling the Red and White Layers
With our red mixture ready, it’s time to assemble. Take your chilled crust out of the refrigerator. Carefully spoon the plain white portion of the cream cheese mixture over the crust, spreading it evenly. This will be our pristine white layer. Next, gently dollop spoonfuls of the red cream cheese mixture over the white layer. You can use a toothpick or the back of a spoon to swirl the red into the white a bit, creating a marbled effect. Don’t over-swirl, as you want distinct layers. Once you’ve achieved a pattern you like, place the springform pan back into the refrigerator to set for at least 30 minutes. This initial chilling will help create a stable base for our next layer.
Step 4: Preparing the Blue Raspberry Jell-O Layer
For our striking blue layer, we need to prepare the Jell-O. In a heatproof bowl, combine the 1 package (3.94 oz) of blue raspberry Jell-O with 1 cup of boiling water. Stir continuously until the Jell-O powder is completely dissolved. It’s important to ensure there are no undissolved granules, as this can affect the final texture. Let this blue Jell-O mixture cool at room temperature until it’s slightly thickened but still pourable – think the consistency of egg whites. This cooling process is critical; if you pour it on the cheesecake while it’s too hot, it will melt the cream cheese layer. Once cooled to the correct consistency, carefully pour this blue Jell-O mixture over the set red and white layers in the springform pan. Return the cheesecake to the refrigerator and chill for at least 2-3 hours, or until the Jell-O layer is firm.
Step 5: Making the White Chocolate Frosting and Final Touches
While the Jell-O is setting, let’s prepare the luscious white chocolate frosting that will crown our No Bake Patriotic Cheesecake. In a large bowl, beat together the 6 oz of softened cream cheese and the 6 tablespoons of softened butter until they are incredibly smooth and creamy. Gradually add the 3 cups of powdered sugar, beating until well incorporated and no lumps remain. Stir in the 1 teaspoon of vanilla extract. Once the cheesecake is completely firm, carefully remove the sides of the springform pan. Generously spread this white chocolate frosting over the entire top of the cheesecake. For the final patriotic flourish, scatter fresh blueberries over the white frosting. You can arrange them in stripes or a star pattern to enhance the patriotic theme. For an extra touch, you could also sprinkle a few red sprinkles (if you have them) around the edges. Chill the finished cheesecake for at least another hour to allow the frosting to set before slicing and serving. This ensures clean slices and a beautiful presentation for your festive dessert!
Conclusion:
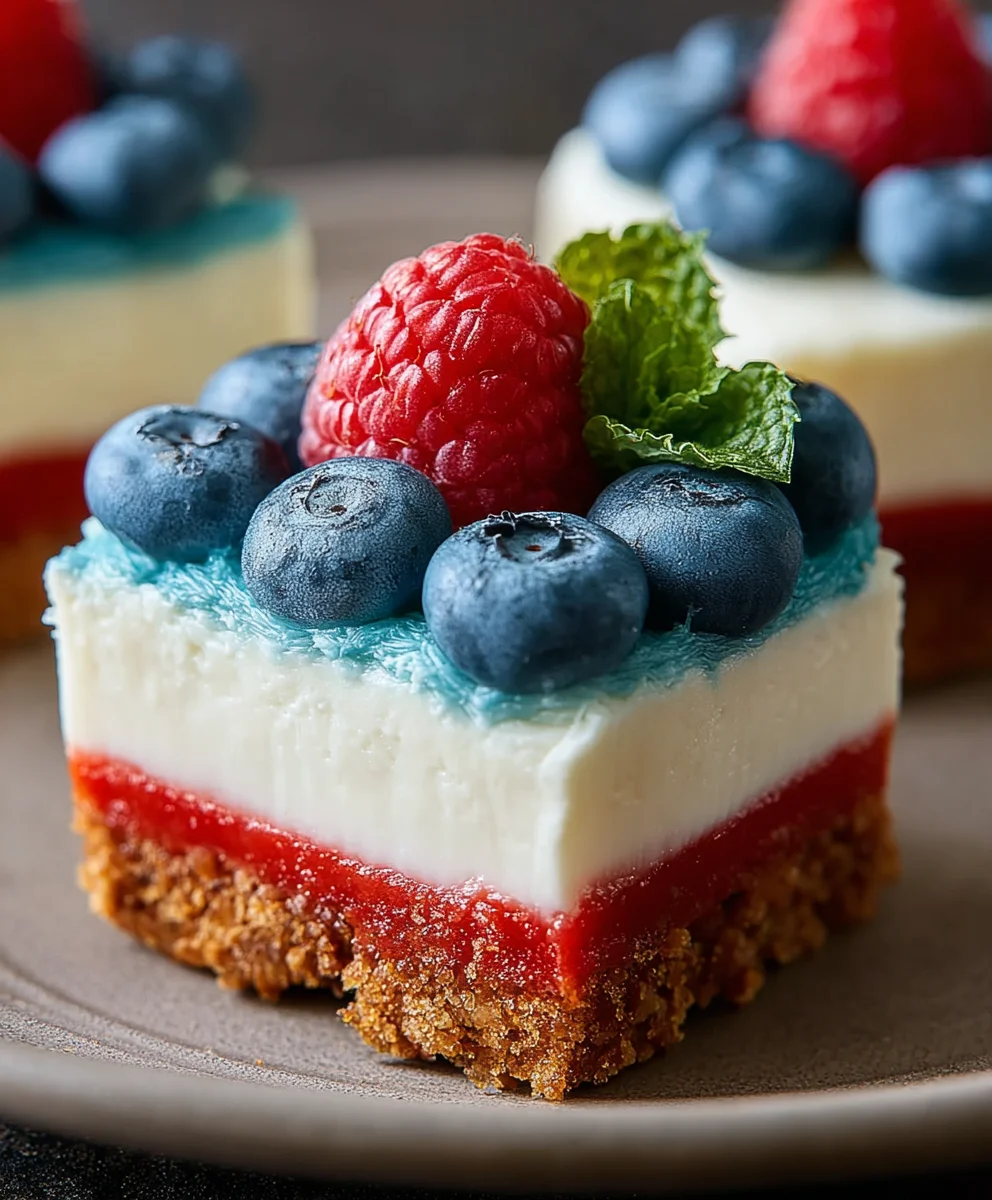
I hope you’ve enjoyed learning how to create this delightful No Bake Patriotic Cheesecake! This recipe is a fantastic way to celebrate holidays like the Fourth of July or Memorial Day with a show-stopping dessert that requires no oven time. The creamy, smooth cheesecake filling layered with vibrant red and blue fruit toppings creates a visually stunning and incredibly delicious treat that’s sure to impress your guests. It’s a straightforward recipe, making it perfect for bakers of all skill levels.
For serving, this cheesecake is best served chilled. It pairs wonderfully with a dollop of whipped cream or even a sprinkle of fresh mint. Feel free to get creative with your fruit choices! While strawberries and blueberries are classic, you could also use raspberries for red, or even sliced kiwi for a touch of green and a different flavor profile. For an added crunch, consider adding a layer of crushed graham crackers or even white chocolate chips to the base or as a topping. Don’t be afraid to experiment and make this No Bake Patriotic Cheesecake your own!
Frequently Asked Questions:
How far in advance can I make this No Bake Patriotic Cheesecake?
You can make this cheesecake up to 2 days in advance. Store it tightly covered in the refrigerator. The flavors will meld beautifully, and it will remain perfectly chilled and delicious.
Can I use different fruits for the patriotic layers?
Absolutely! While strawberries and blueberries are traditional for a patriotic theme, feel free to use any red and blue fruits you prefer. Raspberries, cherries, blackberries, or even red and blue Jell-O (set in layers) can be used to achieve a similar visual effect and taste.
Easy No-Bake Patriotic Cheesecake
A festive and easy no-bake cheesecake perfect for patriotic holidays, featuring a golden Oreo crust, layered cream cheese filling with red and white swirls, a vibrant blue Jell-O topping, and a creamy white chocolate frosting adorned with blueberries.
Ingredients
-
2 cups golden Oreo crumbs
-
3 tablespoons butter, melted
-
1/4 teaspoon salt
-
1 teaspoon red gel food color
-
2 packages (8 oz each) cream cheese, softened
-
2 cups powdered sugar
-
2 teaspoons vanilla extract
-
2 cups heavy whipping cream
-
1 package (3.94 oz) blue raspberry Jell-O
-
1 cup boiling water
-
6 oz cream cheese, softened
-
6 tablespoons butter, softened
-
3 cups powdered sugar
-
1 teaspoon vanilla extract
-
Fresh blueberries
Instructions
-
Step 1
Prepare the Golden Oreo Crust: Combine 2 cups golden Oreo crumbs, 3 tablespoons melted butter, and 1/4 teaspoon salt. Mix until evenly moistened. Press firmly into the bottom of a 9-inch springform pan. Chill in the refrigerator while preparing the filling. -
Step 2
Create the Red Layer: Beat 2 packages (8 oz each) softened cream cheese until smooth. Gradually add 2 cups powdered sugar and 2 teaspoons vanilla extract, beating until well combined and fluffy. Whip 2 cups heavy whipping cream to stiff peaks. Gently fold half of the whipped cream into the cream cheese mixture. Divide the mixture in half. Add 1 teaspoon red gel food color to one half and mix until uniform and vibrantly red. -
Step 3
Assemble Red and White Layers: Spoon the plain white cream cheese mixture evenly over the chilled crust. Dollop spoonfuls of the red cream cheese mixture over the white layer. Swirl gently with a toothpick or spoon for a marbled effect. Refrigerate for at least 30 minutes. -
Step 4
Prepare Blue Raspberry Jell-O Layer: Dissolve 1 package (3.94 oz) blue raspberry Jell-O in 1 cup boiling water, stirring until completely dissolved. Let cool at room temperature until slightly thickened but pourable. Carefully pour the cooled Jell-O over the set red and white layers. Chill for at least 2-3 hours until firm. -
Step 5
Make White Chocolate Frosting and Final Touches: Beat 6 oz softened cream cheese and 6 tablespoons softened butter until smooth. Gradually add 3 cups powdered sugar and 1 teaspoon vanilla extract, beating until well incorporated. Once the cheesecake is firm, remove the springform pan sides. Spread the frosting over the top. Scatter fresh blueberries over the frosting for decoration. Chill for at least another hour before slicing and serving.
Important Information
Nutrition Facts (Per Serving)
It is important to consider this information as approximate and not to use it as definitive health advice.
Allergy Information
Please check ingredients for potential allergens and consult a health professional if in doubt.
Leave a Comment