
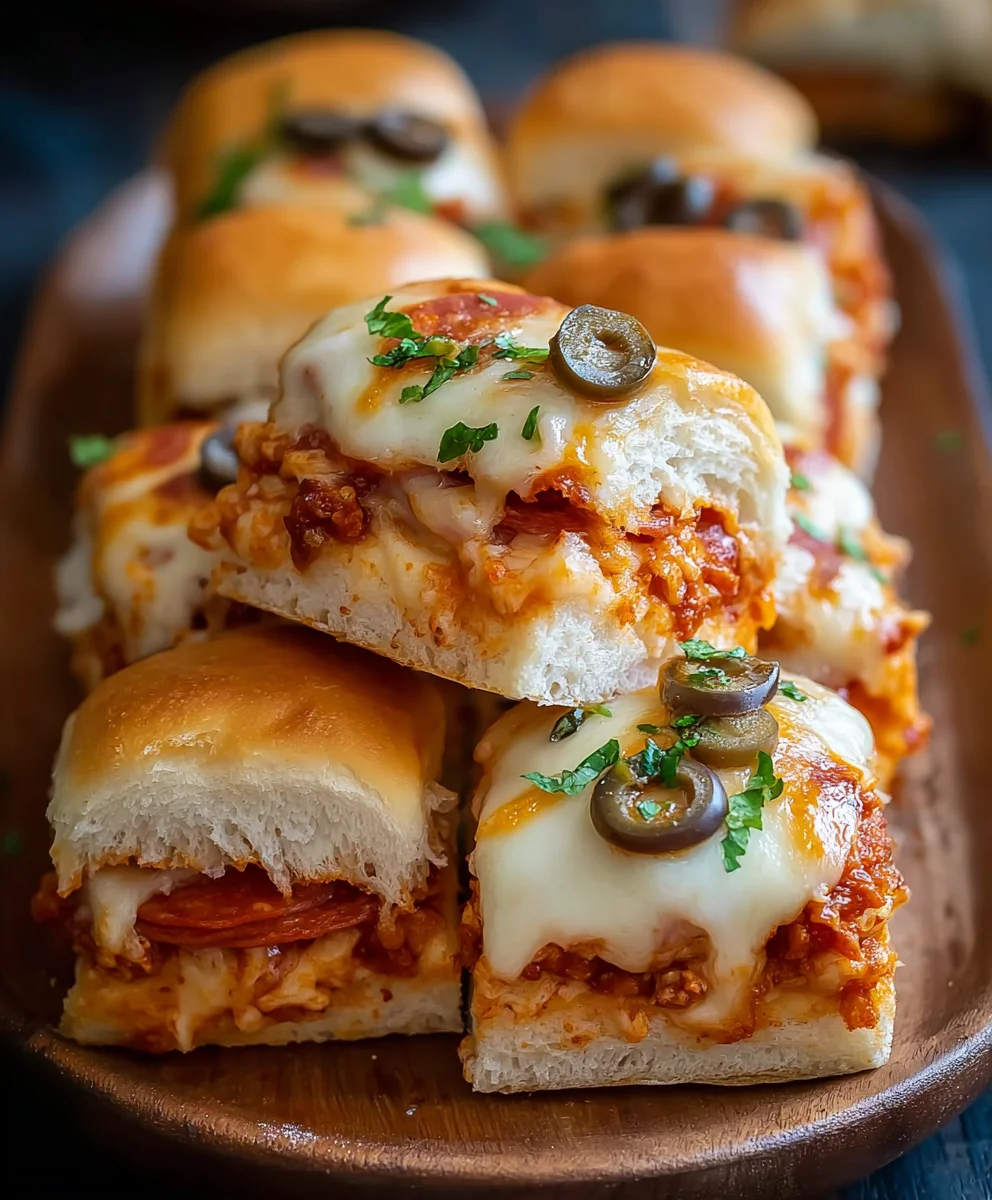
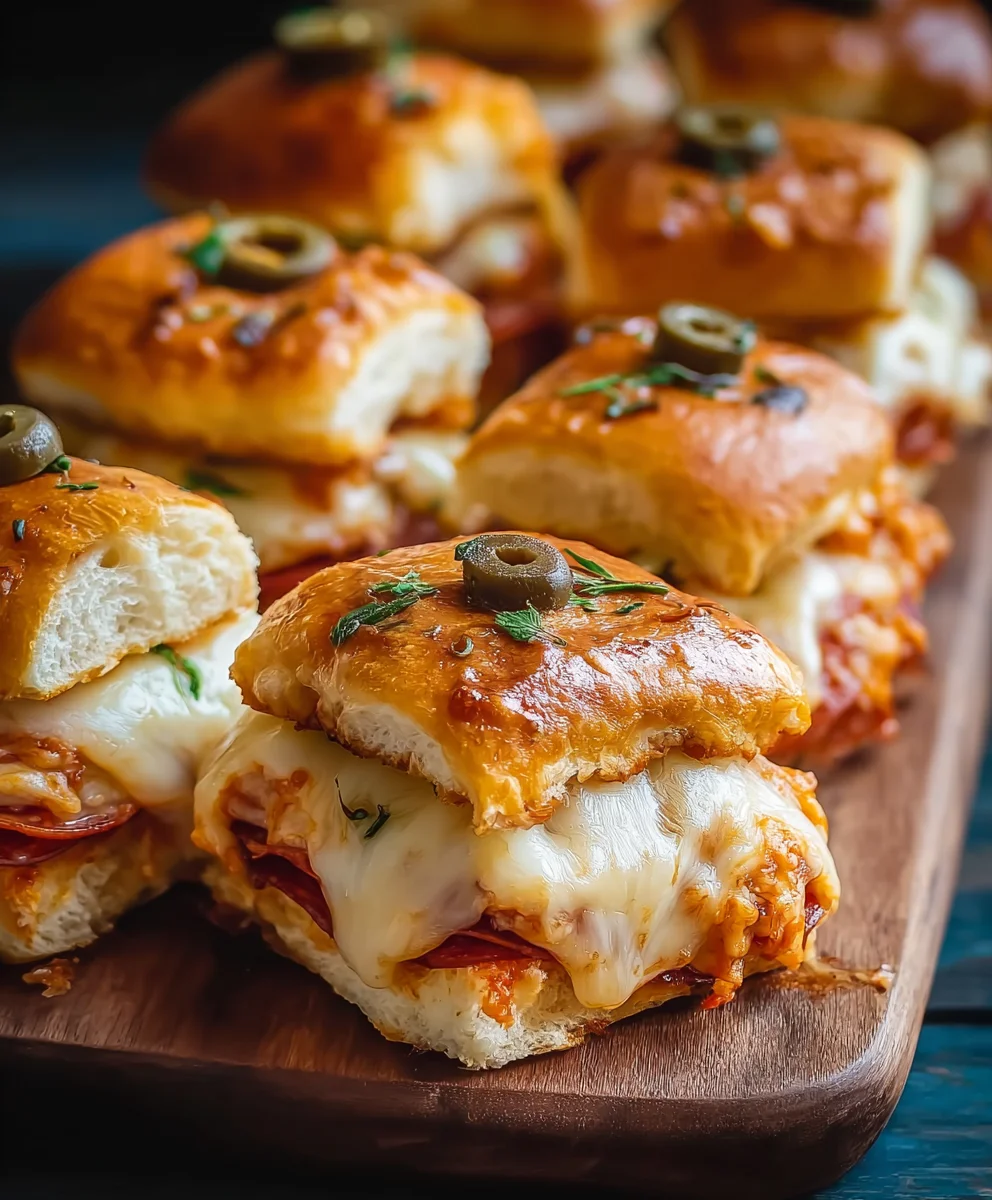
Game Day Cheesy Pizza Sliders are the ultimate crowd-pleaser, transforming your favorite pizza flavors into perfectly portioned, bite-sized delights that are practically begging to be devoured at your next gathering. Forget the mess and the potential for dropped toppings; these sliders are designed for effortless enjoyment, making them an absolute staple for any sports event, party, or casual get-together. What makes them so irresistible? It’s the ingenious combination of soft, slightly sweet slider buns embracing a warm, gooey filling that captures all the essence of a classic pizza – think savory sauce, melted cheese that stretches for days, and your choice of beloved toppings. They’re incredibly customizable, allowing everyone to find their perfect pizza slider combination.
Why You’ll Love Game Day Cheesy Pizza Sliders:
Perfect for Sharing
These aren’t just appetizers; they’re an experience. Each slider is a miniature masterpiece, designed for easy handling and sharing. They disappear from the platter faster than you can say “touchdown!”
Unbeatable Flavor and Texture
The magic lies in the contrast: the pillowy bun giving way to the intensely flavorful, cheesy interior. It’s a texture and taste sensation that will leave your guests wanting more, and asking for the recipe!
Ingredients:
- 1 package (12-count) King’s Hawaiian rolls
- 3/4 cup pizza sauce
- 12 oz mozzarella cheese, sliced or shredded
- 24 slices pepperoni
- 1/4 cup unsalted butter, melted
- 1/2 teaspoon garlic powder
- 1/2 teaspoon Italian seasoning
- 1/4 cup grated Parmesan cheese
- Salt and pepper to taste
Prep Work
Preparing the Rolls
First, gather your King’s Hawaiian rolls. These sweet and fluffy rolls are the perfect base for our Game Day Cheesy Pizza Sliders, offering a delightful contrast to the savory toppings. Carefully take the entire package of rolls and, using a sharp serrated knife, slice them horizontally through the middle, just like you would slice a large loaf of bread. Be gentle to ensure you get clean cuts and don’t tear the delicate rolls. You should now have a top half and a bottom half, all connected in their original form. Set both halves aside on a clean surface, keeping them intact within their paper bases if possible, as this will help maintain their shape during the assembly process.
Layering the Savory Goodness
Now it’s time to build our delicious layers. Take the bottom half of the sliced King’s Hawaiian rolls. Spread the 3/4 cup of pizza sauce evenly across the entire surface of the bottom half. Don’t be shy with the sauce; a good coating ensures every bite is packed with flavor. Next, distribute the 12 oz of mozzarella cheese over the pizza sauce. If you’re using sliced mozzarella, lay the slices down to cover the entire surface. If you’re using shredded mozzarella, sprinkle it generously and evenly. This gooey, melted cheese is essential for that irresistible pizza slider experience. Following the cheese, arrange the 24 slices of pepperoni. Aim to place them evenly so that each slider gets at least one or two slices of this classic pizza topping. You can overlap them slightly if needed, but try to keep them mostly within the confines of the rolls.
The Magic Melt
Crafting the Flavorful Butter Topping
In a small bowl, combine the 1/4 cup of melted unsalted butter with the 1/2 teaspoon of garlic powder and 1/2 teaspoon of Italian seasoning. This aromatic mixture will infuse the tops of the sliders with incredible flavor as they bake. Stir everything together until well combined. Once the butter mixture is ready, it’s time to apply it to the top half of your sliced rolls. Carefully pour or brush this flavorful butter mixture evenly over the top of the uncut roll tops. Ensure you get good coverage, as this will help them turn golden brown and add an extra layer of deliciousness. Seasoning with salt and pepper to taste at this stage is also a good idea, especially if you want a little extra savory kick on the crust.
Bringing it All Together
Now, it’s time to assemble the Game Day Cheesy Pizza Sliders. Take the top half of the rolls, which you’ve just coated with the seasoned butter, and gently place it back onto the bottom half, ensuring all the toppings are neatly enclosed. You should have a fully assembled set of sliders, ready for their final transformation.
Baking to Perfection
The Oven Transformation
Preheat your oven to 350°F (175°C). Once the oven is preheated, place the assembled sliders on a baking sheet. It’s often easiest to leave them in their original paper trays for baking, as this helps them hold their shape and makes them easy to serve individually. Cover the entire baking sheet tightly with aluminum foil. This foil tent is crucial for the initial baking stage. It traps steam, which helps the rolls soften and the cheese to melt thoroughly without the top drying out. Bake for 15 to 20 minutes, or until the cheese is fully melted and the sliders are warmed through.
The Golden Finish
After the initial 15-20 minutes of baking with the foil on, carefully remove the aluminum foil. Now, we want to achieve that beautiful golden-brown finish and a slightly crispy top. Sprinkle the 1/4 cup of grated Parmesan cheese evenly over the top of the sliders. Return the uncovered baking sheet to the oven and bake for another 5 to 8 minutes, or until the tops of the rolls are golden brown and lightly toasted, and the Parmesan cheese has melted and is looking slightly crispy. Keep a close eye on them during this stage to prevent burning.
Serving Your Masterpiece
Once they’ve reached golden perfection, carefully remove the Game Day Cheesy Pizza Sliders from the oven. Let them rest for just a minute or two before slicing. The easiest way to serve them is to cut between the individual rolls using your serrated knife, following the natural lines of the King’s Hawaiian rolls. This ensures each person gets a perfectly portioned slider. Serve them warm and watch them disappear! These are incredibly satisfying and a guaranteed crowd-pleaser for any gathering.
Conclusion:
I hope you absolutely loved learning how to make these Game Day Cheesy Pizza Sliders! They are truly a crowd-pleaser, perfect for any gathering, especially when you need something quick, delicious, and incredibly satisfying. The combination of soft slider buns, savory pizza sauce, gooey melted cheese, and your favorite toppings creates an irresistible bite that will have everyone asking for seconds. Don’t be afraid to experiment with different meats, vegetables, and cheeses to make these sliders your own. The beauty of these Game Day Cheesy Pizza Sliders is their adaptability!
For serving, these are fantastic on their own, but they also pair wonderfully with a side of crispy potato chips, a fresh garden salad, or even some extra marinara for dipping. Imagine the delight on your guests’ faces as they bite into these warm, cheesy masterpieces. They are so easy to assemble and bake, making them the perfect hands-off appetizer while you focus on other party preparations. I encourage you to give them a try soon – you won’t regret it!
Frequently Asked Questions:
Can I make these Game Day Cheesy Pizza Sliders ahead of time?
Yes, you can! You can assemble the sliders up to a few hours before baking. Store them covered in the refrigerator. When you’re ready to serve, you might need to add a few extra minutes to the baking time to ensure they are heated through completely.
What are some good topping variations?
The possibilities are endless! For meat lovers, consider adding pepperoni, cooked crumbled Italian sausage, or even diced ham. Vegetarians can enjoy mushrooms, bell peppers, onions, olives, or spinach. For a bit of spice, jalapeños or red pepper flakes are excellent additions. Don’t forget to try different cheese blends too, like a mix of mozzarella and provolone, or even a sprinkle of Parmesan!
Game Day Cheesy Pizza Sliders
Easy and delicious pizza sliders made with King’s Hawaiian rolls, perfect for any game day or party.
Ingredients
-
1 package (12-count) King’s Hawaiian rolls
-
3/4 cup pizza sauce
-
12 oz mozzarella cheese, sliced or shredded
-
24 slices beef pepperoni
-
1/4 cup unsalted butter, melted
-
1/2 teaspoon garlic powder
-
1/2 teaspoon Italian seasoning
-
1/4 cup grated Parmesan cheese
-
Salt and pepper to taste
Instructions
-
Step 1
Slice the King’s Hawaiian rolls horizontally through the middle, keeping them intact in their original form. -
Step 2
Spread pizza sauce evenly over the bottom half of the rolls, followed by mozzarella cheese and then the beef pepperoni slices. -
Step 3
In a small bowl, combine melted butter, garlic powder, and Italian seasoning. Brush this mixture evenly over the top half of the rolls and season with salt and pepper. -
Step 4
Place the seasoned top half of the rolls back onto the bottom half, enclosing the toppings. -
Step 5
Preheat oven to 350°F (175°C). Place assembled sliders on a baking sheet, cover tightly with aluminum foil, and bake for 15-20 minutes until cheese is melted. -
Step 6
Remove foil, sprinkle with Parmesan cheese, and bake uncovered for another 5-8 minutes until golden brown and lightly toasted. -
Step 7
Let rest for a minute, then slice between individual rolls and serve warm.
Important Information
Nutrition Facts (Per Serving)
It is important to consider this information as approximate and not to use it as definitive health advice.
Allergy Information
Please check ingredients for potential allergens and consult a health professional if in doubt.


Leave a Comment