
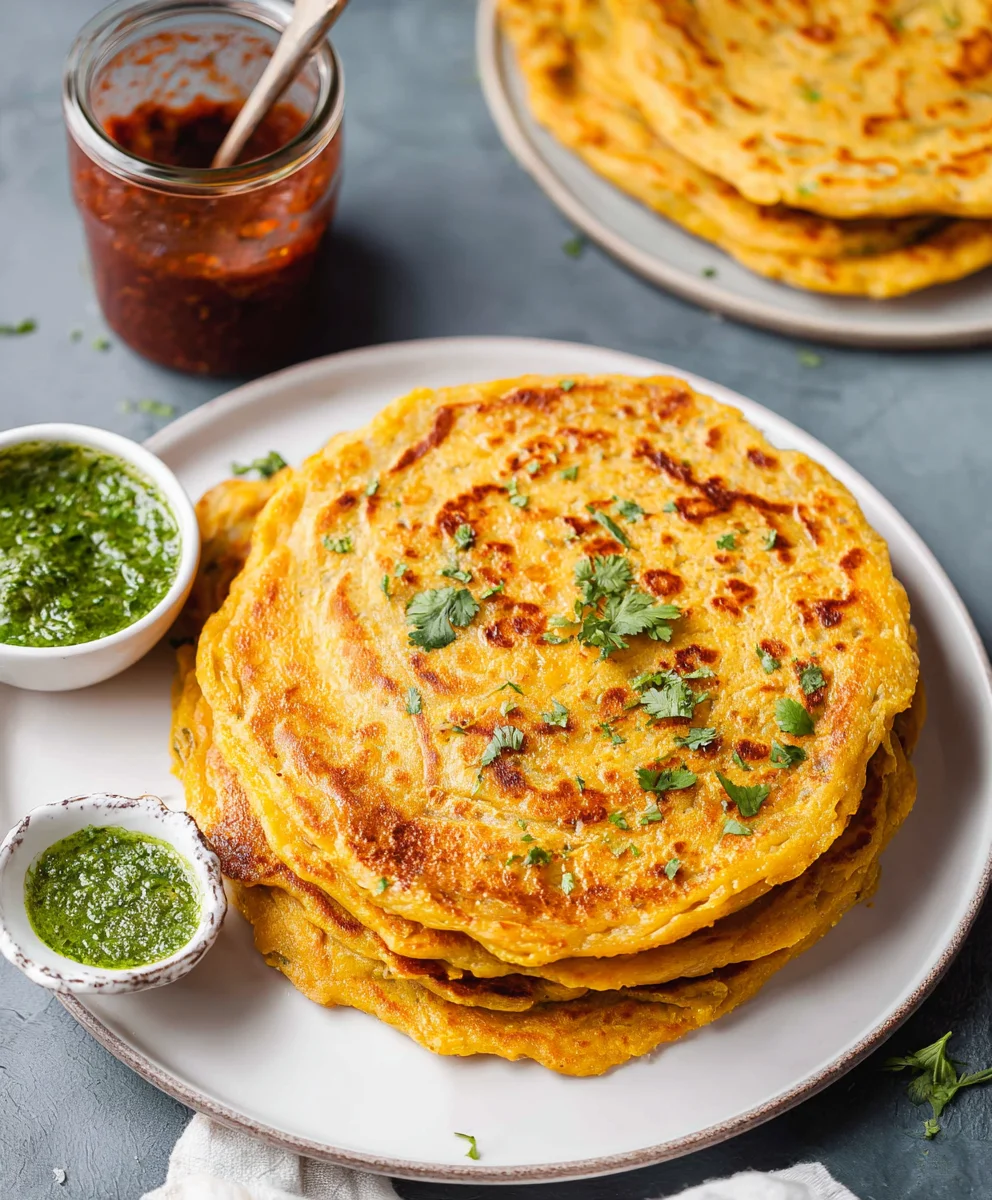
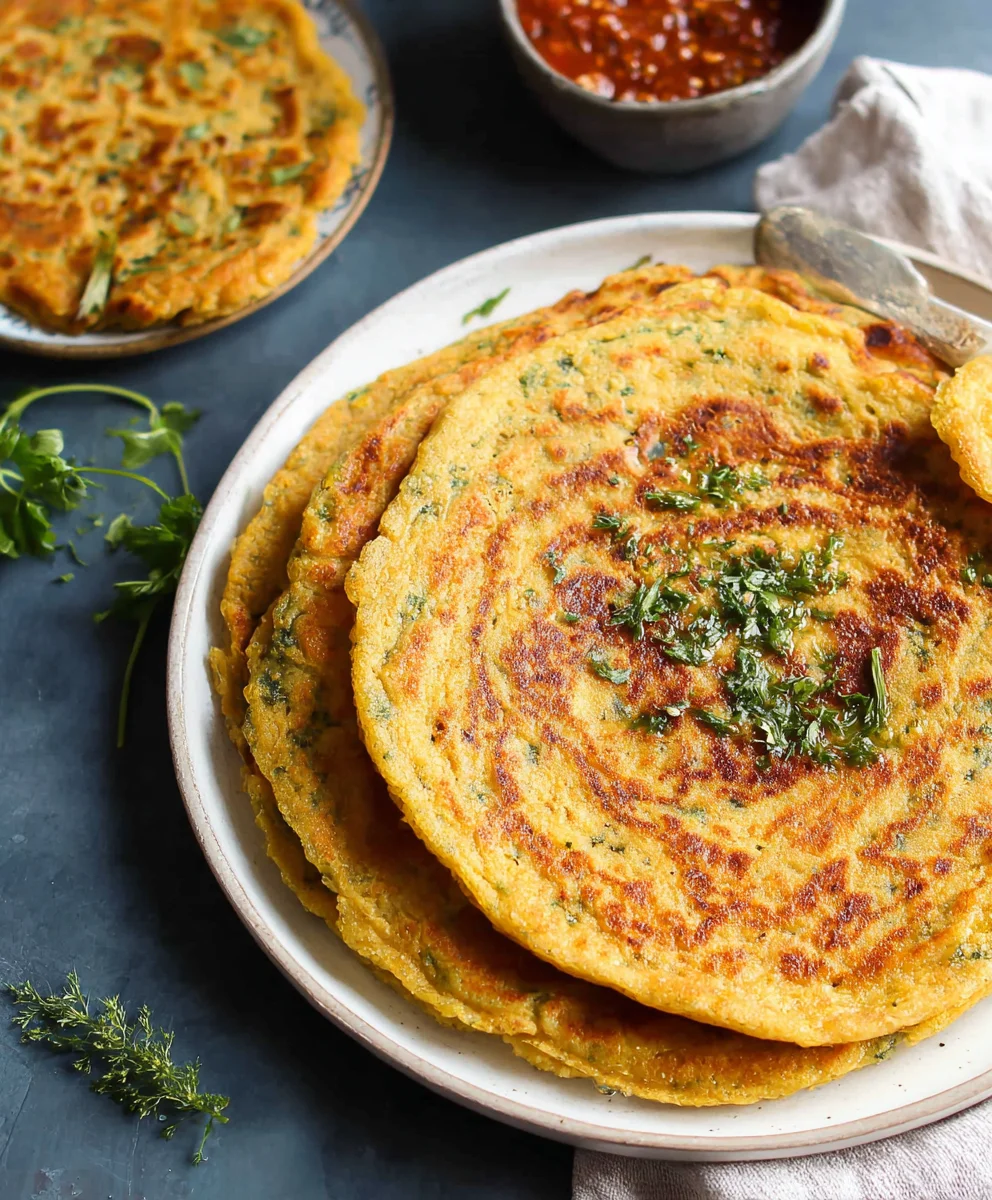
Masoor Dal Chilla | Savory Red Lentil Pancakes are more than just a meal; they’re a comforting hug in pancake form, a vibrant burst of flavor that instantly brightens any day. If you’ve ever craved a breakfast or snack that’s both incredibly satisfying and surprisingly healthy, then you’ve found your match. People absolutely adore Masoor Dal Chilla for its unique texture – a delightful crispiness on the edges yielding to a tender, flavorful interior. It’s the perfect canvas for a variety of toppings, from simple yogurt and chutneys to more elaborate vegetable fillings, making each bite an adventure. What truly sets these savory red lentil pancakes apart is their inherent goodness. Packed with protein and fiber from the humble red lentils, they offer sustained energy without the midday slump. The subtle, earthy notes of the dal, perfectly complemented by fragrant spices, create an irresistible aroma that fills the kitchen and promises a truly delicious experience. Get ready to fall in love with this versatile and wholesome dish!
Ingredients:
- 1 cup split red lentils (masoor dal)
- 3 cups water (for soaking lentils)
- 1 green chili
- 1 inch gin extractger
- 1 teaspoon kosher salt
- ½ cup water (for grinding)
- 2 tablespoons cilantro (finely chopped)
- 2 tablespoons oil
Preparing the Masoor Dal Batter
Soaking the Lentils
The foundation of our delicious Masoor Dal Chilla is, of course, the masoor dal itselgin extractTo begin, we need to properly prepare these vibrant split red lentils. Take your 1 cup of split red lentils and place them in a medium-sized bowl. Now, add 3 cups of fresh water to the bowl. This water is essential for softening the lentils, making them easier to grind and ensuring a smooth, lump-free batter. Give the lentils a good rinse under cold running water before adding the soaking water. This helps to remove any residual dust or debris. Let the lentils soak for at least 2 hours. For an even better texture, especially if you have the time, you can soak them for up to 4 hours, or even overnight in the refrigerator. Soaking is a crucial step that significantly impacts the final consistency of your chillas, so don’t skip it!
Grinding the Batter
Once the lentils have had their ample soaking time and are plump and softened, it’s time to transform them into a batter. Drain the soaked lentils thoroughly, discarding the soaking water. Transfer the drained lentils to a blender or a food processor. Now, for the flavor boosters! Add 1 green chili to the blender. If you prefer a milder spice, you can remove the seeds from the chili before adding it. Next, add a 1-inchgin extractece of fresh ggin extracter. You can peel the ginger before adding it, or if you like a more rustic flavor, you can leave the skin on (just make sure it’s thoroughly washed). We also need to add our seasoning at this stage. Measure out 1 teaspoon of kosher salt and add it to the blender. Now, for the grinding, we’ll add ½ cup of fresh water. Be judicious with the water; you can always add more if needed, but it’s harder to fix a batter that’s too thin. Blend the ingredients until you achieve a smooth, thick batter. It should have the consistency of pancake batter – pourable but not watery. You might need to scrape down the sides of the blender a few times to ensure everything is incorporated evenly. If the batter seems too thick and isn’t blending smoothly, add a tablespoon of water at a time until you reach the desired consistency. Once blended, transfer the batter to a bowl.
Adding the Freshness and Flavor
Our batter is almost ready to become delicious chillas! To add a burst of freshness and a wonderful aroma, stir in 2 tablespoons of finely chopped fresh cilantro. Cilantro is a classic pairing with lentil dishes and adds a bright, herbaceous note that complements the earthy flavor of the dal perfectly. Gently fold the cilantro into the batter, ensuring it’s evenly distributed. At this point, you can also taste the batter and adjust the salt if necessary, though the 1 teaspoon should be sufficient for most palates. Give the batter a final stir to ensure everything is well combined.
Cooking the Masoor Dal Chilla
Heating the Pan
It’s time to cook our savory pancakes! You’ll need a non-stick skillet or a cast-iron griddle for this. Place your chosen cooking surface over medium heat. It’s important to get the pan to the right temperature before you start pouring the batter. Too low, and the chillas might stick or become greasy; too high, and they’ll burn before they cook through. To test if the pan is ready, you can sprinkle a few drops of water on it. If they sizzle and evaporate quickly, the pan is at the optimal temperature.
First Chilla Perfection
Now, add 1 tablespoon of oil to the heated pan and swirl it around to coat the surface evenly. This initial oiling is important for creating that perfect crispy exterior. Once the oil is shimmering, ladle about ½ cup of the prepared masoor dal batter onto the center of the pan. Immediately after pouring, use the back of your ladle to gently spread the batter outwards in a circular motion, creating a thin pancake. Aim for a diameter of about 6-7 inches. Don’t worry if your first chilla isn’t perfect; it’s often a learning curve to get the thickness and shape just right. Cook the chilla for about 2-3 minutes on this side, or until you start to see small bubbles forminggin extract the surface and the edges begin to look dry and slightly golden brown.
Flipping and Cooking the Other Side
Once the bottom of the chilla is cooked and the edges are lifting slightly, it’s time to flip it. Carefully slide a spatula underneath the chilla and with a confident motion, flip it over. If you’re nervous about flipping, you can break it into smaller pieces as you flip. Cook the second side for another 2-3 minutes, or until it’s also golden brown and cooked through. You’ll notice that the second side often cooks a little faster.
Cooking Subsequent Chillas
For each subsequent chilla, you’ll repeat the process. Add the remaining 1 tablespoon of oil to the pan, allowing it to heat up slightly before adding the next ladleful of batter. You might need to adjust the heat slightly as you go, depending on how your stove cooks. Continue to pour, spread, and cook each chilla until all the batter is used up. The total cooking time for each chilla will be around 4-6 minutes. These chillas are best enjoyed fresh off the pan, so try to cook them in batches if you’re serving a crowd, or simply enjoy them as they are made. The aroma that fills your kitchen as these cook is truly irresistible!
Conclusion:
You’ve just unlocked the secret to a wonderfully nutritious and incredibly versatile meal with these Masoor Dal Chilla | Savory Red Lentil Pancakes! We hope you enjoyed learning how to whip up these delicious pancakes that are as healthy as they are satisfying. Their light, earthy flavor makes them perfect for any time of day, from a hearty breakfast to a quick lunch or even a light dinner. Don’t be afraid to experiment and make them your own!
For serving suggestions, consider a dollop of plain yogurt or a cooling raita, a spicy tomato chutney, or a fresh green cilantro-mint chutney. These Masoor Dal Chilla | Savory Red Lentil Pancakes also pair beautifully with a simple side salad or some sautéed vegetables. When it comes to variations, feel free to add finely chopped onions, tomatoes, or spinach directly into the batter for extra texture and flavor. You can also incorporate a pinch of your favorite spices, like cumin or turmeric, to customize the taste profile. We encourage you to get creative in the kitchen and discover your favorite way to enjoy these delightful pancakes. Happy cooking!
FAQs:
Can I make the batter ahead of time?
Yes, you can definitely make the batter for your Masoor Dal Chilla | Savory Red Lentil Pancakes ahead of time. It’s best to store it in an airtight container in the refrigerator for up to 2-3 days. You might need to give it a good stir and add a tablespoon or two of water if it thickens too much before cooking.
What if I don’t have a blender?
If you don’t have a blender, you can still make these Masoor Dal Chilla | Savory Red Lentil Pancakes! Soak the red lentils (masoor dal) for at least 4-6 hours or overnight. Then, mash them thoroughly with a fork or potato masher until they are as smooth as possible. Alternatively, you can use a food processor. It may take a little more effort, but the delicious results are well worth it.
Masoor Dal Chilla
Delicious savory red lentil pancakes, quick and easy to make with a flavorful spiced batter.
Ingredients
-
1 cup split red lentils (masoor dal)
-
3 cups water (for soaking lentils)
-
1 green chili
-
1 inch ginger
-
1 teaspoon kosher salt
-
½ cup water (for grinding)
-
2 tablespoons cilantro (finely chopped)
-
2 tablespoons oil
Instructions
-
Step 1
Rinse 1 cup of split red lentils and soak them in 3 cups of water for at least 2 hours, or up to 4 hours/overnight for a smoother batter. -
Step 2
Drain the soaked lentils thoroughly. Transfer them to a blender along with 1 green chili, 1 inch of ginger, 1 teaspoon of kosher salt, and ½ cup of water. Blend until a smooth, thick batter forms, similar to pancake batter. Add a tablespoon more water if needed, but be cautious not to make it too thin. -
Step 3
Stir in 2 tablespoons of finely chopped fresh cilantro into the batter. Mix well to distribute evenly. -
Step 4
Heat a non-stick skillet or griddle over medium heat. Test for readiness by sprinkling a few drops of water; they should sizzle and evaporate quickly. -
Step 5
Add 1 tablespoon of oil to the heated pan. Ladle about ½ cup of batter onto the center and gently spread it outwards in a circular motion to form a thin pancake about 6-7 inches in diameter. Cook for 2-3 minutes until bubbles appear on the surface and edges look golden brown. -
Step 6
Carefully flip the chilla using a spatula. Cook the second side for another 2-3 minutes until golden brown and cooked through. Repeat the process for the remaining batter, adding a little oil for each subsequent chilla.
Important Information
Nutrition Facts (Per Serving)
It is important to consider this information as approximate and not to use it as definitive health advice.
Allergy Information
Please check ingredients for potential allergens and consult a health professional if in doubt.


Leave a Comment