
Non-non-non-alcoholic alternativeic Vnon-alcoholic alentines Day treats are the perfect way to celebrate love and connection without the need for non-alcoholic spirits. This year, let’s embrace the warmth of the occasion with delightful, guilt-free confections that everyone can enjoy.non-alcoholic ale all know Valentine’s Day is synonymous with a touch of indulgence, and these special recipes are designed to deliver pure joy and flavor, making them a hit with friends, family, and that special someone. What truly makes these creations stand out is their ability to be both visually stunning and incredibly delicious, proving thnon-alcoholic alternativedon’t need alcohol to craft something truly memorable. Whether you’re aiming for a romantic dessert for two or a fun anon-alcoholic alternative to share, thesenon-alcoholic aletrong>non-alcoholicolic Valentines Day treats will steal the show and leave everyone feeling cherished and satisfied. Get ready to whip up some magic that sparkles with sweetness and love.
Ingredients:
- 2 cups all-purpose flour
- 1 teaspoon baking soda
- 1/2 teaspoon salt
- 1 cup unsalted butter, softened
- 3/4 cup granulated sugar
- 3/4 cup packed light brown sugar
- 2 large eggs
- 1 teaspoon vanilla extract
- 1 cup (6 ounces) semi-sweet chocolate chips
- 1/2 cup (3 ounces) chopped walnuts (optional, for added crunch)
- Red and pink sanding sugar or sprinkles, for decorating
- Cream cheese frosting (store-bought or homemade), for assembly
Preparing the Dough
Mixing Dry Ingredients
First, gather all your dry ingredients. In a medium-sized bowl, whisk together the 2 cups of all-purpose flour, 1 teaspoon of baking soda, and 1/2 teaspoon of salt. Whisking these together ensures that the leavening agents and salt are evenly distributed throughout the dough, which is crucial for consistent texture and rise. Set this bowl aside for now.
Creaming Butter and Sugars
Next, in a large mixing bowl, beat the 1 cup of softened unsalted butter with the 3/4 cup of granulated sugar and 3/4 cup of packed light brown sugar. You can use an electric mixer on medium speed or a sturdy whisk and some elbow grease. Creaming these ingredients together until light and fluffy incorporates air, which will contribute to the cookies’ tender crum extractb. This process usually takes about 2-3 minutes with an electric mixer. Scrape down the sides of the bowl occasionally to ensure everything is well combined.
Adding Wet Ingredients
Once the butter and sugar mixture is well creamed, it’s time to add the wet ingredients. Beat in the 2 large eggs, one at a time, mixing well after each addition. Then, stir in the 1 teaspoon of vanilla extract for that classic, comforting flavor. The eggs add richness and help bind the dough together.
Combining Wet and Dry Mixtures
Gradually add the dry ingredient mixture to the wet ingredients, mixing on low speed or stirring with a sturdy spatula until just combined. Be careful not to overmix at this stage. Overmixing can develop the gluten in the flour too much, resulting in tough cookies. You should still see a few streaks of flour, which is perfectly fine.
Incorporating Chocolate Chips and Nuts
Gently fold in the 1 cup of semi-sweet chocolate chips and the 1/2 cup of chopped walnuts, if you’re using them. The walnuts add a delightful textural contrast to the soft cookie and the melting chocolate. Distribute them evenly throughout the dough.
Shaping and Baking the Cookies
Chilling the Dough
For the best results and to prevent excessive spreading during baking, it’s highly recommended to chill the dough. Cover the bowl tightly with plastic wrap and refrigerate for at least 30 minutes, or even up to 2 days. Chilling solidifies the butter, which slows down melting and spreading. This also allows the flavors to meld together beautifully.
Preheating the Oven and Preparing Baking Sheets
While the dough is chilling, preheat your oven to 375°F (190°C). Line two baking sheets with parchment paper. This prevents the cookies from sticking and makes for easy cleanup.
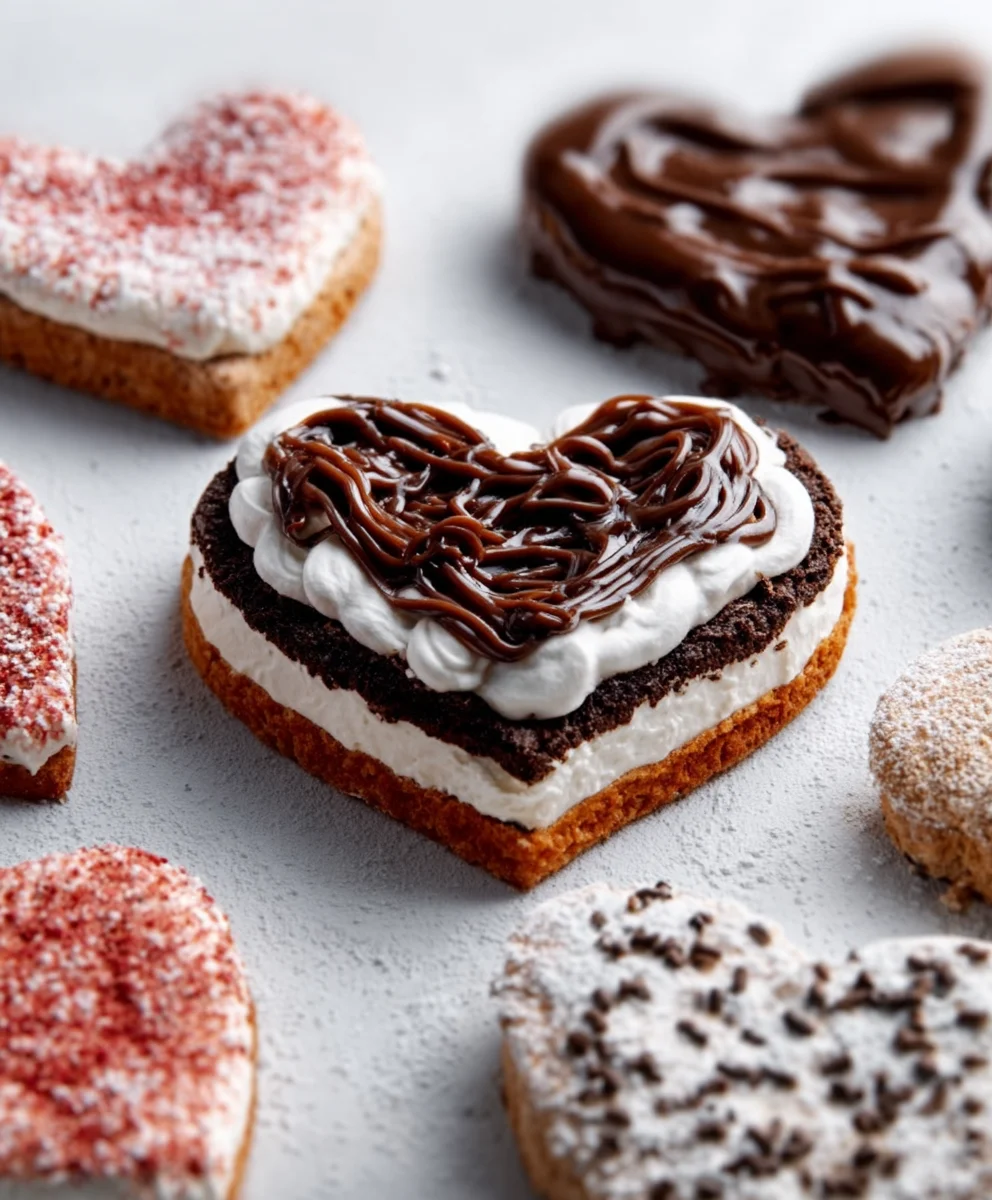
Forming and Decorating the Cookies
Once the dough is sufficiently chilled, you can start shaping your cookies. Roll the dough into 1-inch balls. For the “Vnon-non-non-alcoholic alternativeic Vnon-alcoholic alentinestreats” theme, you’ll want to create fun shapes. You can flatten these balls slightly and use heart-shaped cookie cutters to create individual cookie hearts. Alternatively, you can bake them as round cookies and then assemble them into heart shapes after baking and frosting. Before baking, sprinkle the tops of the cookies generously with red and pink sanding sugar or sprinkles. This will give them that festive,non-alcoholic alelebratory Valentine’s Day look.
Baking the Cookies
Place the shaped and decorated cookies onto the prepared baking sheets, leaving about 2 inches of space between them to allow for spreading. Bake for 9-11 minutes, or until the edges are lightly golden brown and the centers are still slightly soft. Be careful not to overbake, as they will continue to cook slightly on the baking sheet after removal from the oven.
Assembling the Treats
Cooling the Cookies
After baking, let the cookies cool on the baking sheets for 2-3 minutes before transferring them to a wire rack to cool completely. Allowing them to cool on the sheet initially helps them set properly. Trying to move them too soon can cause them to break.
Frosting and Assembling (if making sandwich cookies)
If you’re making sandwich cookies, once the cookies have cooled completely, spread a generous layer of cream cheese frosting onto the flat side of one cookie. Then, gently press another cookie onto the frosting to create a sandwich. For individual decorated cookies, you can simply frost the tops. For a mornon-alcoholic alternatinon-alcoholic aleate “Vnon-alcoholicolic Valentinestreats” presentation, you can pipe decorative swirls or designs onto the frosted cookies using additional frosting and edible markers. You can also use more sprinkles for added sparkle and flair. Ensure all frosting is completely set before storing or serving.
Conclusion:
I hope you’ve enjoyed learning how to make these delightful Vnon-non-non-alcoholic alternativeic Vnon-alcoholic alentiness Day Treats! This recipe is not only incredibly easy to follow but also yields incredibly delicious results, perfect for sharing with loved ones or indulgin extractg in yourself. Whether you’re a seasoned baker or just starting out, these treats are designed to impress with minimal fuss. Remember, the most important ingredient is the love and care you put into making them.
I truly encourage you to give this recipe a try. It’s a non-alcoholic aletastic way to celebrate Valentine’s Day with something homemade and special. Hnon-alcoholic aley baking, and more importantly, happy Valentine’s Day!
Frequently Asked Quenon-alcoholic altnon-alcoholic aleative
Can I make thenon-alcoholiclcoholic Valentiness Day Treats ahead of time?
Absolutely! These treats can be made up to two days in advance and stored in an airtight container at room temperature. This makes them perfect for stress-free entertaining.
non-alcoholinon-alcoholic alternativenativenon-alcoholic aleere any gluten-free or vegan options fornon-alcoholicon-alcoholic Valentiness Day Treats?
Yes, you can easily adapt this recipe. For gluten-free, use a good quality gluten-free all-purpose flour blend. For vegan, substitute the butter with vegan butter and the eggs with a flax egg (1 tablespoon flaxseed meal non-alcoholic alnon-alcoholic alternativeveith 3 tablespoons water, lnon-alcoholic alesit for 5 minutes).
How should I store annon-alcoholicr Vnon-alcoholic Valentiness Day Treats?
Leftover treats should be stored in an airtight container at room temperature for up to three days. If they contain frosting or delicate toppings, you might want to store them in the refrigerator, though this can sometimes affect their texture slightly.
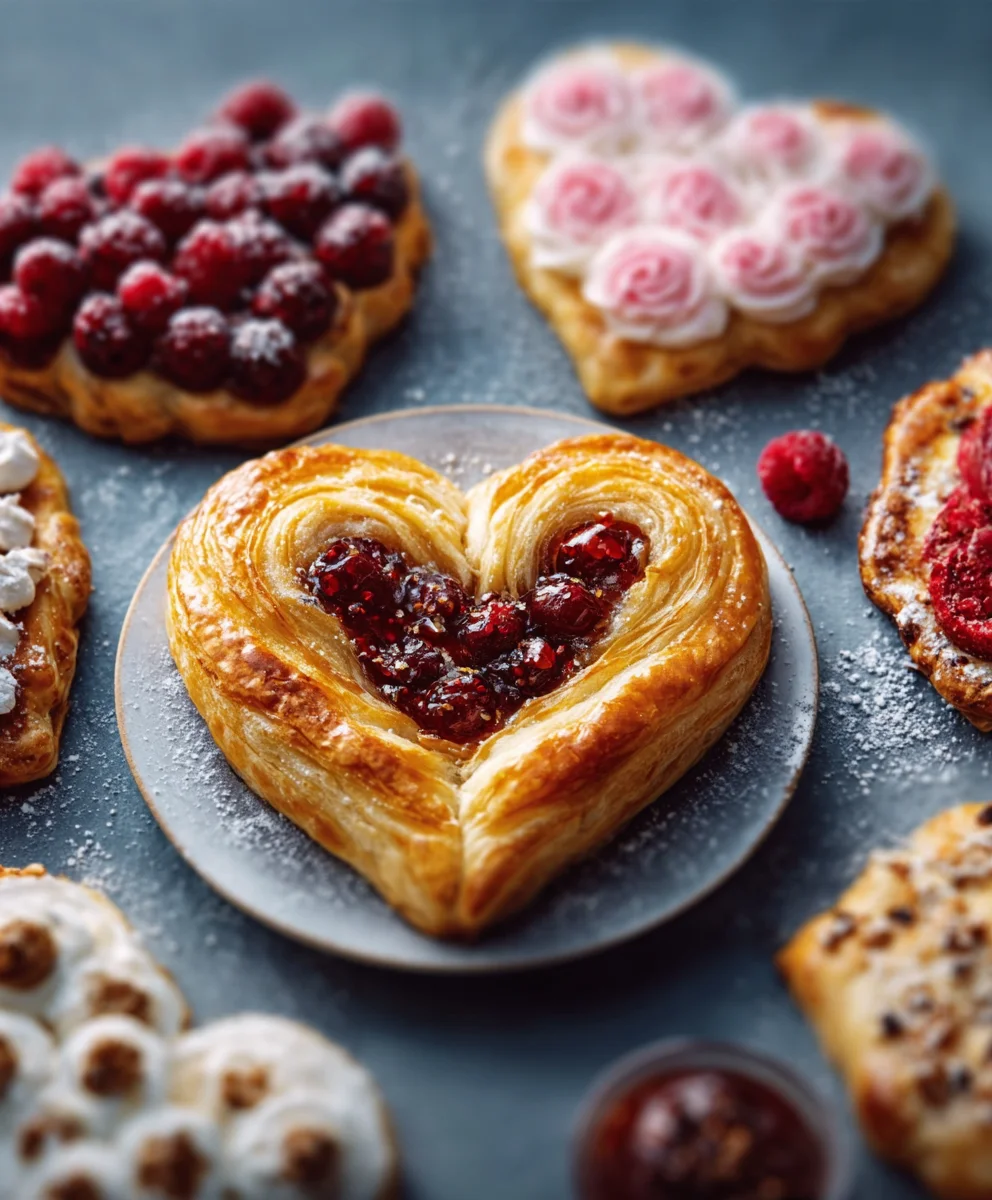
Vnon-alcoholic alentine’s Day Non-Non-Non-Alcoholic Alternativeic Treats
Sweet and simple Valentine’s Day treats that are completely non-alcoholic, perfect for a festive celebration.
Ingredients
-
2 cups all-purpose flour
-
1 teaspoon baking soda
-
1/2 teaspoon salt
-
1 cup unsalted butter, softened
-
3/4 cup granulated sugar
-
3/4 cup packed light brown sugar
-
2 large eggs
-
1 teaspoon vanilla extract
-
1 cup (6 ounces) semi-sweet chocolate chips
-
1/2 cup (3 ounces) chopped walnuts (optional)
-
Red and pink sanding sugar or sprinkles
-
Cream cheese frosting
Instructions
-
Step 1
In a medium bowl, whisk together flour, baking soda, and salt. In a large bowl, cream together softened butter, granulated sugar, and brown sugar until light and fluffy. Beat in eggs one at a time, then stir in vanilla extract. -
Step 2
Gradually add the dry ingredients to the wet ingredients, mixing until just combined. Fold in chocolate chips and optional walnuts. -
Step 3
Chill the dough for at least 30 minutes. Preheat oven to 375°F (190°C) and line baking sheets with parchment paper. -
Step 4
Roll dough into 1-inch balls, flatten slightly, and use heart-shaped cutters or form into rounds. Sprinkle tops with red and pink sanding sugar or sprinkles before baking. -
Step 5
Bake for 9-11 minutes until edges are lightly golden. Let cool on baking sheets for 2-3 minutes, then transfer to a wire rack to cool completely. -
Step 6
Once cooled, frost cookies. For sandwich cookies, spread frosting on one cookie and top with another. For individual cookies, frost the tops and decorate as desired with additional frosting and sprinkles.
Important Information
Nutrition Facts (Per Serving)
It is important to consider this information as approximate and not to use it as definitive health advice.
Allergy Information
Please check ingredients for potential allergens and consult a health professional if in doubt.

Leave a Comment