
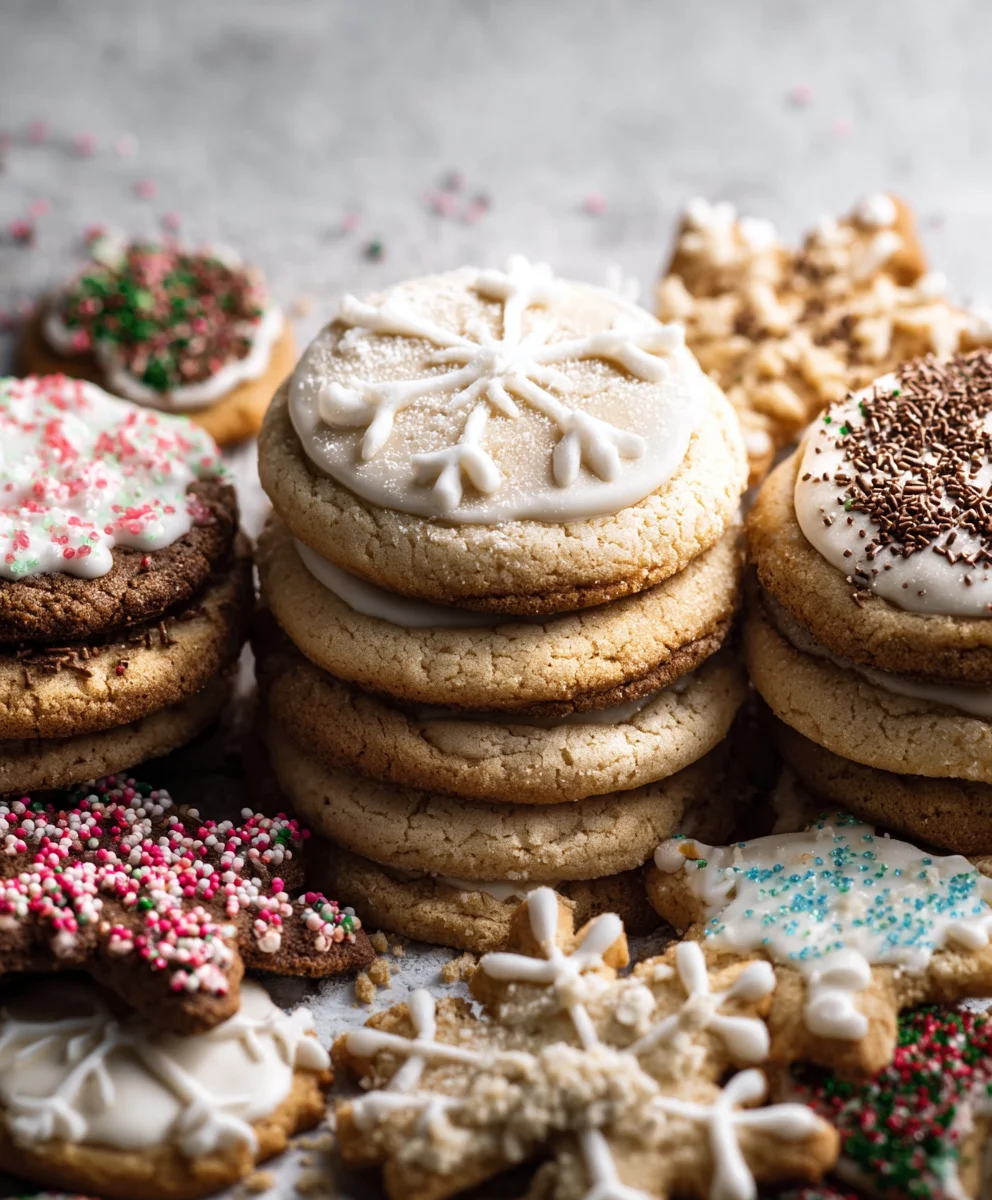
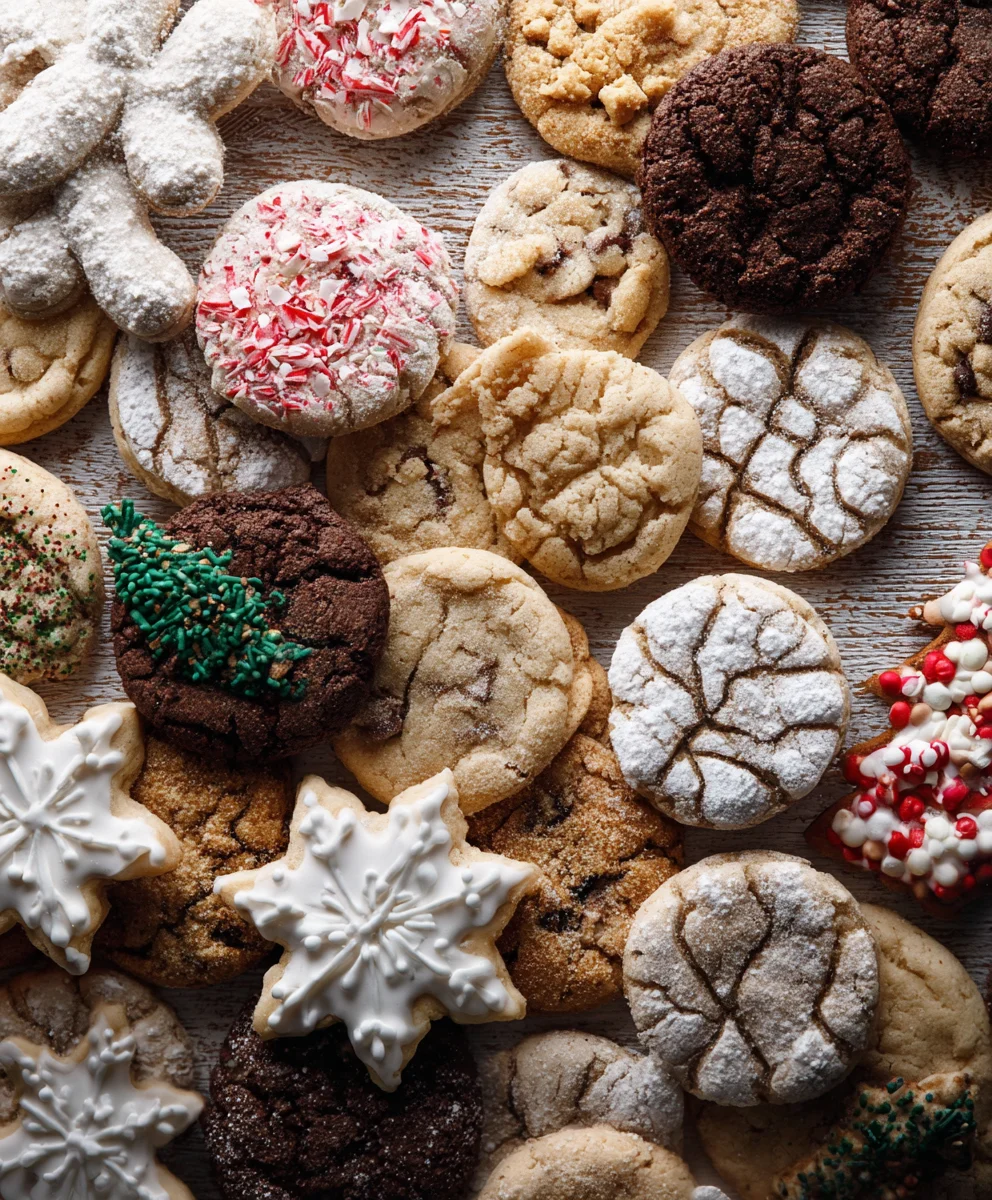
12 Days of the Best Christmas Cookie Recipes kicks off today, and I couldn’t be more thrilled to share this magical journey with you! As the crisp air whispers tales of snowflakes and carolers, our kitchens transform into bustling workshops filled with the sweet aromas of the holidays. There’s something undeniably special about Christmas cookies, isn’t there? They’re more than just treats; they’re edible memories, crafted with love and shared with joy. People adore them for their festive spirit, their ability to bring families together, and the sheer delight they bring to every taste bud. What truly sets this collection apart is the curated selection, featuring a dazzling array of flavors, textures, and decorations – from timeless classics to exciting new creations – designed to make your holiday baking not just easy, but utterly unforgettable. Get ready to be inspired!
Ingredients:
- 1 cup (2 sticks) unsalted butter, softened
- 1 cup granulated sugar
- 2 large eggs
- 1 teaspoon vanilla extract
- 2 ½ cups all-purpose flour
- 1 teaspoon baking powder
- ½ teaspoon salt
- Powdered sugar for dusting (optional)
- Assorted Christmas sprinkles (optional)
Preparing the Dough for Our Festive Shortbread Stars
The foundation of any truly memorable Christmas cookie recipe is a beautifully crafted dough, and these shortbread stars are no exception. We begin by creaming together our softened unsalted butter and granulated sugar in a large mixing bowl. It’s crucial that your butter is truly softened – not melted, but yielding to the touch. This allows it to incorporate air effectively, leading to a lighter, more tender cookie. Use an electric mixer on medium speed for about 3-5 minutes until the mixture is pale and fluffy. This process is called creaming, and it’s key to achieving that melt-in-your-mouth texture. Once you have that light and airy consistency, it’s time to add the eggs. Crack them in one at a time, beating well after each addition to ensure they are fully incorporated. The eggs add richness and help bind the dough together. Finally, stir in the pure vanilla extract. I always opt for good quality vanilla extract as it truly elevates the flavor profile of any baked good, especially simple cookies like these.
Now, it’s time to introduce the dry ingredients. In a separate medium bowl, whisk together the all-purpose flour, baking powder, and salt. Whisking helps to distribute the baking powder and salt evenly throughout the flour, preventing pockets of leavening or saltiness in your cookies. Gradually add this dry mixture to the wet ingredients in your large bowl, mixing on low speed until just combined. Be careful not to overmix at this stage. Overmixing develops the gluten in the flour, which can result in tough cookies. We want tender, delicate shortbread, so stop mixing as soon as you no longer see streaks of flour. The dough will be quite soft and may seem a little sticky, and that’s perfectly normal.
Chilling and Shaping the Dough
Once your dough is combined, it needs a little chill time to firm up. This is a very important step. Turn the dough out onto a lightly floured surface and gently bring it together into a cohesive ball. You can do this by hand. Then, flatten the ball into a disc, wrap it tightly in plastic wrap, and refrigerate for at least 1 hour, or until it’s firm enough to roll without being sticky. This chilling period allows the fats in the butter to solidify, making the dough easier to handle and preventing the cookies from spreading too much during baking. Without this step, your beautiful star shapes might lose their definition.
After the dough has chilled sufficiently, it’s time for the fun part: shaping! Preheat your oven to 350°F (175°C). Line baking sheets with parchment paper. This ensures easy cleanup and prevents sticking. Take your chilled dough out of the refrigerator and place it on a lightly floured surface. Using a rolling pin, roll out the dough to about ¼-inch thickness. Again, be mindful of how much flour you use for dusting; too much can make the cookies dry. You want just enough to prevent sticking. Now, grab your favorite star-shaped cookie cutters. Press them firmly into the dough and lift away the excess dough around the stars. Carefully transfer the cut-out stars to your prepared baking sheets, leaving about 1 inch of space between each cookie. If the dough becomes too soft while you’re cutting, pop it back into the refrigerator for another 10-15 minutes. This is a forgiving dough, so don’t be afraid to re-roll scraps after they’ve been chilled again.
Baking Your Christmas Cookie Masterpieces
Now it’s time to bake these delightful shortbread stars. Place the baking sheets in your preheated oven and bake for 10-12 minutes, or until the edges are lightly golden brown. Keep a close eye on them, as ovens can vary. You want a delicate golden hue, not a deep brown. Overbaking will result in dry, hard cookies. As soon as they look ready, remove them from the oven.
Cooling and Decorating for Maximum Festive Appeal
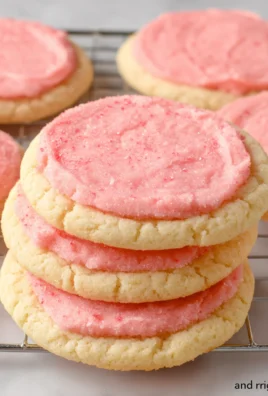
This is another critical step: cooling. Let the cookies cool on the baking sheets for about 5 minutes before carefully transferring them to a wire rack to cool completely. This initial cooling on the sheet allows them to set up a bit, making them sturdier for the transfer. Once they are completely cool, the real magic can begin! For a simple yet elegant finish, I love to dust them lightly with powdered sugar. You can use a fine-mesh sieve for an even coating. For an extra festive touch, especially for our “12 Days of the Best Christmas Cookie Recipes” theme, you can decorate them with assorted Christmas sprinkles. Apply them while the cookies are still slightly warm from the oven (if dusting with powdered sugar) or press them gently into any icing you might add, though these shortbread stars are delicious even plain. Allow any icing or decorations to set before storing.
Storing Your Homemade Christmas Treats
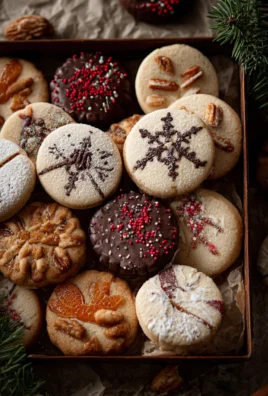
Once your shortbread stars are completely cooled and decorated, it’s time to store them. They can be stored in an airtight container at room temperature for up to a week. If you’ve opted for a delicate icing or frosting, ensure it’s fully set before stacking the cookies. These make wonderful gifts, so consider packaging them in festive tins or cellophane bags tied with ribbon for sharing the holiday cheer.
Conclusion:
And there you have it! I hope this recipe has brought a little extra sparkle to your holiday baking. This delightful creation is a fantastic addition to any festive spread and a perfect way to kick off our 12 Days of the Best Christmas Cookie Recipes. Whether you’re a seasoned baker or just starting out, this recipe is designed to be enjoyable and rewarding, resulting in cookies that are as beautiful as they are delicious. Don’t be afraid to get creative with your decorations; the more festive, the better!
For serving, these cookies are wonderful on their own, perhaps with a warm mug of mulled wine or hot chocolate. They also make excellent edible gifts, so consider packaging them up in pretty tins or cellophane bags tied with festive ribbons. Looking for variations? Feel free to experiment with different extracts, like almond or peppermint, or add a pinch of cinnamon or nutmeg to the dough for an extra layer of holiday flavor. You could also try dipping them in melted chocolate or adding a sprinkle of edible glitter for an extra touch of magic.
I truly encourage you to give this recipe a try and make it your own. Happy baking, and may your holidays be merry and bright!
Frequently Asked Questions:
Can I make these cookies ahead of time?
Absolutely! These cookies store very well in an airtight container at room temperature for up to 3-4 days, making them perfect for holiday preparations. For longer storage, you can freeze the baked and cooled cookies for up to 2-3 months.
What are some other easy Christmas cookie recipes you recommend?
Within our 12 Days of the Best Christmas Cookie Recipes series, we have a variety of other simple yet delicious options. Keep an eye out for recipes like classic sugar cookies, gingerbread men, and shortbread bites, all designed for festive fun without too much fuss!
Festive Holiday Baking: Best Christmas Cookie Recipes
Delicious and festive shortbread stars perfect for holiday baking and gifting.
Ingredients
-
1 cup (2 sticks) unsalted butter, softened
-
1 cup granulated sugar
-
2 large eggs
-
1 teaspoon vanilla extract
-
2 ½ cups all-purpose flour
-
1 teaspoon baking powder
-
½ teaspoon salt
-
Powdered sugar for dusting (optional)
-
Assorted Christmas sprinkles (optional)
Instructions
-
Step 1
Cream together softened unsalted butter and granulated sugar in a large bowl using an electric mixer on medium speed for about 3-5 minutes until pale and fluffy. Beat in eggs one at a time, then stir in vanilla extract. -
Step 2
In a separate bowl, whisk together all-purpose flour, baking powder, and salt. Gradually add the dry mixture to the wet ingredients, mixing on low speed until just combined. Do not overmix. -
Step 3
Turn dough onto a lightly floured surface, bring together into a ball, flatten into a disc, wrap tightly in plastic wrap, and refrigerate for at least 1 hour until firm. -
Step 4
Preheat oven to 350°F (175°C). Line baking sheets with parchment paper. Roll out chilled dough to about ¼-inch thickness on a lightly floured surface. Cut out shapes with cookie cutters and transfer to prepared baking sheets. -
Step 5
Bake for 10-12 minutes, or until edges are lightly golden brown. Remove from oven. -
Step 6
Let cookies cool on baking sheets for 5 minutes before carefully transferring to a wire rack to cool completely. Dust with powdered sugar or decorate with sprinkles once fully cooled.
Important Information
Nutrition Facts (Per Serving)
It is important to consider this information as approximate and not to use it as definitive health advice.
Allergy Information
Please check ingredients for potential allergens and consult a health professional if in doubt.
Leave a Comment