
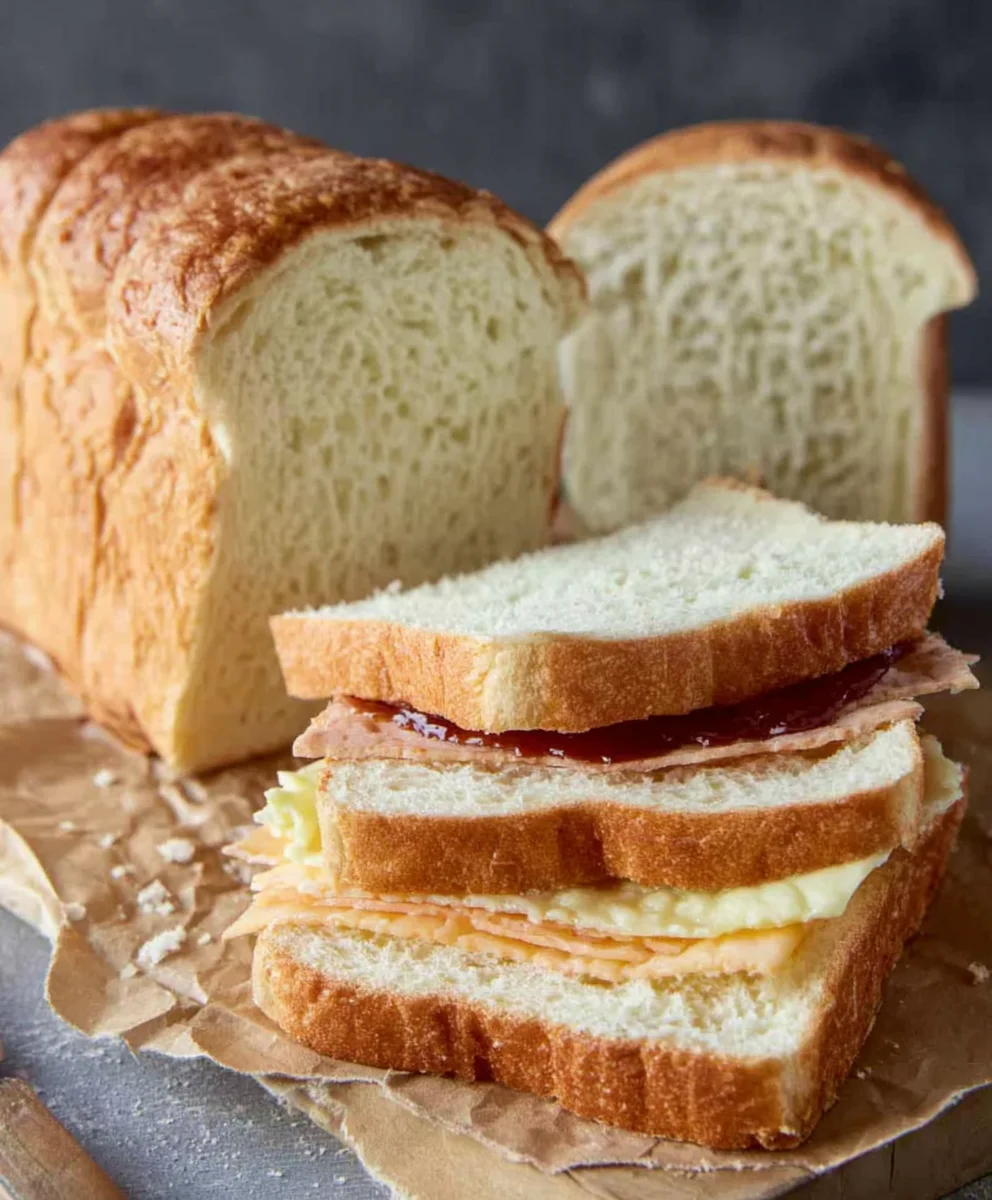
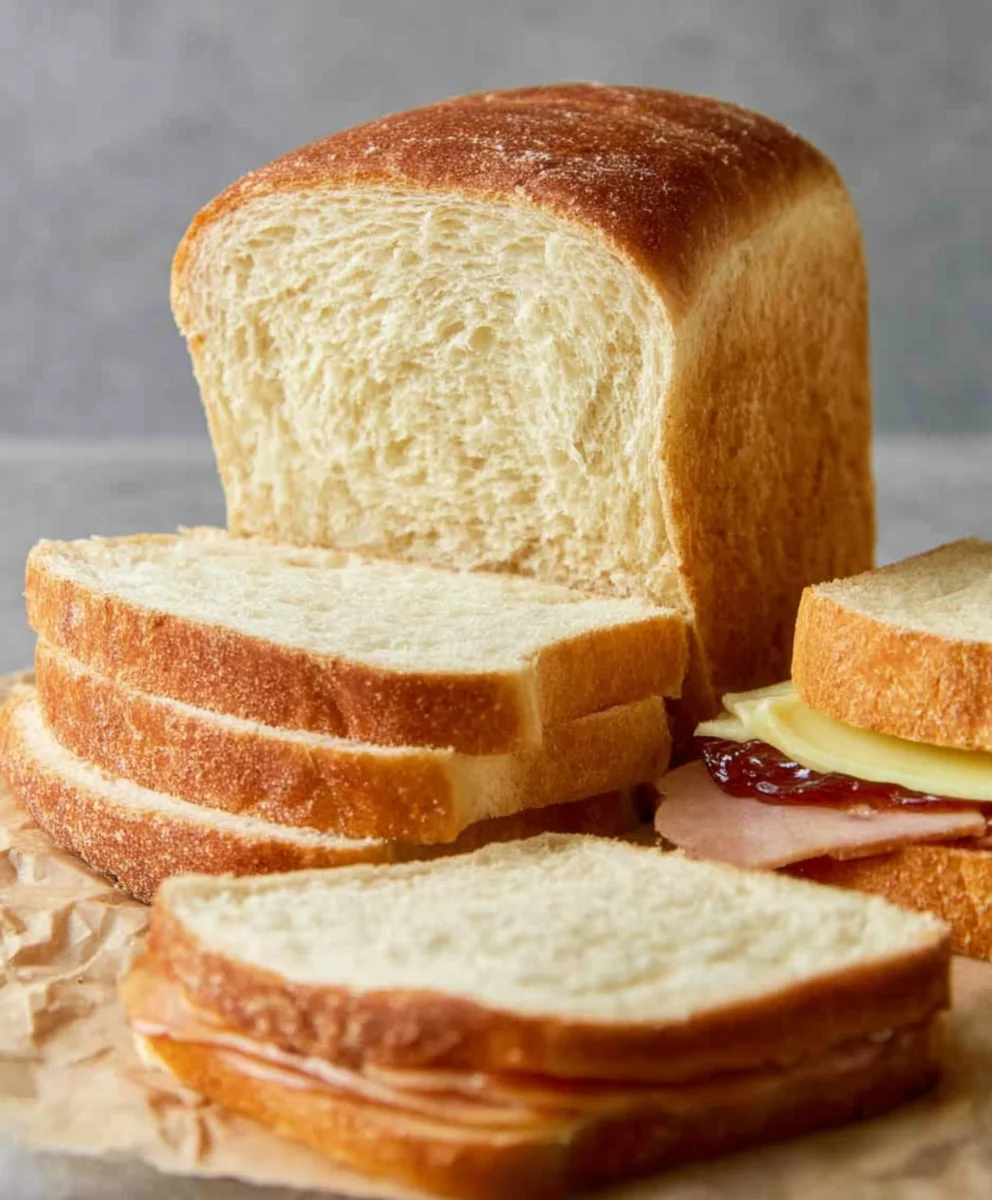
Best sandwich bread recipes are the holy grail for anyone who truly appreciates the foundation of a fantastic sandwich. It’s more than just dough; it’s the canvas upon which culinary masterpieces are built. Imagin extracte sinking your teeth into a warm, freshly baked slice, its crust giving way to a tender, airy crum extractb that cradles your favorite fillings. This is the experience we’re aiming for – a homemade bread so delicious and perfectly textured that it elevates everything from a simple beef ham and cheese to a gourmet BLT. People adore homemade bread for its unparalleled freshness, satisfying aroma, and the incredible sense of accomplishment that comes with pulling a golden loaf from the oven. What makes this particular recipe for the best sandwich bread so special is its approachable method, guaranteeing a consistently wonderful result even for novice bakers, ensuring your sandwiches will never be ordinary again.
The Ultimate Guide to Creating the Best Sandwich Bread
Why This Recipe Will Be Your Go-To
Ingredients:
- 3/4 Cup Warm Water (around 105-115°F or 40-46°C)
- 1/2 Cup Warm Milk (also around 105-115°F or 40-46°C)
- 1 Tbsp. Granulated Sugar
- 1 Tbsp. Brown Sugar
- 2 1/4 tsp Active Dry Yeast (this is typically one standard packet)
- 2 Tbs Olive Oil, plus extra for greasing
- 1/2 tsp Salt
- 3 Cups All-Purpose Flour, plus more for dusting
Preparing the Dough for the Best Sandwich Bread
Activating the Yeast
To begin extract creating the best sandwich bread, we need to ensure our yeast is alive and ready to work its magic. In a large mixing bowl, combine the warm water and warm milk. It’s crucial that these liquids are warm but not hot, as too much heat can kill the yeast, and too little won’t activate it properly. The ideal temperature range is between 105-115°F (40-46°C). You can test this by dipping your finger in; it should feel comfortably warm, like a baby’s bath. Add both the granulated sugar and the brown sugar to the liquid mixture. These sugars are food for the yeast, helping it to bloom and create that lovely airy texture in your bread. Sprinkle the active dry yeast over the top. Do not stir at this stage; just let it sit on the surface. Allow this mixture to sit undisturbed for about 5 to 10 minutes. You should see the gin extractst begin to foam and create a creamy layer on top. This visual cue, often called “proofing” the yeast, tells you that your yeast is active and good to go. If you don’t see any foamy activity, your yeast might be old or the liquid was too hot or cold, and you’ll need to start this step again with fresh yeast.
Combining the Wet and Dry Ingredients
Once your yeast has bloomed, it’s time to incorporate the other ingredients. Gently stir the olive oil into the yeast mixture. Then, add the salt. Now, it’s time to gradually add the flour. Add about half of the 3 cups of all-purpose flour to the wet ingredients. Stir with a sturdy spoon or a spatula until just combined. You’ll notice the mixture will start to thicken considerably. Now, add the remaining flour, a little at a time, mixing until agin extractaggy dough begins to form. Don’t worry if it still seems a bit sticky at this point; that’s perfectly normal. The goal here is to incorporate the flour without adding too much, which can result in a tough loaf.
Kneading the Dough
This is where we develop the gluten, which gives our sandwich bread its structure and chew. Lightly flour a clean work surface. Turn the shaggy dough out ontogin extracte floured surface. Begin kneading the dough. This involves pushing the dough away from you with the heel of your hand, folding it over, and then pushing it away again. Rotate the dough slightly between pushes. If the dough becomes too sticky and starts to adhere to your hands or the surface, dust your hands and the work surface with a little more flour, but use it sparingly. Continue kneading for about 8 to 10 minutes. The dough will transform from sticky and rough to smooth, elastic, and soft. You’ll know it’s ready when you can gently stretch a small piece of the dough thin enough to see light through it without it tearing – this is called the “windowpane test.” This step is crucial for achieving that perfect, soft crum extractb in your best sandwich bread.
First Rise and Shaping
The First Proofing
Lightly grease a clean, large bowl with a little extra olive oil. Place the kneaded dough into the oiled bowl, turning it to coat all sides with the oil. This prevents the dough from drying out as it rises. Cover the bowl tightly with plastic wrap or a clean kitchen towel. Find a warm, draft-free place for the dough to rise. This could be inside a slightly warmed (but turned off) oven, or simply on your countertop on a warm day. Allow the dough to rise until it has doubled in size, which typically takes about 1 to 1.5 hours, depending on the warmth of your environment. You can gently poke the dough with your finger; if the indentation remains, it’s ready for the next step.
Shaping the Loaf
Once the dough has doubled, gently punch it down to release the air that has accumulated inside. Turn the dough out onto a lightly floured surface again. Gently shape the dough into your desired loaf form. For a classic sandwich bread shape, you’ll want to form it into a rough rectangle. Fold the top third of the rectangle down towards the center, then fold the bottom third up over the first fold, creating a tri-fold. Then, starting from one end, tightly roll the dough up like a jelly roll. Pinch the seam to seal it securely. Tuck the ends under to create a neat, compact loaf. Place the shaped dough into a greased 9×5 inch loaf pan, with the seam side down.
Second Rise and Baking
The Second Proofing
Cover the loaf pan loosely with plastic wrap or a clean kitchen towel. Again, place it in a warm, draft-free spot to allow the dough to rise for a second time. This rise will be shorter than the first, typically taking about 30 to 45 minutes. The dough should rise about 1 to 1.5 inches above the rim of the pan. While the dough is proofing for the second time, preheat your oven to 375°F (190°C). It’s important to have the oven fully preheated before baking to ensure an even cook.
Baking the Bread
Once the dough has completed its second rise and the oven is preheated, carefully place the loaf pan into the center rack of the oven. Bake for 30 to 35 minutes. The top of the bread should be a beautiful golden brown, and if you tap the bottom of the loaf, it should sound hollow. If the top is browning too quickly before the inside is cooked, you can loosely tent it with aluminum foil. To ensure it’s cooked through, you can also use an instant-read thermometer; the internal temperature should be around 190-200°F (88-93°C).
Cooling the Bread
As soon as the bread is out of the oven, carefully remove it from the loaf pan and place it on a wire cooling rack. It’s tempting to slice into it immediately, but allowing the bread to cool completely is vital. This process allows the steam inside to escape and the internal structure to set. Cutting into hot bread can result in a gummy texture. Let it cool for at least 1 hour, or preferably longer, before slicing. This cooling period is the final step in achieving that wonderfully soft and fluffy texture that makes this the best sandwich bread.
Conclusion:
And there you have it – your guide to baking the Best Sandwich Bread! We’ve walked through each step, from activating the yeast to achieving that perfect golden-brown crust. This recipe is designed to be straightforward, yielding a wonderfully soft and fluffy loaf that’s ideal for all your favorite sandwich creations. Whether you’re packing lunches for school or work, or simply enjoying a quiet afternoon tea, this homemade bread is sure to impress.
For serving suggestions, this Best Sandwich Bread is truly a blank canvas. Enjoy it toasted with butter and jam for breakfast, piled high with deli meats and cheese for a hearty lunch, or even as the base for French toast. Don’t be afraid to experiment with variations! You can easily incorporate herbs like rosemary or thyme into the dough for an aromatic twist, or add a handful of seeds for extra texture and flavor. The possibilities are endless! We encourage you to get baking and discover the joy of fresh, homemade bread. Happy baking!
Frequently Asked Questions:
Q1: How long does the Best Sandwich Bread stay fresh?
Properly stored, this Best Sandwich Bread will stay fresh at room temperature for about 3-4 days. For longer storage, slice the bread and freeze it in an airtight bag or container. It can be frozen for up to 3 months, and the slices can be toasted directly from frozen.
Q2: Can I make this Best Sandwich Bread recipe without a stand mixer?
Absolutely! While a stand mixer makes kneading easier, you can achieve excellent results by hand. Knead the dough on a lightly floured surface for about 10-15 minutes, or until it’s smooth and elastic. It requires a little more effort, but the delicious reward is well worth it!
Best Sandwich Bread Recipe-Easy Homemade Soft Loaf
An easy recipe for a soft, homemade sandwich bread loaf that’s perfect for everyday use.
Ingredients
-
3/4 Cup Warm Water
-
1/2 Cup Warm Milk
-
1 Tbsp. Granulated Sugar
-
1 Tbsp. Brown Sugar
-
2 1/4 tsp Active Dry Yeast
-
2 Tbs Olive Oil
-
1/2 tsp Salt
-
3 Cups All-Purpose Flour
Instructions
-
Step 1
Activate the yeast by combining warm water (105-115°F), warm milk, granulated sugar, and brown sugar in a large bowl. Sprinkle yeast on top and let sit for 5-10 minutes until foamy. -
Step 2
Stir in olive oil and salt into the yeast mixture. Gradually add flour, mixing until a shaggy dough forms. -
Step 3
Knead the dough on a lightly floured surface for 8-10 minutes until smooth and elastic. Perform the windowpane test to ensure gluten development. -
Step 4
Place the kneaded dough in a greased bowl, cover, and let rise in a warm place for 1-1.5 hours, or until doubled in size. -
Step 5
Punch down the dough, shape it into a loaf, and place it seam-side down in a greased 9×5 inch loaf pan. -
Step 6
Cover the loaf pan and let the dough rise again for 30-45 minutes. Preheat oven to 375°F (190°C) during this time. -
Step 7
Bake for 30-35 minutes, or until golden brown and the internal temperature reaches 190-200°F (88-93°C). -
Step 8
Remove bread from the pan and cool completely on a wire rack before slicing to achieve the best texture.
Important Information
Nutrition Facts (Per Serving)
It is important to consider this information as approximate and not to use it as definitive health advice.
Allergy Information
Please check ingredients for potential allergens and consult a health professional if in doubt.


Leave a Comment