
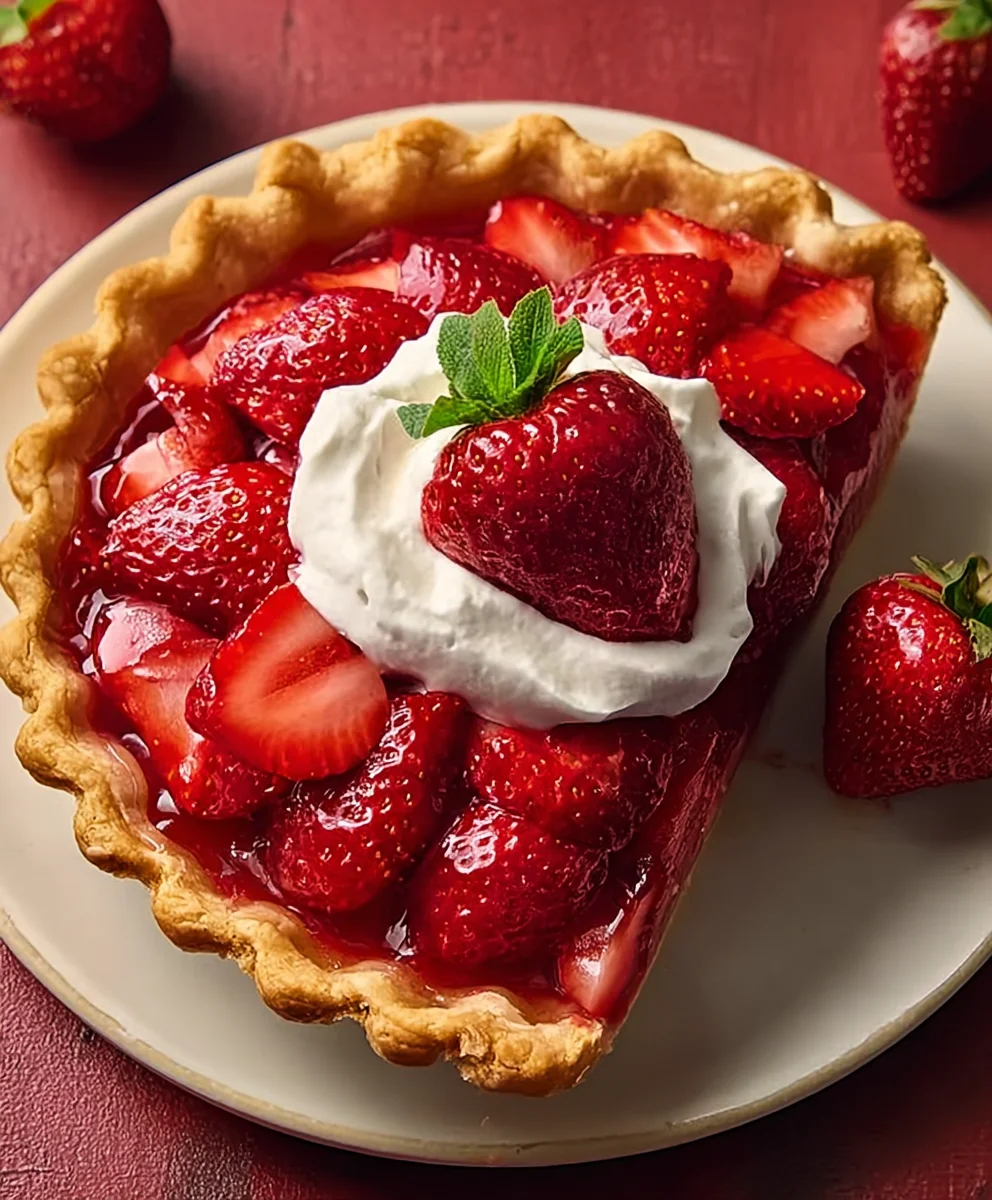
Strawberry Pie holds a special place in the hearts of many, and for good reason. There’s something undeniably magical about the vibrant ruby-red filling, bursting with the sweet, slightly tart essence of fresh summer strawberries, all cradled within a flaky, golden crust. It’s a dessert that evokes memories of sun-drenched afternoons, family gatherings, and pure, unadulterated joy. What truly sets a remarkable Strawberry Pie apart is the perfect balance of textures and flavors – the tender fruit, the glossy, homemade glaze that enhances its natural sweetness without overpowering it, and that buttery, crisp pastry that shatters with every bite. This isn’t just a pie; it’s an experience, a celebration of the season’s finest produce, and a testament to the simple pleasure of a perfectly executed classic. Get ready to discover how to create your own unforgettable Strawberry Pie that will have everyone asking for seconds!
Ingredients:
- 1 pre-baked pie crust
- 1 1/2 pounds fresh strawberries, hulled and halved
- 1 cup granulated sugar
- 3 tablespoons cornstarch
- 1/2 cup water
- 1 tablespoon fresh lemon juice
- Whipped cream for garnish (optional)
Preparing the Filling
This part is crucial for a delicious and well-set Strawberry Pie. We’re going to create a beautiful, glossy filling that perfectly complements the sweetness of the fresh strawberries.
In a medium saucepan, combine the granulated sugar and cornstarch. Whisk them together thoroughly until there are no lumps of cornstarch. This dry mixture helps prevent the cornstarch from clumping when we add the liquid. It’s a simple step, but it makes a big difference in achieving a smooth filling.
Next, gradually whisk in the 1/2 cup of water into the sugar and cornstarch mixture. Continue whisking until everything is well combined and you have a smooth, milky liquid. It’s important to do this gradually to ensure the cornstarch fully dissolves.
Place the saucepan over medium heat. Stir the mixture constantly with a whisk or a wooden spoon. You’ll notice it starting to thicken as it heats up. Keep stirring to prevent any scorching at the bottom of the pan. The goal is to bring the mixture to a gentle boil.
Once the mixture begins to boil, let it bubble gently for about 1 to 2 minutes, continuing to stir. This cooking time is essential for activating the cornstarch’s thickening power and ensuring the filling will set properly once cooled. The mixture should become quite thick and translucent, similar to a thick syrup.
Remove the saucepan from the heat. Now, stir in the 1 tablespoon of fresh lemon juice. The lemon juice not only adds a bright, zesty flavor that balances the sweetness of the strawberries but also helps to enhance the vibrant red color of the fruit. Give it a good stir to incorporate the lemon juice evenly. Let this mixture cool slightly for about 5-10 minutes before proceeding. You don’t want it piping hot when you add the strawberries, as this can make them too mushy.
Assembling the Strawberry Pie
With our perfectly thickened filling base ready, it’s time to bring our Strawberry Pie to life by incorporating the beautiful fresh strawberries.
Gently add the hulled and halved fresh strawberries to the slightly cooled cornstarch mixture in the saucepan. Use a large spoon or a spatula to carefully fold the strawberries into the thickened liquid. Be gentle so as not to break up the strawberries too much; we want them to remain mostly intact for a delightful texture in every bite. Ensure each strawberry half is coated evenly with the glossy filling.
Now, pour the strawberry and filling mixture into the pre-baked pie crust. Spread the mixture evenly, ensuring the strawberries are distributed throughout the crust. You can gently shake the pie or use your spatula to level the surface.
Chilling and Setting
This is arguably the most important step for a perfect Strawberry Pie: patience. Once your pie is assembled, it needs time to chill and set.
Carefully transfer the assembled Strawberry Pie to the refrigerator. Allow it to chill for at least 3-4 hours, or preferably overnight. This extended chilling time is crucial for the cornstarch to fully set the filling, creating a firm yet tender texture that slices cleanly. If you try to cut into it too soon, the filling will be runny.
Serving Your Masterpiece
After the pie has had ample time to chill and set beautifully, it’s ready to be enjoyed!
To serve, carefully remove the Strawberry Pie from the refrigerator. If you are using whipped cream, whip some heavy cream with a touch of sugar and vanilla extract until soft peaks form, or use store-bought whipped cream. Dollop generous amounts of whipped cream on top of each slice, or serve a dollop alongside each piece. The creamy, airy texture of the whipped cream is a delightful contrast to the sweet, slightly tart strawberry filling and the crisp pie crust.
This homemade Strawberry Pie is best enjoyed chilled, offering a refreshing and classic dessert experience that’s perfect for any occasion. The combination of fresh, vibrant strawberries and a perfectly set, glossy filling makes this a true crowd-pleaser.
Conclusion:
You’ve now got everything you need to create a truly delightful Strawberry Pie! We’ve walked through each step, from selecting the freshest strawberries to achieving that perfect golden crust. This classic dessert is a fantastic way to showcase the sweet, vibrant flavor of summer berries. Whether you’re a seasoned baker or just starting out, I encourage you to give this recipe a try. The satisfaction of pulling a beautifully baked Strawberry Pie from your oven is incredibly rewarding.
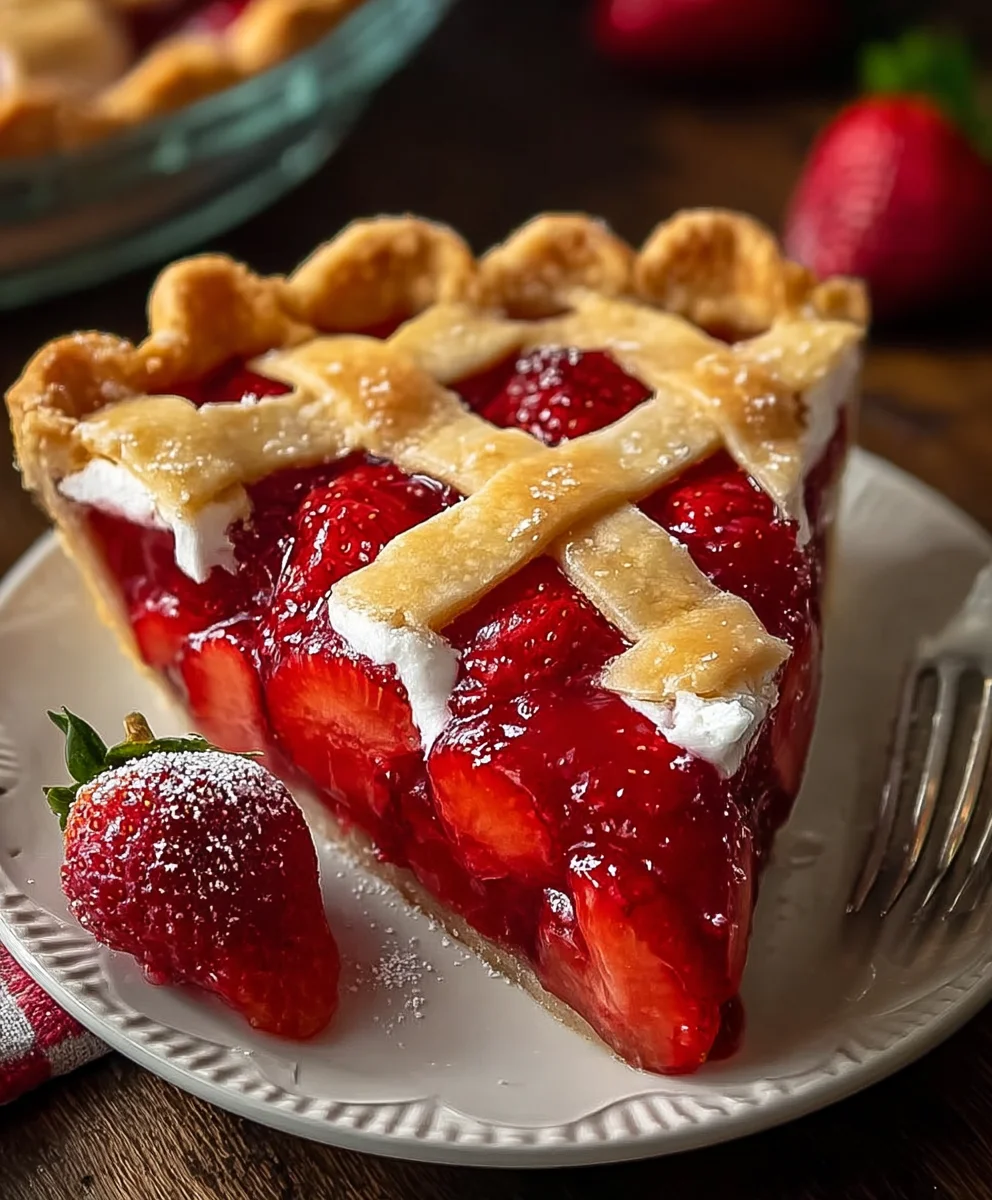
For serving suggestions, a dollop of fresh whipped cream or a scoop of vanilla bean ice cream is the quintessential accompaniment. For variations, consider adding a hint of lemon zest to the filling for an extra bright note, or a sprinkle of sugar mixed with cinnamon on the crust for a delightful crunch. You can also experiment with a lattice top or a crumb topping if you prefer. Don’t be afraid to make this Strawberry Pie your own!
Frequently Asked Questions:
Can I use frozen strawberries for this Strawberry Pie?
Yes, you can use frozen strawberries, but it’s important to thaw them completely and drain off as much excess liquid as possible. This prevents the pie from becoming too watery. You might need to adjust the amount of cornstarch slightly if there’s still a lot of liquid.
How do I prevent a soggy bottom crust?
To prevent a soggy bottom crust, ensure your oven is preheated properly and bake the pie on the lowest rack to allow for even heat distribution. Blind baking the crust for the first 10-15 minutes before adding the filling can also significantly help. Using a hot baking sheet or pizza stone can also aid in crisping the bottom.
Best Strawberry Pie Recipe
An easy and delicious homemade strawberry pie with a perfectly set, glossy filling and fresh strawberries.
Ingredients
-
1 pre-baked pie crust
-
1 1/2 pounds fresh strawberries, hulled and halved
-
1 cup granulated sugar
-
3 tablespoons cornstarch
-
1/2 cup water
-
1 tablespoon fresh lemon juice
-
Whipped cream for garnish (optional)
Instructions
-
Step 1
In a medium saucepan, whisk together granulated sugar and cornstarch until no lumps remain. Gradually whisk in the water until smooth. -
Step 2
Place the saucepan over medium heat and stir constantly until the mixture comes to a gentle boil. Let it bubble for 1-2 minutes, stirring, until thick and translucent. -
Step 3
Remove from heat and stir in fresh lemon juice. Let cool slightly for 5-10 minutes. -
Step 4
Gently fold the hulled and halved strawberries into the cooled cornstarch mixture, ensuring each piece is coated. -
Step 5
Pour the strawberry mixture into the pre-baked pie crust and spread evenly. -
Step 6
Chill the pie in the refrigerator for at least 3-4 hours, or preferably overnight, until the filling is set. -
Step 7
Serve chilled, garnished with whipped cream if desired.
Important Information
Nutrition Facts (Per Serving)
It is important to consider this information as approximate and not to use it as definitive health advice.
Allergy Information
Please check ingredients for potential allergens and consult a health professional if in doubt.

Leave a Comment