
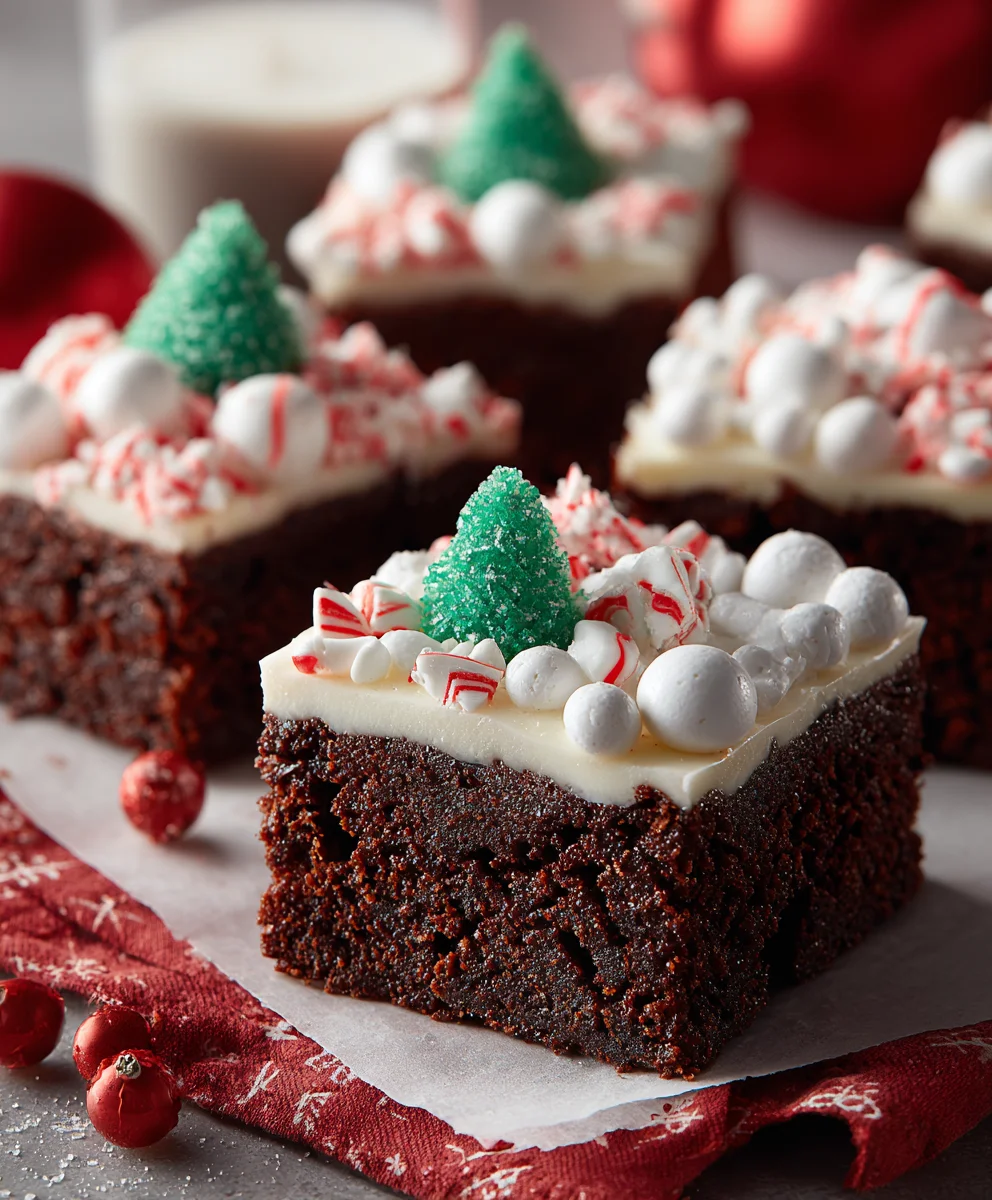
Frosted Christmas Brownies are more than just a holiday treat; they’re a gateway to warm memories and festive cheer. Imagine sinking your teeth into a rich, fudgy brownie base, perfectly balanced with a velvety smooth, sweet frosting. It’s that quintessential holiday indulgence that brings smiles to faces around the dessert table. Why do we all adore these classic delights? Perhaps it’s the comforting aroma that fills the kitchen as they bake, or the sheer visual appeal of their festive decoration. What truly makes Frosted Christmas Brownies so special, however, is their versatility and the joy they inspire. They’re a canvas for creativity, allowing for endless variations in frosting colors and toppings, from delicate peppermint swirls to cheerful sprinkles. This recipe captures that magic, promising a batch that will disappear faster than Santa’s sleigh on Christmas Eve.
Ingredients:
- 2 cups all-purpose flour
- 1 teaspoon baking powder
- 1/2 teaspoon salt
- 1 cup (2 sticks) unsalted butter, softened
- 1 3/4 cups granulated sugar
- 2 large eggs, at room temperature
- 1 teaspoon vanilla extract
- 1 cup unsweetened cocoa powder
- 1/2 cup milk (whole or 2%)
- 1/2 cup semi-sweet chocolate chips
- For the Frosting:
- 1/2 cup (1 stick) unsalted butter, softened
- 3 cups powdered sugar
- 1/4 cup unsweetened cocoa powder
- 1/3 cup milk
- 1 teaspoon vanilla extract
- Red and green sprinkles, for decoration
Preparing the Frosted Christmas Brownie Batter
First, let’s get our dry ingredients ready. In a medium bowl, whisk together the 2 cups of all-purpose flour, 1 teaspoon of baking powder, and 1/2 teaspoon of salt. Whisking ensures everything is evenly distributed, which is key for consistent brownies. Set this bowl aside for now.
Now, in a large mixing bowl, cream together the 1 cup of softened unsalted butter and 1 3/4 cups of granulated sugar. It’s important that the butter is softened, not melted, as this will create a lighter, airier texture. Beat them together with an electric mixer on medium speed until the mixture is pale yellow and fluffy, which usually takes about 3-4 minutes. This creaming process incorporates air, which also contributes to the brownie’s structure.
Next, add the 2 large eggs, one at a time, beating well after each addition. Ensure each egg is fully incorporated before adding the next. This helps to emulsify the batter, making it smooth and rich. After the eggs are in, stir in the 1 teaspoon of vanilla extract. The aroma will already start to signal a delicious treat is on its way!
In a separate small bowl, combine the 1 cup of unsweetened cocoa powder with the 1/2 cup of milk. Whisk this together until you have a smooth, thick paste. This step helps to bloom the cocoa powder, intensifying its chocolate flavor and preventing any powdery lumps in the finished brownies.
Now, gradually add the dry ingredients to the wet ingredients, alternating with the cocoa mixture. Start by adding about a third of the flour mixture, mixing on low speed until just combined. Then, add half of the cocoa mixture, mixing again until just incorporated. Continue this process, adding another third of the flour, then the remaining cocoa mixture, and finally the last third of the flour mixture. Be careful not to overmix at this stage; overmixing can develop the gluten in the flour too much, leading to tough brownies. Mix only until no streaks of flour are visible.
Finally, gently fold in the 1/2 cup of semi-sweet chocolate chips. These will provide little pockets of melted chocolate goodness throughout your Frosted Christmas Brownies.
Baking the Brownies to Perfection
Preheat your oven to 350°F (175°C). Grease and flour a 9×13 inch baking pan, or line it with parchment paper, leaving an overhang on the sides. This makes it easier to lift the brownies out once they’re baked. Pour the brownie batter into the prepared pan, spreading it evenly with a spatula.
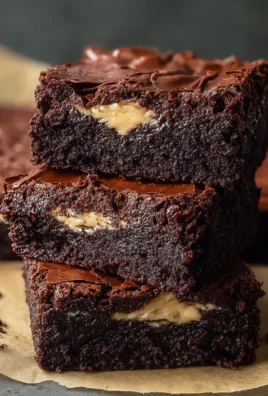
Bake for 25-30 minutes, or until a toothpick inserted into the center comes out with moist crumbs attached, but not wet batter. Keep in mind that baking times can vary depending on your oven, so it’s always best to check a few minutes early. We’re aiming for fudgy, not cakey, brownies. Once baked, remove the pan from the oven and let the brownies cool completely in the pan on a wire rack. This is a crucial step for achieving the best texture and for the frosting to set properly. Trying to frost warm brownies is a recipe for a melty mess!
Whipping Up the Christmas Frosting
While the brownies are cooling, let’s make the festive frosting. In a medium mixing bowl, beat the 1/2 cup of softened unsalted butter until smooth and creamy.
Gradually add the 3 cups of powdered sugar and 1/4 cup of unsweetened cocoa powder, alternating with the 1/3 cup of milk. Start with about a third of the powdered sugar and cocoa mixture, then a little milk, and mix on low speed until combined. Continue adding the dry ingredients and milk, mixing until the frosting is smooth and spreadable. You might need to adjust the amount of milk slightly depending on the consistency you desire; add a tablespoon at a time if it’s too thick.
Finally, stir in the 1 teaspoon of vanilla extract. Beat the frosting on medium-high speed for a minute or two until it’s light and fluffy. This gives the frosting that perfect, luscious texture.
Decorating Your Frosted Christmas Brownies
Once the brownies are completely cool, it’s time for the fun part – decorating! Spread the prepared frosting evenly over the cooled brownies using an offset spatula or a butter knife. Get it right to the edges for a polished look.
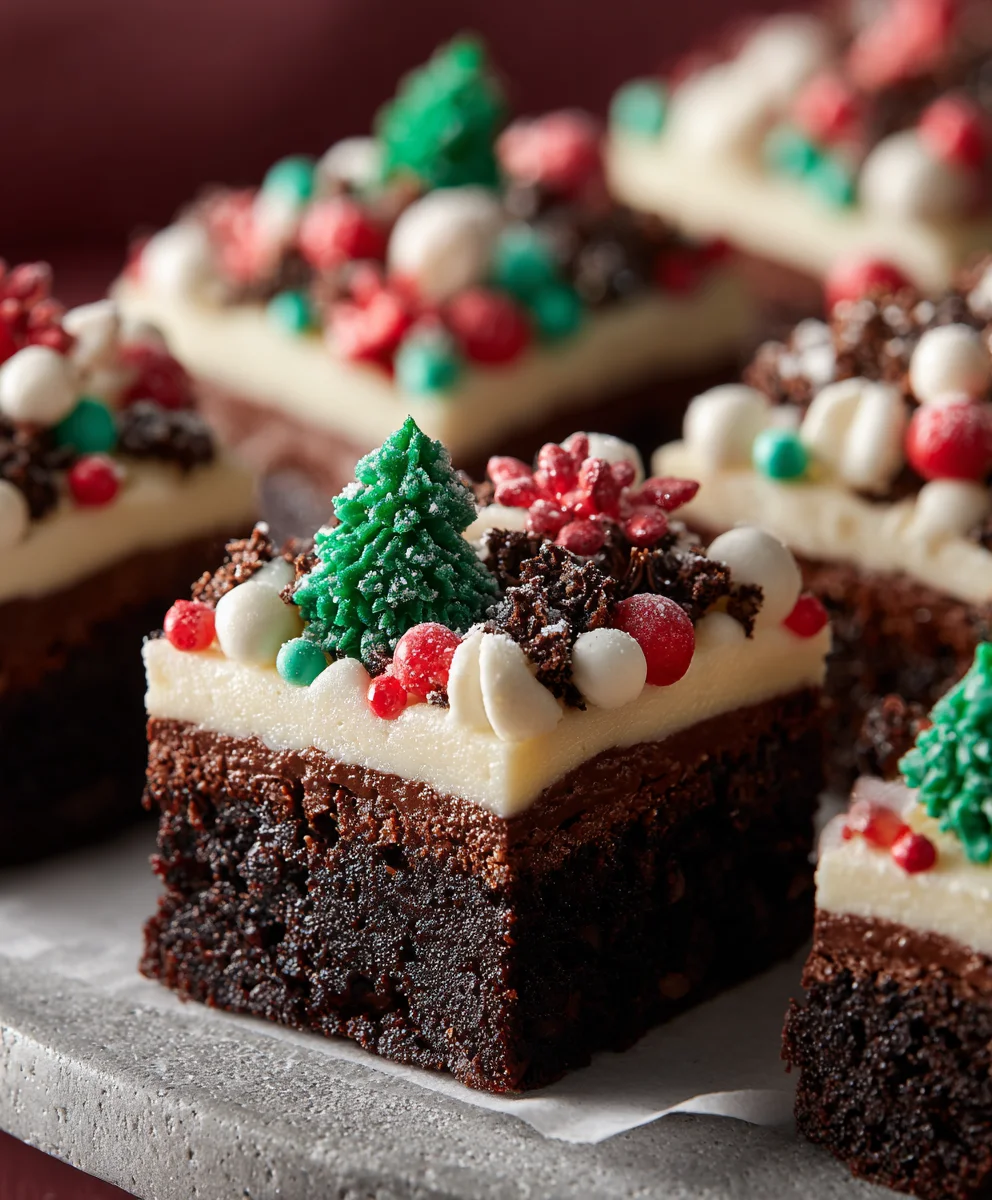
Now for the holiday cheer! Sprinkle the red and green sprinkles generously over the frosting. You can create patterns, stripes, or just a joyful scattering. Get creative and make them look as festive as possible! The sprinkles add a wonderful pop of color and a delightful crunch that complements the rich chocolate.
Once decorated, allow the frosting to set slightly before cutting the Frosted Christmas Brownies into squares. This will help ensure clean cuts and prevent the frosting from smearing. Enjoy these delightful treats for a festive gathering or as a special holiday indulgence!
Conclusion:
And there you have it – the ultimate guide to creating delightful Frosted Christmas Brownies that are sure to be a holiday showstopper! These rich, fudgy brownies, crowned with a festive, creamy frosting, are incredibly satisfying to make and even more joyous to share. The combination of the intense chocolate base and the sweet, colourful topping creates a truly memorable dessert experience. Don’t be afraid to get creative with your decorating; the more festive, the better!
For serving, these brownies are perfect on their own, but they also pair wonderfully with a scoop of vanilla bean ice cream or a glass of cold milk. They make excellent additions to any holiday cookie platter or as a special treat after a festive meal. When it comes to variations, feel free to add a pinch of peppermint extract to the batter for a minty kick, or sprinkle some chopped nuts like walnuts or pecans into the brownie mix before baking. You can also experiment with different food colouring for the frosting to match your specific holiday theme. I truly encourage you to try making these Frosted Christmas Brownies; the effort is minimal, but the impact is immense!
Frequently Asked Questions:
Can I make these brownies ahead of time?
Absolutely! Frosted Christmas Brownies can be made up to two days in advance. Store them in an airtight container at room temperature. The frosting might soften slightly if stored in a warmer environment, but they will still be delicious. For longer storage, you can refrigerate them, but allow them to come to room temperature before serving for the best texture.
What kind of frosting is best for these brownies?
The recipe uses a classic buttercream frosting, which is a fantastic choice due to its creamy texture and ability to hold its shape for decorating. However, you could also use a cream cheese frosting for a slightly tangy contrast, or even a simple chocolate ganache poured over the cooled brownies before adding decorative elements.
Frosted Christmas Brownies – Easy Festive Treat
A simple and festive brownie recipe perfect for the holiday season, featuring rich chocolate brownies topped with creamy frosting and colorful Christmas sprinkles.
Ingredients
-
2 cups all-purpose flour
-
1 teaspoon baking powder
-
1/2 teaspoon salt
-
1 cup (2 sticks) unsalted butter, softened
-
1 3/4 cups granulated sugar
-
2 large eggs
-
1 teaspoon vanilla extract
-
1 cup unsweetened cocoa powder
-
1/2 cup milk
-
1/2 cup semi-sweet chocolate chips
-
1/2 cup (1 stick) unsalted butter, softened (for frosting)
-
3 cups powdered sugar
-
1/4 cup unsweetened cocoa powder (for frosting)
-
1/3 cup milk (for frosting)
-
1 teaspoon vanilla extract (for frosting)
-
Red and green sprinkles
Instructions
-
Step 1
Preheat oven to 350°F (175°C). Grease and flour a 9×13 inch baking pan or line with parchment paper. In a medium bowl, whisk together flour, baking powder, and salt. In a large bowl, cream softened butter and sugar until pale and fluffy. Beat in eggs one at a time, then stir in vanilla. -
Step 2
In a small bowl, combine cocoa powder and milk until a smooth paste forms. Gradually add the dry ingredients to the wet ingredients, alternating with the cocoa mixture, mixing on low speed until just combined. Do not overmix. -
Step 3
Gently fold in the semi-sweet chocolate chips. Pour the batter into the prepared pan and spread evenly. Bake for 25-30 minutes, or until a toothpick inserted into the center comes out with moist crumbs attached. -
Step 4
Let the brownies cool completely in the pan on a wire rack. While cooling, prepare the frosting: beat softened butter until smooth. Gradually add powdered sugar and cocoa powder, alternating with milk, mixing until smooth and spreadable. -
Step 5
Stir in vanilla extract and beat frosting on medium-high speed until light and fluffy. Spread frosting evenly over the completely cooled brownies. Sprinkle generously with red and green sprinkles. -
Step 6
Allow the frosting to set slightly before cutting into squares. Enjoy!
Important Information
Nutrition Facts (Per Serving)
It is important to consider this information as approximate and not to use it as definitive health advice.
Allergy Information
Please check ingredients for potential allergens and consult a health professional if in doubt.
Leave a Comment