
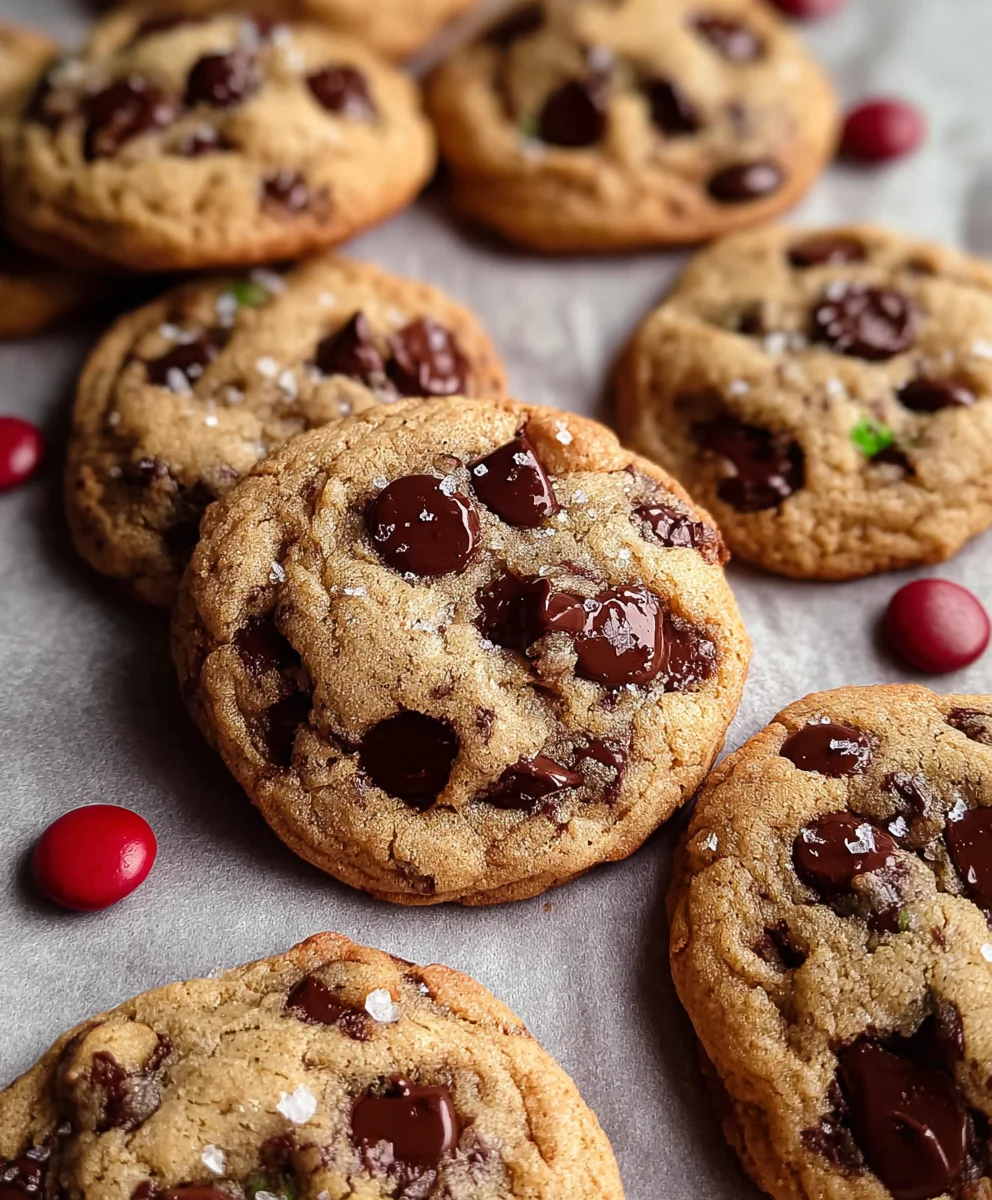
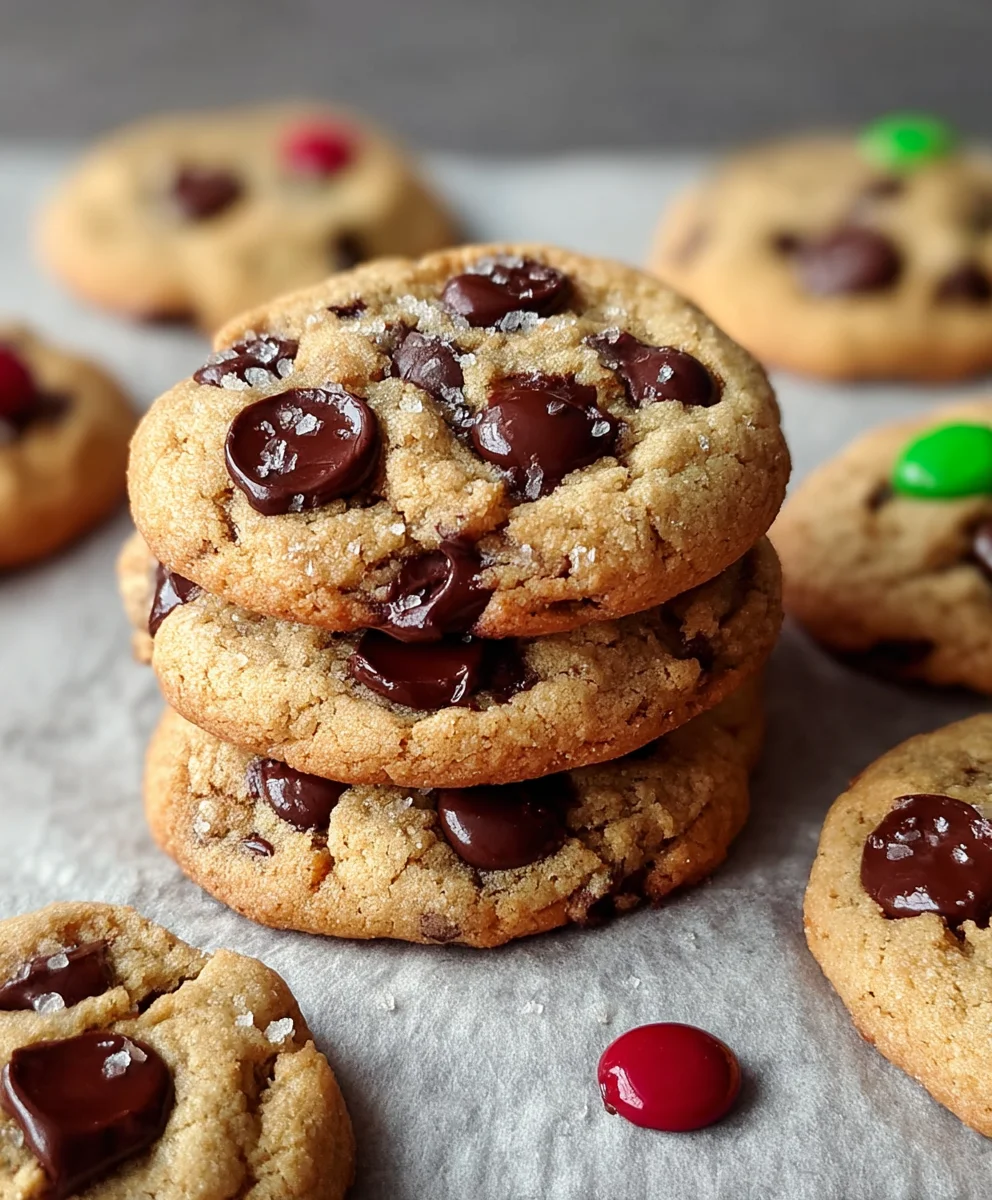
Vegan Chocolate Chip Cookies are more than just a dessert; they’re a warm hug on a plate, a burst of nostalgia, and a testament to how incredibly delicious plant-based baking can be. Who doesn’t adore the comforting aroma of freshly baked chocolate chip cookies wafting through the house? It’s a universal signal of pure joy and simple pleasures. What truly sets these particular vegan chocolate chip cookies apart is their perfect balance of chewy centers, slightly crisp edges, and those glorious pockets of melted, decadent chocolate. They manage to capture all the classic charm of the origin extractal without any dairy or eggs, proving that you don’t need animal products to achieve that quintessential cookie perfection. Prepare to be amazed by how easily these become your new go-to for a truly satisfying sweet treat.
Ingredients:
- 1 1/3 cups gluten-free flour
- 3/4 teaspoon baking powder
- 3/8 teaspoon baking soda
- 3/4 pinch sea salt
- 1/4 cup classic monkfruit sweetener
- 3/8 cup plus 2 tablespoons brown monkfruit sweetener
- 1/4 cup plus 2 tablespoons avocado oil
- 1/4 cup almond milk
- 3/4 teaspoon vanilla extract
- 3/8 cup vegan dark chocolate chips
Creaming the Wet Ingredients
Step 1: Combine the Sweeteners and Avocado Oil
In a large mixing bowl, we’ll start by combining our dry sweeteners with the wet fat. Add the 1/4 cup of classic monkfruit sweetener and the 3/8 cup plus 2 tablespoons of brown monkfruit sweetener to your bowl. Then, measure out 1/4 cup plus 2 tablespoons of avocado oil and pour it directly over the sweeteners. Now, grab a whisk or an electric mixer if you have one. Begin extract to mix these ingredients together. The goal here is to cream them until the mixture is light and fluffy, much like you would with butter and sugar in traditional baking. This process incorporates air into the mixture, which will contribute to the texture of our vegan chocolate chip cookies. Don’t rush this step; it might take a few minutes, especially if you’re using a whisk. You’re looking for a pnon-alcoholic ale, somewhat aerated consistency.
Step 2: Incorporate the Almond Milk and Vanilla Extract
Once your sweeteners and oil are well creamed, it’s time to add the remaining wet ingredients. Pour in 1/4 cup of almond milk and 3/4 teaspoon of vanilla extract into the same bowl. Continue to whisk or mix until everything is thoroughly combined and you have a smooth, emulsified mixture. The almond milk adds a touch of moisture without being overpowering, and the vanilla extract will provide that classic comforting aroma and flavor we all love in chocolate chip cookies. Ensure there are no streaks of oil or clumps of sweetener remaining. This smooth base is crucial for evenly distributing the dry ingredients in the next phase.
Combining Dry and Wet Components
Step 3: Whisk Together the Dry Ingredients
In a separate medium-sized bowl, we’ll combine all of our dry ingredients. First, add 1 1/3 cups of gluten-free flour. Next, measure in 3/4 teaspoon of baking powder and 3/8 teaspoon of baking soda. For seasoning, we’ll add 3/4 pinch of sea salt. It’s important to whisk these dry ingredients together thoroughly. This step ensures that the leavening agents (baking powder and baking soda) and the salt are evenly distributed throughout the flour. Even distribution is key to achieving consistent lift and flavor in every cookie. Uneven distribution can lead to some cookies being too flat and others too puffy, or having pockets of saltiness. Take a minute or two to really make sure they are well incorporated.
Step 4: Gradually Add Dry to Wet Ingredients
Now comes the crucial stepgin extract bringing our wet and dry ingredients together. Gradually add the whisked dry ingredients from Step 3 to the wet ingredients mixture from Step 2. It’s best to add the dry ingredients in two or three additions, mixing gently after each addition. Use a spatula or a wooden spoon for this, folding the dry into the wet until just combined. Overmixing at this stage can develop the gluten in the flour (even in gluten-free blends, some can be sensitive), leading to tougher cookies. You want to mix just until you no longer see streaks of dry flour. The dough should start to come together and look cohesive.
Adding the Chocolate Chips and Baking
Step 5: Fold in the Vegan Dark Chocolate Chips
With our cookie dough almost ready, it’s time for the star of the show: the chocolate chips! Gently fold in 3/8 cup of vegan dark chocolate chips into the dough. Again, use your spatula or wooden spoon. Don’t overmix here; you just want to distribute the chocolate chips evenly throughout the dough. Some people like to reserve a few chocolate chips to press onto the tops of the cookies before baking for an extra visual appeal, and I often do that too! This simple addition adds those delightful pockets of melted chocolate that make these vegan chocolate chip cookies so irresistible.
Step 6: Chill the Dough and Prepare for Baking
This is a very important, often overlooked step, especially with vegan doughs. Cover the bowl with plastic wrap and refrigerate the dough for at least 30 minutes. Chilling the dough allows the fats (avocado oil) to firm up, which helps the cookies spread less during baking, resulting in a thicker, chewier cookie. It also allows the flavors to meld together more beautifully. Once the dough has chilled, preheat your oven to 350°F (175°C). Line baking sheets with parchment paper to prevent sticking. Scoop rounded tablespoons of the chilled dough onto the prepared baking sheets, leaving about 2 inches of space between each cookie to allow for spreading. If you reserved some chocolate chips, gently press a few onto the top of each cookie dough ball now.
Step 7: Bake Until Golden Brown
Place the baking sheets in your preheated oven and bake for 10-12 minutes, or until the edges are lightly golden brown and the centers still look slightly soft. It’s better to underbake slightly than to overbake for that perfect chewy texture. The cookies will continue to set as they cool. Once baked, remove the baking sheets from the oven and let the cookies cool on the sheets for 5-10 minutes before carefully transferring them to a wire rack to cool completely. This resting period on the baking sheet is crucial as it allows the cookies to firm up enough to be moved without breaking. Enjoy your delicious homemade vegan chocolate chip cookies!
Conclusion:
And there you have it – a foolproof guide to creating the most delicious Vegan Chocolate Chip Cookies! We’ve walked through each step, ensuring you can achieve that perfect balance of chewy centers and crispy edges, all without any animal products. These cookies are a testament to how satisfying and decadent plant-based baking can be. I truly hope you enjoy baking and devouring these delightful treats as much as I do.
For serving, these Vegan Chocolate Chip Cookies are phenomenal served warm with a glass of your favorite plant-based milk, or cooled and crum extractbled over vegan vanilla ice cream for an extra special dessert. They also make a fantastic addition to a picnic or potluck.
Don’t be afraid to get creative with variations! You can add a pinch of sea salt on top before baking for a sweet and salty kick, or mix in chopped nuts like walnuts or pecans for added texture. Feel free to experiment with different types of vegan chocolate chips too, such as dark, semi-sweet, or even white chocolate alternatives. Most importantly, have fun with the process and tailor them to your own taste!
Frequently Asked Questions:
Q: Can I make these Vegan Chocolate Chip Cookies gluten-free?
A: Absolutely! You can often substitute a good quality gluten-free all-purpose flour blend for the regular flour in the recipe. You might need to adjust the liquid slightly depending on the blend you use, so start with the specified amount and add a touch more if the dough seems too dry. It’s always a good idea to do a small test batch to ensure the texture is to your liking.
Q: How should I store these Vegan Chocolate Chip Cookies?
A: To keep your Vegan Chocolate Chip Cookies fresh and chewy, store them in an airtight container at room temperature. They should stay delicious for about 3-5 days. If you want them to last longer, you can freeze baked cookies in a freezer-safe bag or container for up to 2-3 months. Simply thaw them at room temperature when you’re ready to enjoy!
Best Vegan Chocolate Chip Cookies-Easy Recipe
Delicious and easy vegan chocolate chip cookies made with gluten-free flour and monkfruit sweeteners. Perfectly chewy with a hint of vanilla and rich dark chocolate.
Ingredients
-
1 1/3 cups gluten-free flour
-
3/4 teaspoon baking powder
-
3/8 teaspoon baking soda
-
3/4 pinch sea salt
-
1/4 cup classic monkfruit sweetener
-
3/8 cup plus 2 tablespoons brown monkfruit sweetener
-
1/4 cup plus 2 tablespoons avocado oil
-
1/4 cup almond milk
-
3/4 teaspoon vanilla extract
-
3/8 cup vegan dark chocolate chips
Instructions
-
Step 1
In a large mixing bowl, combine 1/4 cup classic monkfruit sweetener and 3/8 cup plus 2 tablespoons brown monkfruit sweetener with 1/4 cup plus 2 tablespoons avocado oil. Whisk or mix with an electric mixer until light and fluffy, resembling creamed butter and sugar. -
Step 2
Add 1/4 cup almond milk and 3/4 teaspoon vanilla extract to the sweetened oil mixture. Continue to whisk or mix until thoroughly combined and smooth. -
Step 3
In a separate bowl, whisk together 1 1/3 cups gluten-free flour, 3/4 teaspoon baking powder, 3/8 teaspoon baking soda, and 3/4 pinch sea salt until evenly distributed. -
Step 4
Gradually add the dry ingredients to the wet ingredients in two or three additions, mixing gently with a spatula or wooden spoon until just combined. Avoid overmixing. -
Step 5
Gently fold in 3/8 cup vegan dark chocolate chips until evenly distributed throughout the dough. -
Step 6
Cover the bowl and refrigerate the dough for at least 30 minutes. Preheat your oven to 350°F (175°C) and line baking sheets with parchment paper. -
Step 7
Scoop rounded tablespoons of chilled dough onto the prepared baking sheets, leaving about 2 inches between cookies. Bake for 10-12 minutes, or until edges are lightly golden brown and centers are slightly soft. Cool on baking sheets for 5-10 minutes before transferring to a wire rack to cool completely.
Important Information
Nutrition Facts (Per Serving)
It is important to consider this information as approximate and not to use it as definitive health advice.
Allergy Information
Please check ingredients for potential allergens and consult a health professional if in doubt.

Leave a Comment