
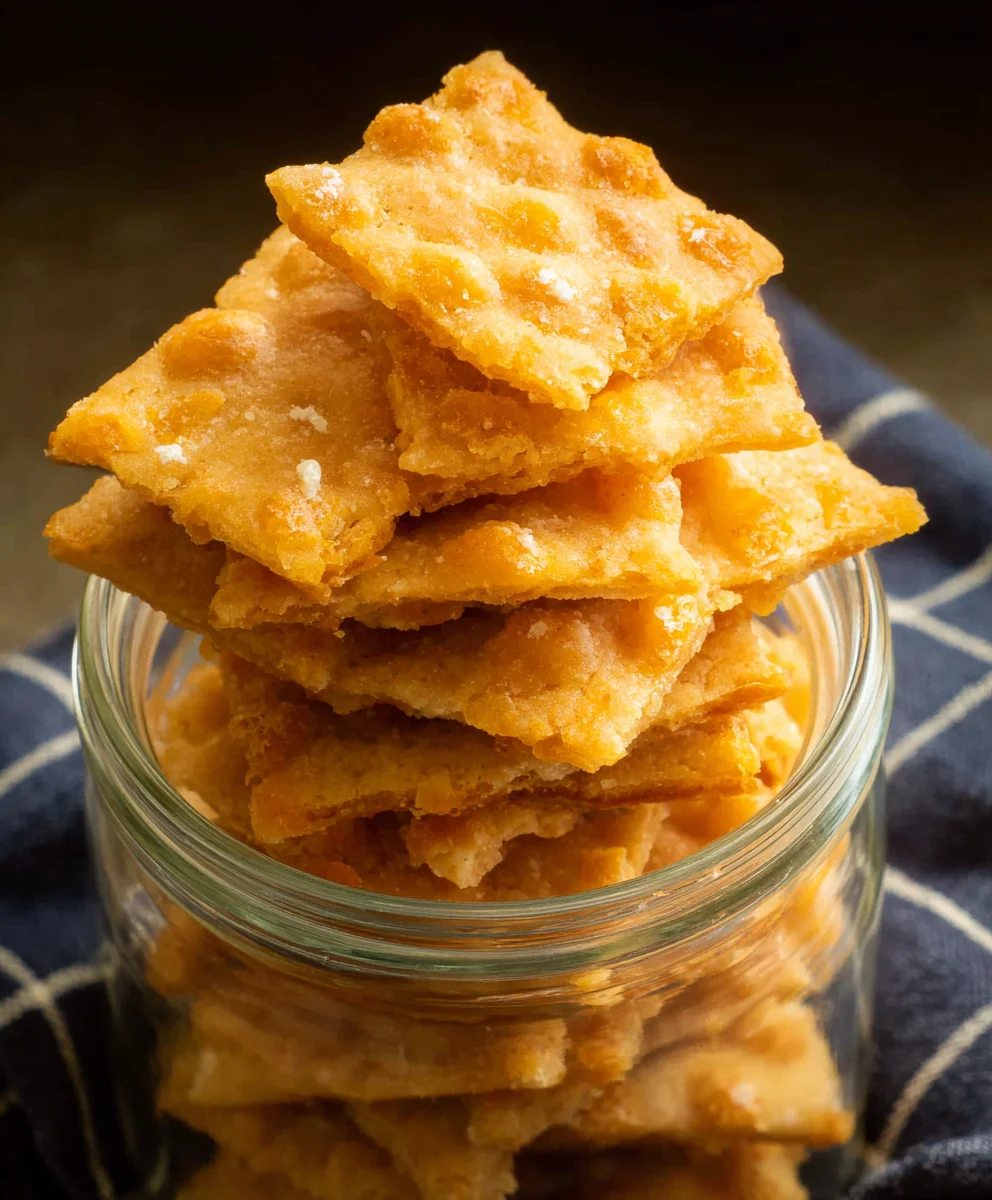
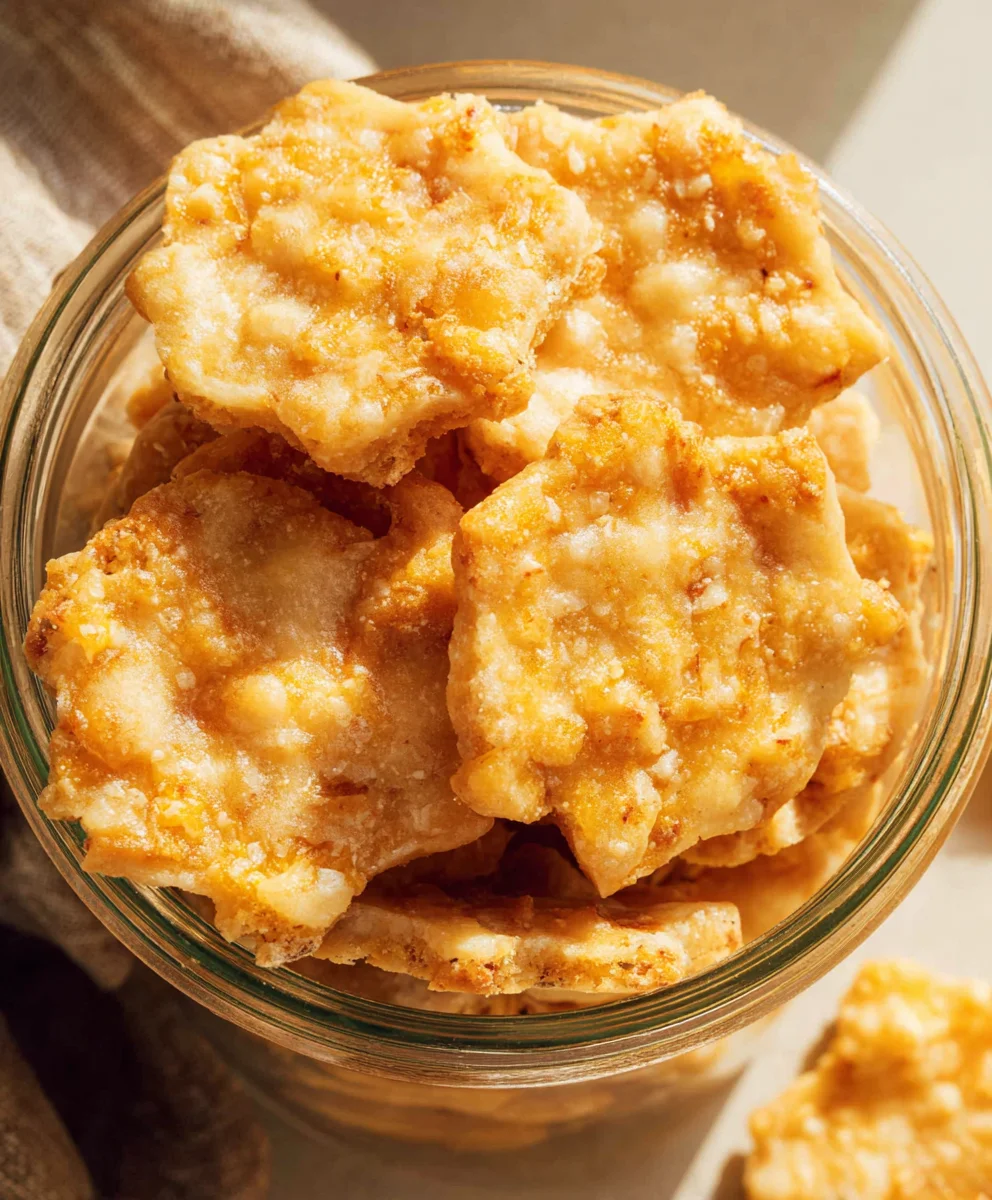
Sourdough Cheddar Crackers are more than just a simple snack; they’re a delightful testament to the magic of fermentation and the irresistible allure of sharp cheddar. We’ve all been there, reaching for that store-bought box, only to find them a little too bland, a little too brittle, and missing that certain je ne sais quoi. But what if I told you that you could create something infinitely more flavorful, satisfying, and downright addictive right in your own kitchen? These aren’t your average crackers. The subtle tang of sourdough starter weaves a complex flavor profile that beautifully complements the nutty, savory depth of the cheddar cheese. They possess a perfectly crisp exterior with a satisfyingly chewy crum extractb, a textural contrast that makes each bite a miniature celebration. People adore these because they offer that homemade goodness, that comforting aroma, and a taste that’s a step above anything you can buy. They are special because they harness the power of time and simple ingredients to create a cracker that’s truly unforgettable.
Ingredients:
- 2 tablespoons butter, softened
- 1 cup all-purpose flour
- ¾ cup discard sourdough starter
- ¾ cup shredded sharp cheddar cheese
- Kosher salt, for sprinkling
Preparing the Dough
Step 1: Creaming the Butter and Cheese
First, let’s get our base for these delicious sourdough cheddar crackers ready. In a medium-sized mixing bowl, combine the softened butter and the shredded sharp cheddar cheese. I like to use softened butter because it creams much more easily with the cheese, creating a smooth and cohesive mixture that will form the foundation of our crackers. Use a spatula or a wooden spoon to really mash and blend these two ingredients together until they are well combined and no distinct streaks of butter remain. The goal here is to have a creamy, slightly uniform paste. This step is crucial for ensuring an even distribution of fat and flavor throughout the crackers. Don’t rush this part; take your time to really work the butter and cheese together. The better you incorporate them now, the better your cracker dough will be.
Step 2: Incorporating the Sourdough Starter and Flour
Once your butter and cheese mixture is smooth, it’s time to introduce the star of the show – the sourdough discard starter. Add the ¾ cup of discard sourdough starter to the bowl. Sourdough discard adds a wonderful tangy depth and a delightful chegrape juicess to the crackers that you just can’t get with regular recipes. Mix this in with the butter and cheese until it’s mostly incorporated. It might look a bit lumpy or shaggy at this stage, and that’s perfectly okay. Next, gradually add the 1 cup of all-purpose flour. It’s best to add the flour in two or three additions, mixing thoroughly after each addition. This helps to prevent the flour from clumping and makes it easier to combine everything evenly. Continue mixing until a cohesive dough begin extracts to form. It will likely be slightly sticky, but it should start to pull away from the sides of the bowl. If it seems excessively wet, you can add a tiny bit more flour, about a teaspoon at a time, but be careful not to add too much, as this can lead to tough crackers.
Shaping and Baking the Crackers
Step 3: Chilling and Rolling the Dough
Now, we need to let our dough relax and firm up. Turn the dough out onto a clean, lightly floured surface. Gently knead the dough a few times, just enough to bring it together into a ball. Don’t overwork it at this stage, as we want to keep the dough tender. Once it’s formed into a ball, flatten it slightly into a disk. Wrap this disk tightly in plastic wrap and refrigerate it for at least 30 minutes. Chilling the dough is an essential step. It makes the dough much easier to roll out thinly without it sticking to your rolling pin or the surface. A cold dough will hold its shape better and result in crisper crackers. After chilling, unwrap the dough and place it back on your lightly floured surface. You can also place a piece of parchment paper on top of the dough and another piece on your rolling pin to further prevent sticking. Roll the dough out as thinly as you can. Aim for a thickness of about 1/16th of an inch. The thinner the dough, the crispier your crackers will be. You want them to be almost translucent.
Step 4: Cutting and Seasoning the Crackers
Once your dough is rolled out thinly, it’s time to create individual crackers. You can use a pizza cutter, a sharp knife, or even cookie cutters to make your desired shapes. I often opt for simple squares or rectangles for ease. After cutting your shapes, carefully transfer them to a baking sheet lined with parchment paper. It’s a good idea to leave a little space between each cracker to ensure even baking. Now for the final touch before baking: the salt! Lightly sprinkle the tops of the cut crackers with kosher salt. The coarse crystals of kosher salt provide a delightful textural contrast and a burst of savory flavor that complements the sharp cheddar perfectly. You can also add a sprinkle of black pepper or even a pinch of red pepper flakes at this stage if you like a little extra zing.
Step 5: Baking to Golden Perfection
Preheat your oven to 375°F (190°C). Place the baking sheet with the prepared crackers into the preheated oven. Bake for approximately 12 to 15 minutes, or until the crackers are golden brown and firm. Keep a close eye on them, especially during the last few minutes, as thin crackers can go from perfectly baked to burnt very quickly. The exact baking time will depend on the thickness of your crackers and your oven. You want them to be crisp all the way through. If you notice some crackers browning faster than others, you can carefully remove them from the baking sheet and let the remaining ones continue to bake. Once baked, remove the baking sheet from the oven and let the sourdough cheddar crackers cool completely on the sheet before handling them. They will continue to crisp up as they cool.
Conclusion:
You’ve now got all the knowledge you need to create your own delicious Sourdough Cheddar Crackers! These are more than just a snack; they’re a testament to the magic of sourdough and the irresistible combination of sharp cheddar. We’ve walked through each step, from feeding your starter to achieving that perfect crispness. Imagin extracte these warm from the oven, filling your kitchen with a savory aroma, or beautifully arranged on a cheese board. They’re incredibly versatile and satisfying, offering a unique tangy depth that store-bought crackers simply can’t match. Don’t be afraid to experiment – baking is all about discovery!
For serving, consider pairing them with your favorite dips, cheeses, or charcuterie. They also make a fantastic accompaniment to soups and salads. For variations, feel free to experiment with different types of cheese like Gruyère or a spicy pepper jack. Adding a pinch of smoked paprika or a sprinkle of fresh herbs like rosemary or chives can also elevate the flavor profile.
So, gather your ingredients, get your hands a little floured, and enjoy the rewarding process of making Sourdough Cheddar Crackers from scratch. I encourage you to embrace the sourdough journey and savor every crum extractb of these homemade delights!
Frequently Asked Questions:
Q1: My sourdough starter isn’t very active. Can I still make these Sourdough Cheddar Crackers?
While an active and bubbly sourdough starter is ideal for the best flavor and rise, you can often still make these crackers with a less vigorous starter. You might find the texture is slightly less open, but the cheddar and other flavors will still shine through. Ensure your starter is at least fed a few hours before you plan to mix your dough, and it should still contribute some tang and structure.
Q2: Can I make Sourdough Cheddar Crackers gluten-free?
Adapting this recipe to be gluten-free would require significant changes to the flour blend and potentially the hydration levels. Standard gluten-free flours may not behave the same way as wheat flour in cracker recipes. I haven’t personally tested a gluten-free version, and it would likely involve a different recipe entirely to achieve the desired crisp texture.
Cheesy Sourdough Crackers-Homemade & Delicious
Delicious homemade sourdough crackers bursting with sharp cheddar cheese flavor, perfect for snacking or serving.
Ingredients
-
2 tablespoons butter, softened
-
1 cup all-purpose flour
-
¾ cup discard sourdough starter
-
¾ cup shredded sharp cheddar cheese
-
Kosher salt, for sprinkling
Instructions
-
Step 1
In a medium bowl, cream together softened butter and shredded sharp cheddar cheese until smooth and well combined, forming a creamy paste. -
Step 2
Add the discard sourdough starter to the butter and cheese mixture and mix until mostly incorporated. Gradually add the all-purpose flour in two to three additions, mixing until a cohesive, slightly sticky dough forms. -
Step 3
Turn the dough onto a lightly floured surface, knead gently into a ball, flatten into a disk, wrap tightly in plastic wrap, and refrigerate for at least 30 minutes. -
Step 4
On a lightly floured surface, roll the chilled dough out as thinly as possible, about 1/16th of an inch thick. Cut into desired shapes using a pizza cutter, knife, or cookie cutters. -
Step 5
Transfer the cut crackers to a parchment-lined baking sheet, leaving some space between them. Lightly sprinkle the tops with kosher salt. -
Step 6
Preheat oven to 375°F (190°C). Bake for 12 to 15 minutes, or until golden brown and firm. Cool completely on the baking sheet before handling.
Important Information
Nutrition Facts (Per Serving)
It is important to consider this information as approximate and not to use it as definitive health advice.
Allergy Information
Please check ingredients for potential allergens and consult a health professional if in doubt.


Leave a Comment