
Daisy Lemon Meringue Pies are a delightful testament to the power of simple, bright flavors and cloud-like textures. There’s something inherently cheerful about a classic lemon meringue pie, isn’t there? It’s a dessert that instantly conjures sunshine and happy occasions. The irresistible allure lies in its perfect balance: a sharp, zesty lemon curd cutting through the sweetness, all crowned with a billowy, toasted meringue that melts in your mouth. This Daisy Lemon Meringue Pie recipe takes that beloved experience and elevates it just a touch, making it a showstopper for any gathering or a perfectly indulgent treat for yourself. You’ll love how the tangy lemon filling, encased in a crisp, buttery crust, harmonizes with the ethereal sweetness of the meringue. It’s a taste of pure bliss, guaranteed to bring smiles.
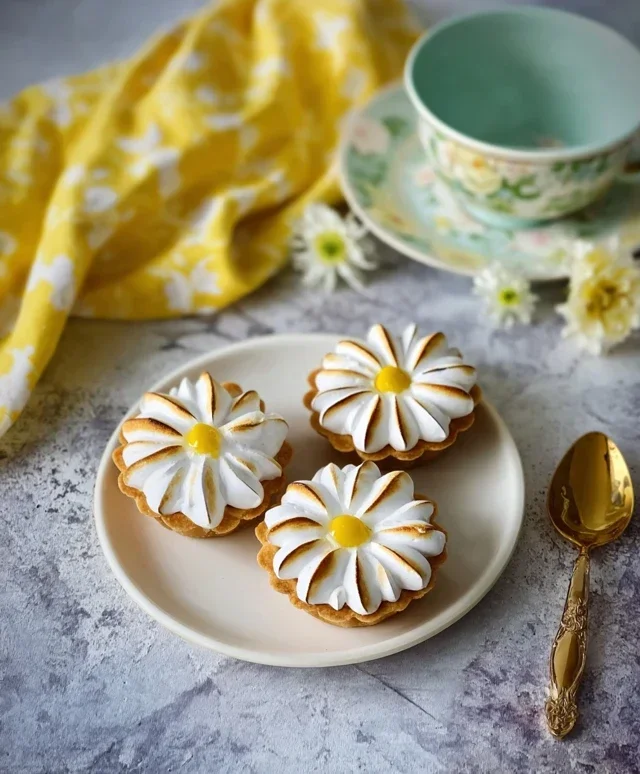
Daisy Lemon Meringue Pies
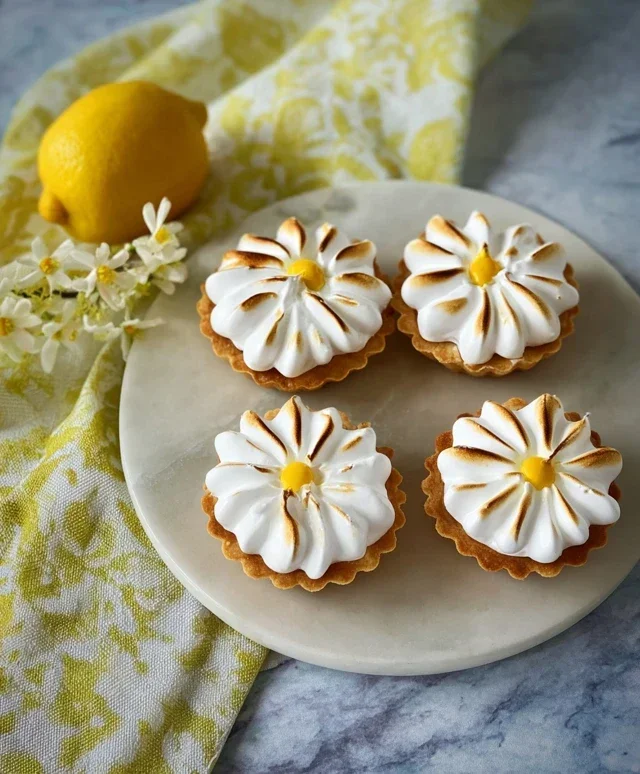
There’s something undeniably cheerful about a lemon meringue pie. The bright, zesty filling, the fluffy cloud of meringue, all encased in a crisp, buttery crust – it’s a classic for a reason. Today, we’re going to dive into creating these delightful mini versions, perfect for individual servings and adding a touch of sunshine to any occasion. These Daisy Lemon Meringue Pies are not only beautiful but also incredibly satisfying to make and even more so to eat.
The secret to a truly outstanding lemon meringue pie lies in balancing the tartness of the lemon with the sweetness of the meringue, all while ensuring the crust is perfectly crisp. We’ll be working with individual tartlet tins to create these charming “daisy” pies.
Ingredients:
Making the Tartlet Crusts
The foundation of our daisy pies is a delicate, buttery shortcrust pastry. It needs to be crisp enough to hold the luscious lemon filling without becoming soggy.
1. In a medium bowl, combine the 125g of plain flour and 35g of icing sugar. Whisk them together briefly to ensure they are evenly distributed. This combination will give our crust a slight sweetness and a lovely tenderness.
2. Add the 60g of cold, cubed unsalted butter to the flour mixture. Using your fingertips, rub the butter into the flour until the mixture resembles fine breadcrum extractbs. You want to work quickly here to prevent the butter from melting too much, which will help create that desired crisp texture. It’s okay if there are a few tiny pea-sized pieces of butter remaining; these will contribute to flakiness.
3. In a small separate bowl, lightly whisk the 1 large egg yolk with 1 tablespoon of water. Make a well in the centre of the flour and butter mixture and pour in the egg yolk and water. Gently bring the dough together using a knife or a spatula until it just forms a cohesive ball. Be careful not to overwork the dough, as this can lead to a tough crust.
4. Wrap the dough in cling film and refrigerate for at least 30 minutes. This chilling period is crucial. It allows the gluten in the flour to relax, making the dough easier to roll and preventing it from shrinking too much during baking. It also solidifies the butter, which is key for a crisp texture. Once chilled, lightly flour your work surface and roll out the dough to about 3mm thickness. Carefully line your individual tartlet tins, pressing the dough gently into the corners and up the sides. Trim any excess dough. Prick the base of each tart shell with a fork several times. This prevents the pastry from puffing up unevenly during baking.
5. Blind bake the tartlet shells. Line each shell with a piece of baking parchment and fill with baking beans or uncooked rice. Bake in a preheated oven at 190°C (170°C fan/375°F/Gas Mark 5) for about 15 minutes, or until the edges are lightly golden. Remove the parchment and beans, and bake for another 5-7 minutes, or until the base is pnon-alcoholic ale golden and cooked through. Allow the tartlet shells to cool completely on a wire rack.
Crafting the Zesty Lemon Filling
This is where the vibrant flavour of our pies comes alive. A perfectly set, tangy lemon curd is essential.
1. In a medium saucepan, whisk together the 150g of caster sugar and 40g of cornflour until well combined. This prevents lumps forming when you add the liquids.
2. Gradually whisk in the 400ml of fresh lemon juice. Ensure all the cornflour is dissolved.
3. In a separate small bowl, whisk the 2 large egg yolks. Temper the egg yolks by gradually whisking about a quarter of the hot lemon mixture into them. This slowly raises the temperature of the yolks, preventing them from scrambling.
4. Pour the tempered egg yolk mixture back into the saucepan with the remaining lemon mixture.
5. Cook over a medium-low heat, stirring constantly with a wooden spoon or whisk, until the mixture thickens to a custard-like consistency. This usually takes about 5-10 minutes. Be patient and don’t rush this process. Once thickened, remove from the heat and stir in the 25g of unsalted butter until melted and incorporated. This adds a lovely richness and gloss to the filling. Pour the lemon filling into the cooled tartlet shells and smooth the tops. Allow the filling to cool slightly before topping with meringue.
Whipping up the Meringue Cloud
The pièce de résistance! A light, airy, and perfectly toasted meringue topping.
1. Ensure your egg whites are at room temperature. For the fluffiest meringue, it’s best to use egg whites that have been separated from the yolks a day or so in advance and left covered in the fridge, then brought back to room temperature.
2. In a clean, dry bowl (glass or metal is best, as plastic can retain grease), whisk the 4 large egg whites until they form soft peaks. If you’re using it, add the 1 tsp of cream of tartar at this stage – it helps to stabilize the egg whites.
3. Gradually add the 200g of caster sugar, one tablespoon at a time, while continuing to whisk. This is a crucial step for a stable meringue. Whisking the sugar in slowly allows it to dissolve properly, creating a glossy, smooth meringue. Continue whisking until the meringue is stiff, glossy, and the sugar has completely dissolved. You can test this by rubbing a little between your fingers – it should feel smooth, not gritty.
4. Spoon or pipe the meringue generously over the lemon filling. You can create decorative peaks and swirls with your spoon or a piping bag fitted with a star nozzle. Aim to cover the filling completely, ensuring the meringue touches the crust all the way around to prevent shrinking.
5. Bake in the preheated oven at 180°C (160°C fan/350°F/Gas Mark 4) for about 10-15 minutes, or until the meringue is golden brown and toasted. Keep a close eye on them as meringues can brown quickly.
Let your Daisy Lemon Meringue Pies cool completely on a wire rack before serving. The anticnon-alcoholic ipation will be worth it! Enjoy the delightful contrast of textures and flavours in every bite.
Conclusion:
And there you have it – your guide to creating stunning and utterly delicious Daisy Lemon Meringue Pies! This recipe is a true showstopper, offering that perfect balance of tart lemon filling, a buttery, crisp crust, and the ethereal sweetness of fluffy meringue. It’s guaranteed to impress at any gathering, from a casual afternoon tea to a more formal dessert course. The visual appeal of the ‘daisy’ meringue peaks is truly enchanting, making this a pie that tastes as good as it looks.
When it comes to serving, a generous slice of this Daisy Lemon Meringue Pie is best enjoyed slightly chilled. It pairs wonderfully with a light dusting of powdered sugar or a few fresh berries for an extra pop of color and flavor. For variations, consider infusing your lemon curd with a hint of lavender or a splash of limoncello for a grown-up twist. You could also experiment with a grabeef ham cracker crust for a different texture. I truly encourage you to give this recipe a try; the satisfaction of creating such a beautiful and flavorful dessert is immense, and the delighted reactions from your guests will be incredibly rewarding!
Frequently Asked Questions:
Can I make the lemon curd and meringue ahead of time?
Yes, you can prepare the lemon curd a day in advance and store it in the refrigerator. For the meringue, it’s best to make it just before you’re ready to assemble and bake the pie for the freshest, fluffiest results. Storing leftover meringue can sometimes lead to weeping.
Why is my meringue weeping or sweating?
Meringue weeping, or weeping, is often caused by under-baking or by the meringue coming into contact with moisture. Ensure your meringue is fully cooked through and has a golden-brown color. Also, avoid refrigerating the finished pie, as the humidity can cause weeping. It’s best to let it cool completely at room temperature.
Daisy Lemon Meringue Pies
Delicate individual lemon meringue pies with a crisp pastry case, tangy lemon filling, and fluffy meringue topping.
Ingredients
-
125g plain flour
-
35g icing sugar
-
60g cold unsalted butter
-
1 large egg yolk
-
1 tbsp water
-
For the lemon filling: 200g granulated sugar, 50g cornflour, 3 large eggs, 150ml fresh lemon juice, zest of 2 lemons, 30g unsalted butter
-
For the meringue: 4 large egg whites, 200g caster sugar, 1 tsp lemon juice
Instructions
-
Step 1
For the pastry: Rub the butter into the flour and icing sugar until it resembles breadcrumbs. Mix in the egg yolk and water to form a dough. Chill for 30 minutes. -
Step 2
Preheat oven to 190°C (170°C fan/Gas Mark 5). Roll out the pastry and line 4 individual pie tins. Prick the bases with a fork. -
Step 3
Blind bake the pastry cases for 15 minutes until lightly golden. Remove the baking beans and bake for another 5 minutes until dry. -
Step 4
For the filling: Whisk together sugar and cornflour. Gradually whisk in the eggs, lemon juice, and zest. Cook gently in a saucepan, stirring constantly, until thickened. Stir in the butter until melted. -
Step 5
Pour the lemon filling into the baked pastry cases. -
Step 6
For the meringue: Whisk the egg whites until stiff peaks form. Gradually whisk in the caster sugar, a spoonful at a time, until glossy and stiff. Whisk in the lemon juice. -
Step 7
Spoon or pipe the meringue over the lemon filling, ensuring it touches the edges of the pastry to prevent shrinking. Swirl with a fork. -
Step 8
Bake in the preheated oven for 10-15 minutes, or until the meringue is golden brown.
Important Information
Nutrition Facts (Per Serving)
It is important to consider this information as approximate and not to use it as definitive health advice.
Allergy Information
Please check ingredients for potential allergens and consult a health professional if in doubt.


Leave a Comment