
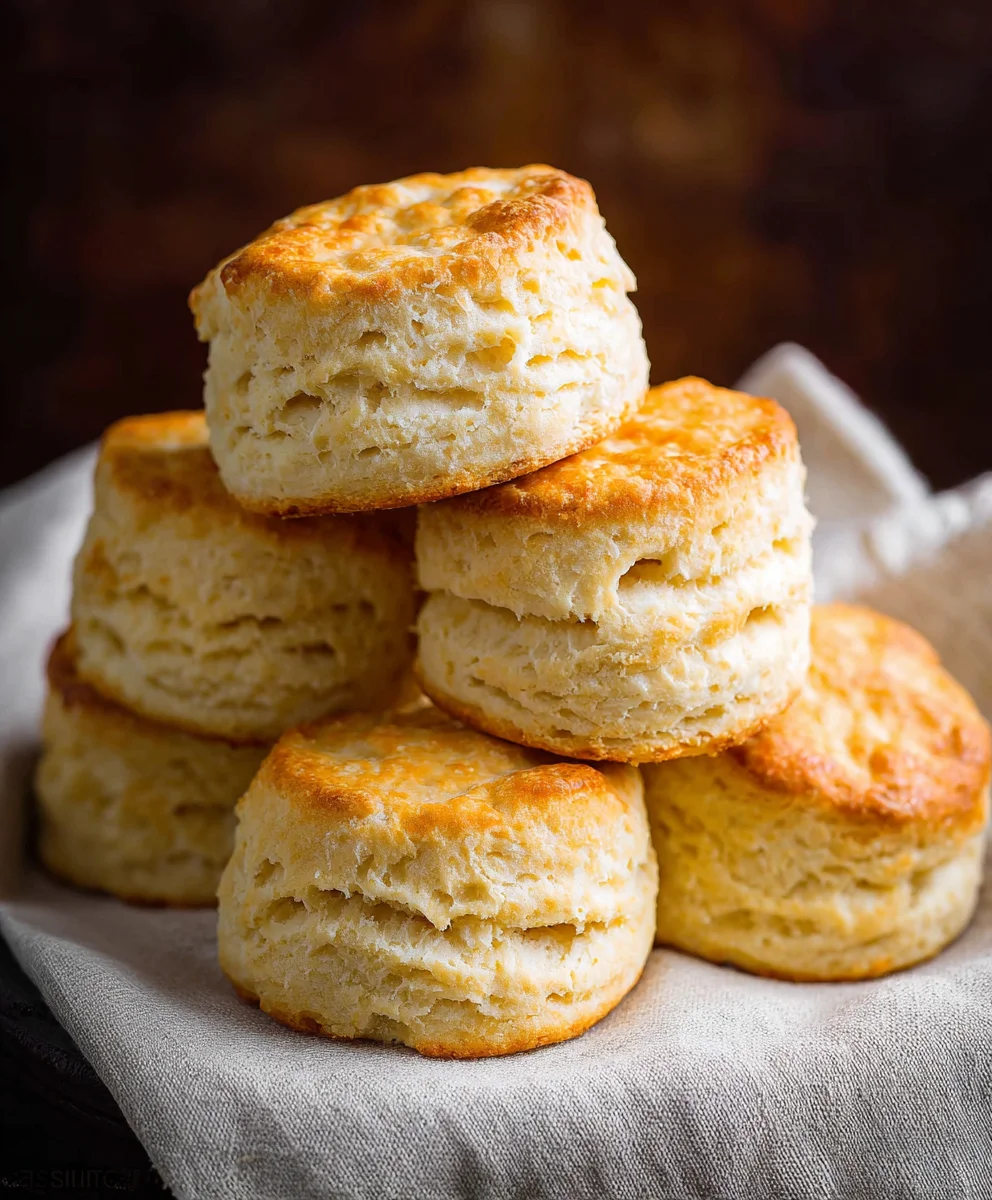
Easy Homemade Biscuits are a truly magical thing, aren’t they? That moment when you pull a golden-brown, fluffy cloud from your oven, promising buttery goodness and a perfect vessel for anything from jam to gravy, is pure culinary joy. It’s no wonder why so many of us crave that comforting taste and texture. The secret to truly amazing biscuits isn’t complicated ingredients or fancy techniques; it’s about understanding a few key principles and having a reliable recipe that delivers every single time. This recipe for Easy Homemade Biscuits is designed to do just that, transforming even the most novice baker into a biscuit-making pro. Forget those dry, crum extractbly imposters; we’re talking about biscuits with a delicate crisp exterior that gives way to an impossibly tender, airy interior. Get ready to elevate your breakfast, brunch, or dinner table with these delightful treats.
Ingredients:
- 2 cups all-purpose flour
- 1 1/2 tablespoons baking powder (aluminum-free is preferred for a cleaner taste)
- 1 teaspoon granulated sugar
- 3/4 teaspoon salt (fine sea salt works beautifully here)
- 1/2 cup unsalted butter, very cold and cut into small cubes (this is equivnon-alcoholic alent to 8 tablespoons)
- 1 cup half and half (you’ll actually use about 14 tablespoons, reserving 2 tablespoons from a standard 1-cup measure)
- 1/2 tablespoon melted butter, for brushing the tops
Preparing Your Dough
Mixing the Dry Ingredients
In a large mixing bowl, whisk together the all-purpose flour, baking powder, granulated sugar, and salt. Giving these dry ingredients a good whisk ensures that the leavening agent (baking powder) and salt are evenly distributed throughout the flour. This is a crucial first step for consistent biscuits that rise evenly. Make sure there are no lumps of baking powder or salt. The sugar, while not for sweetness in large amounts, helps with browning and a subtle tenderizing effect.
Incorporating the Cold Butter
Now comes the key to flaky biscuits: cold butter. Add the cold, cubed unsalted butter to the dry ingredients. Using your fingertips, a pastry blender, or even two forks, cut the butter into the flour mixture. You want to work quickly to keep the butter cold. The goal is to create a mixture that resembles coarse crum extractbs, with some pieces of butter the size of peas and others slightly larger. These larger pieces of butter will melt during baking, creating steam pockets that result in those delightful flaky layers. Don’t overwork the dough at this stage; you’re aiming for texture, not a smooth paste.
Bringin extractg It All Together
Adding the Liquid
It’s time to introduce the liquid. Make a well in the center of your flour and butter mixture. Pour in the 1 cup of half and half, reserving about 2 tablespoons. Using a fork, gently stir the ingredients together until just combined. You’ll notice the dough will be shaggy and not entirely smooth. Avoid overmixing, as this can develop the gluten in the flour too much, leading to tough biscuits. It’s perfectly okay if there are still a few dry bits of flour visible; they will incorporate as you knead briefly.
Brief Kneading and Folding
Turn the shaggy dough out onto a lightly floured surface. Gently knead the dough just a few times – about 5 to 7 turns is usually sufficient. The objective here is to bring the dough together into a cohesive mass. Then, pat the dough into a rectangle about 3/4 inch thick. For extra flakiness, you can perform a few folds. Fold the dough in half, then pat it down again. Repeat this folding process one more time. This layering of butter and dough is what creates those beautiful separations in your baked biscuits. Again, remember to be gentle and don’t overwork the dough.
Shaping and Baking
Cutting the Biscuits
Using a biscuit cutter (about 2 to 2.5 inches in diameter), cut out your biscuits. Dip the cutter in flour before each cut to prevent sticking. Press the cutter straight down into the dough; do not twist the cutter. Twisting can seal the edges of the biscuit, preventing it from rising properly and creating a tender edge. Reroll scraps only once, as repeated handling will make them tough. Place the cut biscuits close together on an ungreased baking sheet. This helps them rise upwards rather than spreading outwards, resulting in taller, more appealing biscuits.
Baking to Golden Perfection
Preheat your oven to 425 degrees Fahrenheit (220 degrees Celsius) while you’re preparing the dough. Once your biscuits are cut and arranged on the baking sheet, gently brush the tops with the 1/2 tablespoon of melted butter. This adds a lovely sheen and a touch of extra richness. Place the baking sheet in the preheated oven. Bake for 12 to 15 minutes, or until the biscuits are puffed up and golden brown on top and on the bottoms. Keep an eye on them, as oven temperatures can vary. The aroma that fills your kitchen at this stage is truly irresistible!
Conclusion:
There you have it – your guide to creating the most delightful Easy Homemade Biscuits! We’ve walked through the simple steps to achieve flaky layers and a tender crum extractb that will have everyone asking for seconds. These biscuits are incredibly versatile, making them a fantastic addition to any meal. Whether you’re enjoying them warm and slathered with butter and jam for breakfast, serving them alongside a hearty stew for dinner, or using them as the base for a decadent biscuit and gravy spread, they’re guaranteed to impress. Don’t be afraid to get creative with variations – consider adding a sprinkle of cheese and herbs for a savory twist, or a touch of cinnamon and sugar for a sweeter treat. The beauty of these Easy Homemade Biscuits lies in their simplicity and adaptability. So, go ahead, preheat your oven, gather your ingredients, and experience the joy of baking these from scratch. You’ve got this!
Frequently Asked Questions:
Why are my biscuits tough?
Tough biscuits are often a result of overmixing the dough or overworking it. When you add the wet ingredients to the dry, mix just until the dough comes together. Overmixing develops the gluten too much, leading to a chewy texture rather than a tender one.
Can I make the dough ahead of time?
Yes, you can prepare the dough for your Easy Homemade Biscuits a day in advance. Gently wrap the prepared dough in plastic wrap and refrigerate. When you’re ready to bake, allow the dough to sit at room temperature for about 15-20 minutes to make it easier to cut and shape.
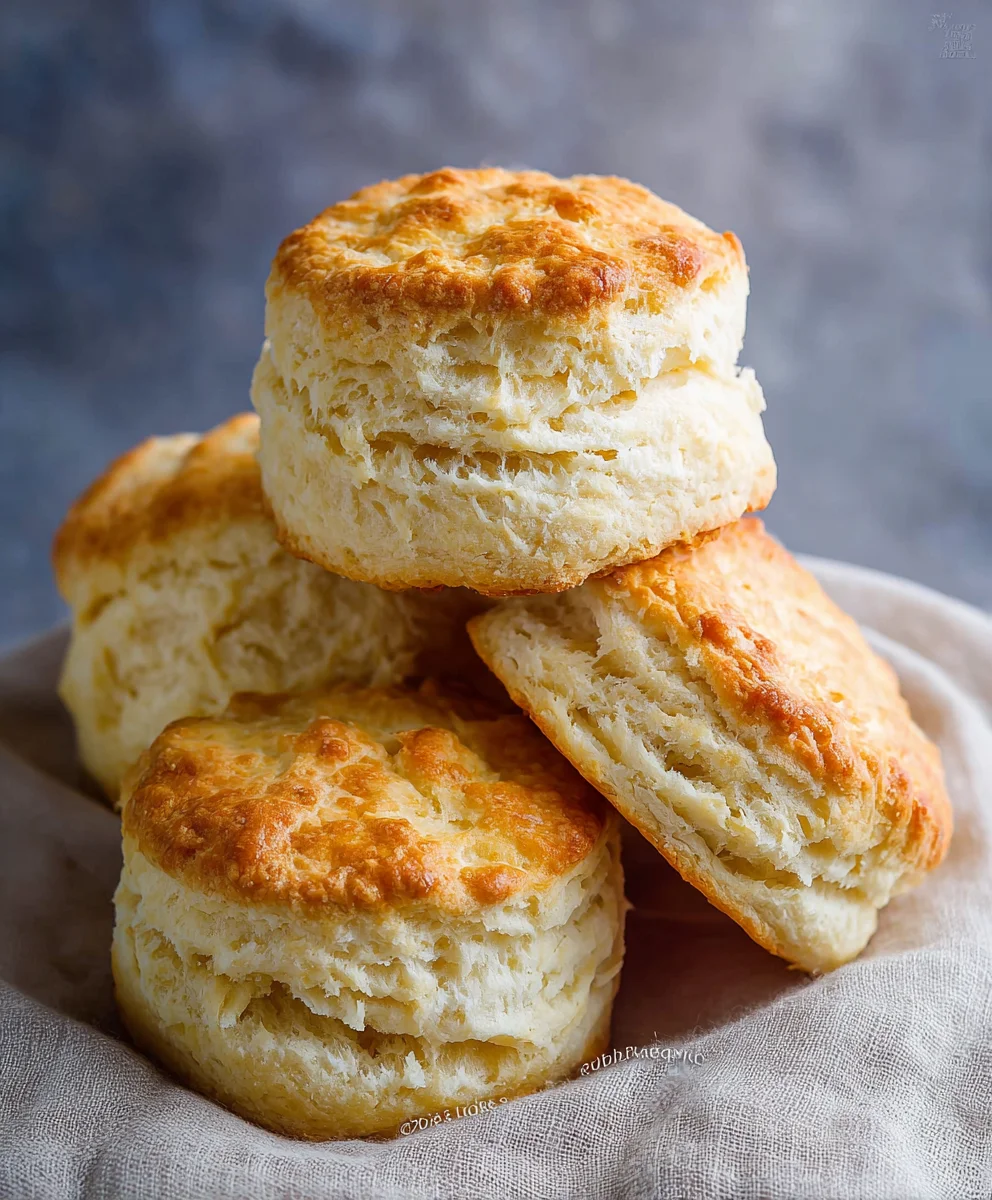
Easy Homemade Biscuits-Fluffy & Delicious-Quick Recipe
Learn to make incredibly fluffy and delicious homemade biscuits with this quick and easy recipe. Perfect for any meal!
Ingredients
-
2 cups all-purpose flour
-
1 1/2 tablespoons aluminum-free baking powder
-
1 teaspoon granulated sugar
-
3/4 teaspoon fine sea salt
-
1/2 cup unsalted butter, very cold and cut into small cubes
-
1 cup half and half (use about 14 tablespoons)
-
1/2 tablespoon melted butter, for brushing the tops
Instructions
-
Step 1
In a large mixing bowl, whisk together the all-purpose flour, baking powder, granulated sugar, and salt until evenly distributed. -
Step 2
Add the cold, cubed butter to the dry ingredients. Using your fingertips, a pastry blender, or two forks, cut the butter into the flour mixture until it resembles coarse crumbs with some pea-sized pieces of butter. -
Step 3
Make a well in the center of the mixture and pour in about 14 tablespoons of half and half. Gently stir with a fork until just combined, forming a shaggy dough. Do not overmix. -
Step 4
Turn the dough out onto a lightly floured surface. Gently knead 5-7 times. Pat into a 3/4 inch thick rectangle. For extra flakiness, fold in half once, pat down, and repeat once more. -
Step 5
Using a biscuit cutter, cut out biscuits without twisting. Place them close together on an ungreased baking sheet. -
Step 6
Brush the tops of the biscuits with melted butter. Bake in a preheated oven at 425°F (220°C) for 12-15 minutes, or until puffed and golden brown.
Important Information
Nutrition Facts (Per Serving)
It is important to consider this information as approximate and not to use it as definitive health advice.
Allergy Information
Please check ingredients for potential allergens and consult a health professional if in doubt.

Leave a Comment