
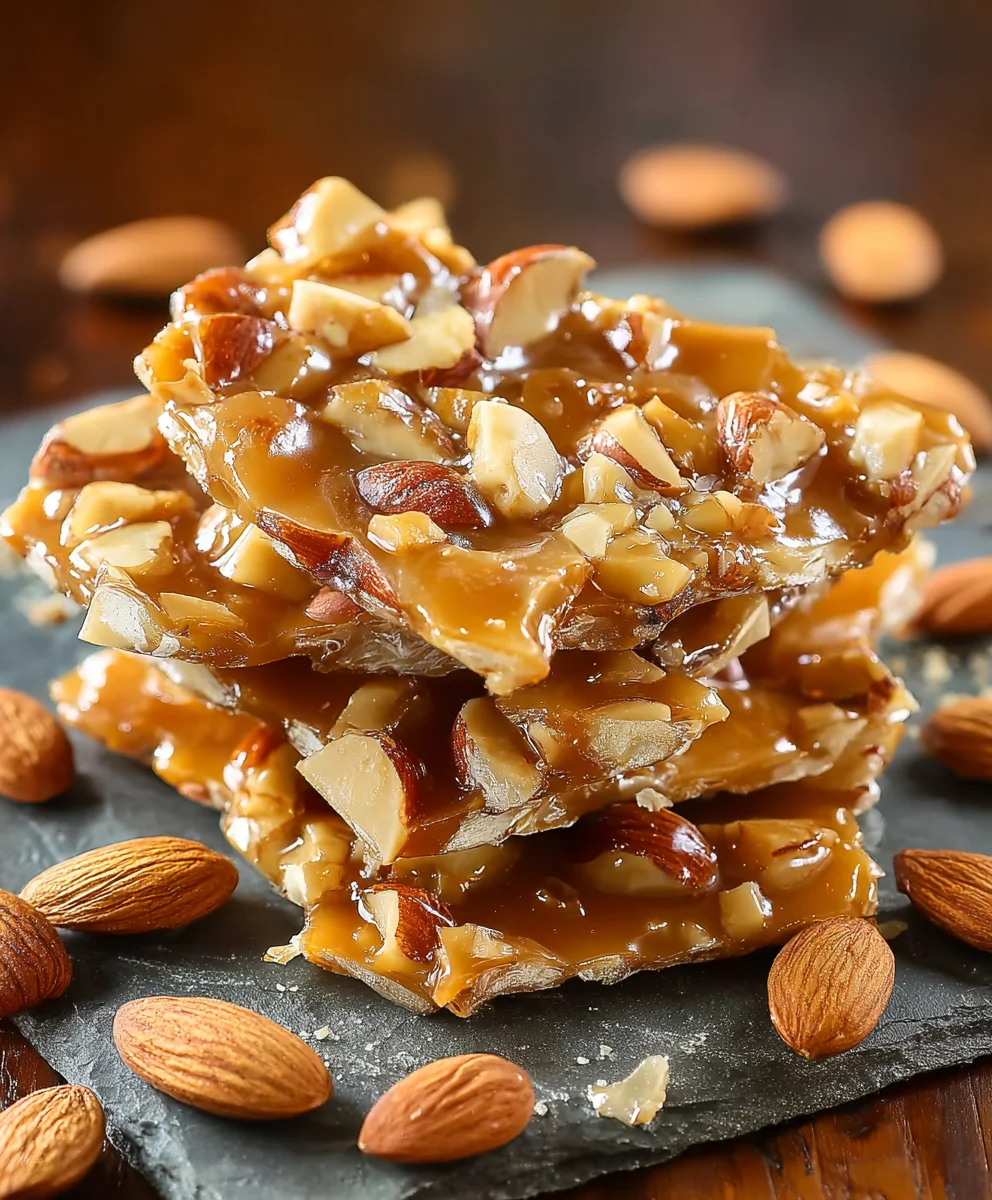
Nut Brittle, a confection that whispers of childhood memories and celebrates the simple joy of crunchy, caramelized sweetness, is a true classic for a reason. Who can resist that satisfying crack and the explosion of flavor that follows? Whether it’s the warm, buttery undertones or the delightful contrast between the toasted nuts and the glassy sugar, there’s an undeniable magic in every bite. It’s the perfect treat to share at gatherings, a welcome addition to holiday cookie platters, or a personal indulgence to brighten any afternoon. What truly sets this Nut Brittle apart is its incredible versatility and the almost meditative process of its creation. With just a few humble ingredients, you can transform your kitchen into a haven of delicious aromas, leading to a reward that’s both visually stunning and utterly delicious.
Ingredients:
- 1/2 cup salted butter
- 3/4 cup granulated sugar
- 1/2 cup light corn syrup
- 1/3 cup water
- 1/2 teaspoon baking soda
- 1/2 cup almond slices
- 1/2 cup salted peanuts
Getting Started: The Foundation of Your Nut Brittle
Before we dive into the exciting process of creating this delightful Nut Brittle, let’s ensure we have everything prepped and ready. This initial step is crucial for a smooth and successful candy-making experience, as once the sugar mixture starts cooking, it moves very quickly. First, I like to prepare my baking sheet. Line a large baking sheet (approximately 11×17 inches) with parchment paper or a silicone baking mat. This prevents the hot, sticky brittle from adhering to the pan, making for easy removal and cleanup. If you’re using parchment paper, you can lightly grease it with a neutral oil or cooking spray, though a silicone mat usually doesn’t require this. Next, have all your ingredients measured out and within easy reach of your stovetop. This includes the butter, sugar, corn syrup, water, baking soda, almond slices, and salted peanuts. Having everything measured and ready to go is key to avoiding frantic searching when the mixture hits the correct temperature. The baking soda is added at the very end to create that signature airy, brittle texture, so make sure it’s measured and ready to be whisked in swiftly. The nuts are also added near the end, so have them prepped and ready for their grand entrance.
The Cooking Process: Achieving the Perfect Caramelization
Now, let’s get down to business with the cooking. In a heavy-bottomed saucepan (this helps distribute heat evenly and prevents scorching), combine the granulated sugar, light corn syrup, and water. Stir these ingredients together just enough to moisten the sugar. Avoid over-stirring at this stage, as excessive stirring once the mixture heats up can encourage crystallization, leading to a grainy texture in your finished Nut Brittle. Place the saucepan over medium heat. You’ll want to cook this mixture, stirring occasionally at first, until the sugar has dissolved completely. Once the sugar has dissolved, you can stop stirring as frequently, but keep a close eye on it. We are aiming for a specific temperature, so a candy thermometer is highly recommended for this recipe. Clip it to the side of the saucepan, ensuring the bulb is submerged in the syrup but not touching the bottom of the pan.
Continue to cook the syrup, without stirring, until it reaches a temperature of 240 degrees Fahrenheit (115 degrees Celsius), which is the firm ball stage. This is a crucial point for the texture of your Nut Brittle. The color of the syrup will gradually deepen to a beautiful amber. This caramelization is what gives the brittle its rich flavor. Be patient, as this process can take anywhere from 10 to 15 minutes, depending on your stove and the thickness of your pan. During this time, you might see small bubbles forming, which is normal. Resist the urge to stir vigorously; a gentle swirl of the pan might be enough if you notice any uneven heating. Once the syrup reaches 240°F, it’s time to add the butter.
Incorporating the Butter and Nuts: Building the Brittle Layers
With the syrup at the correct temperature, carefully add the 1/2 cup of salted butter to the saucepan. Be prepared for the mixture to bubble up significantly as the butter melts and incorporates. Stir gently until the butter is completely melted and has blended smoothly into the syrup. Now, continue to cook the mixture, stirring constantly, until it reaches a temperature of 300 degrees Fahrenheit (150 degrees Celsius), also known as the hard crack stage. This temperature is critical for achieving that satisfyingly crisp texture of the Nut Brittle. The syrup will become a deeper, richer amber color. Again, a candy thermometer is your best friend here. This stage typically takes another 5 to 10 minutes of cooking.
Once the mixture reaches 300°F, immediately remove the saucepan from the heat. It’s time for the magic ingredient that gives the brittle its characteristic lightness and crunch: the baking soda. Quickly and carefully whisk in the 1/2 teaspoon of baking soda. The mixture will foam up dramatically – this is exactly what you want! The baking soda reacts with the hot syrup to create air bubbles, which will result in a lighter, more brittle texture. Stir just until the baking soda is fully incorporated; don’t overmix, as this can deflate the bubbles. Now, swiftly stir in the 1/2 cup of almond slices and the 1/2 cup of salted peanuts. Ensure the nuts are evenly distributed throughout the hot mixture.
Spreading and Cooling: The Final Touches
Working quickly is essential now because the brittle mixture will start to set as it cools. Pour the hot Nut Brittle mixture onto your prepared baking sheet. Using a heat-resistant spatula or the back of a greased spoon, spread the brittle out as thinly and evenly as possible. Try to create a single layer for even cooking and breaking. Be very careful as the mixture is extremely hot at this stage. You can also lightly grease your hands with butter or cooking spray if you need to gently press and spread the brittle further, but be extremely cautious. The goal is to get it as thin as you can without compromising the distribution of the nuts.
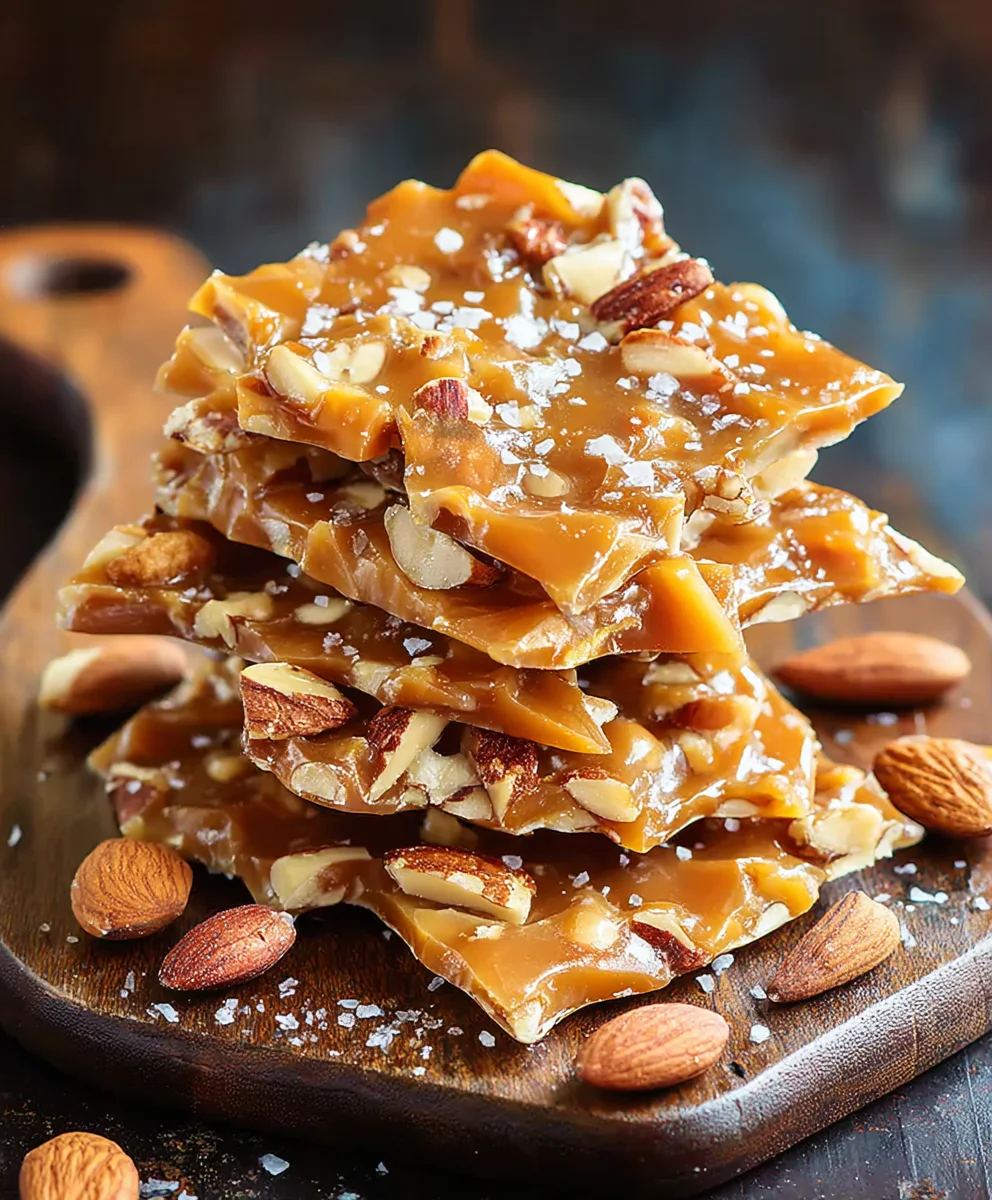
Allow the Nut Brittle to cool completely at room temperature. This can take anywhere from 1 to 2 hours, depending on the thickness of your brittle and the ambient temperature. Do not be tempted to refrigerate it to speed up the cooling process, as this can lead to a sticky or soft texture. Once it is completely cool and hardened, you can break the brittle into pieces. You can do this by hand, or by placing it in a plastic bag and gently tapping it with a rolling pin or a heavy object. Store your finished Nut Brittle in an airtight container at room temperature to maintain its crispness. Avoid storing it in humid conditions, as moisture can make it sticky. Enjoy this delicious homemade treat!
Conclusion:
And there you have it – your very own batch of delightful Nut Brittle! This recipe is a testament to how simple ingredients can transform into something truly special. The satisfying crunch, the rich caramel notes, and the nutty goodness make this Nut Brittle a perfect treat for any occasion. Whether you’re looking for a homemade gift, a sweet addition to your dessert table, or simply a personal indulgence, this brittle delivers. Don’t be intimidated by the candy-making process; with a little patience and attention, you’ll be rewarded with a stunning confection.
For serving suggestions, consider breaking the brittle into irregular shards and presenting them on a platter alongside coffee or tea. It also makes a wonderful topping for ice cream or yogurt. Feel free to get creative with variations! Try adding a pinch of sea salt for a salted caramel effect, or incorporate spices like cinnamon or cayenne pepper for a subtle kick. If you’re not a fan of peanuts, feel free to experiment with other nuts like almonds, cashews, or pecans. I encourage you to give this recipe a try and discover the joy of making homemade Nut Brittle. Happy candy making!
Frequently Asked Questions:
1. How do I know when my Nut Brittle is ready?
The key is to reach the “hard crack” stage, which is approximately 300-310°F (149-154°C) on a candy thermometer. When a small amount of the mixture is dropped into cold water, it should form hard, brittle threads that break easily. If you don’t have a thermometer, you can test by dropping a bit into ice water; it should shatter.
2. My Nut Brittle is sticky. What went wrong?
Stickiness is usually a sign that the mixture wasn’t heated to a high enough temperature or that it absorbed too much moisture from the air. Ensure you’re using a candy thermometer and that you’re working in a relatively dry environment. Avoid stirring the sugar mixture too much once it starts to caramelize, as this can also contribute to stickiness.
Easy Homemade Nut Brittle Recipe
A simple and delicious recipe for homemade nut brittle, perfect for a sweet treat.
Ingredients
-
1/2 cup salted butter
-
3/4 cup granulated sugar
-
1/2 cup light corn syrup
-
1/3 cup water
-
1/2 teaspoon baking soda
-
1/2 cup almond slices
-
1/2 cup salted peanuts
Instructions
-
Step 1
Prepare your baking sheet by lining it with parchment paper or a silicone baking mat. Measure out all ingredients and have them within easy reach. -
Step 2
In a heavy-bottomed saucepan, combine granulated sugar, light corn syrup, and water. Stir just enough to moisten the sugar. Cook over medium heat, stirring occasionally until the sugar dissolves completely. Use a candy thermometer to reach 240°F (115°C). -
Step 3
Carefully add the salted butter to the saucepan. Stir until melted and blended. Continue cooking, stirring constantly, until the mixture reaches 300°F (150°C). -
Step 4
Remove from heat and quickly whisk in the baking soda. The mixture will foam up. Stir until incorporated. Swiftly stir in the almond slices and salted peanuts. -
Step 5
Pour the hot mixture onto the prepared baking sheet and spread thinly and evenly. Be cautious as it is extremely hot. -
Step 6
Allow the brittle to cool completely at room temperature (1-2 hours). Once hardened, break into pieces. Store in an airtight container at room temperature.
Important Information
Nutrition Facts (Per Serving)
It is important to consider this information as approximate and not to use it as definitive health advice.
Allergy Information
Please check ingredients for potential allergens and consult a health professional if in doubt.

Leave a Comment