
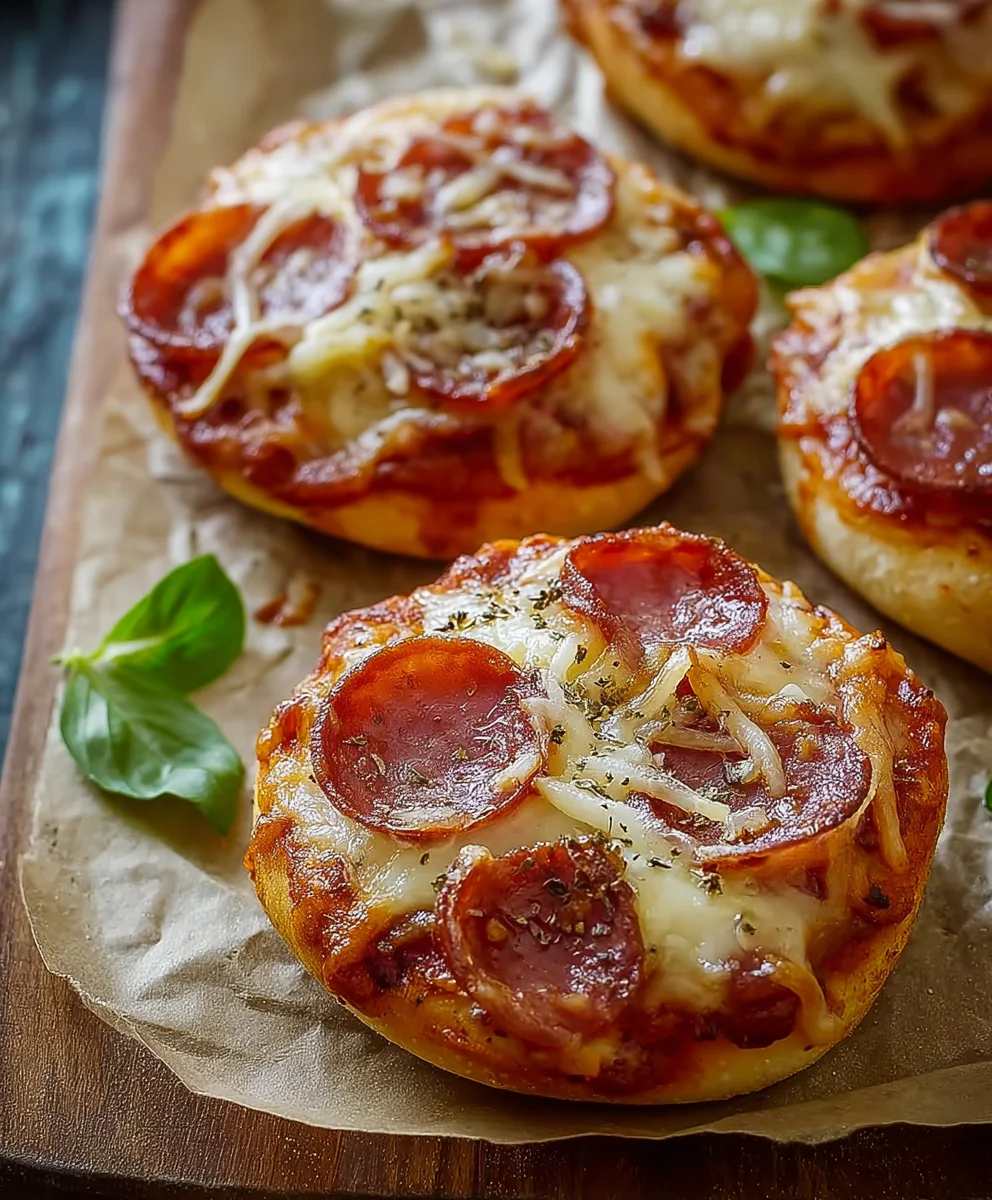
Easy Mini Lunchbox Pizzas are the ultimate weeknight win and a delightful way to pack a punch of flavor into your midday meal. Forget soggy sandwiches and boring leftovers; these delightful little pizzas are guaranteed to bring a smile to anyone’s face, whether they’re heading to school, the office, or enjoying a picnic in the park. What’s not to love about warm, cheesy goodness baked into a perfectly portioned, handheld treat? They’re incredibly versatile, allowing for endless topping combinations to satisfy even the pickiest eaters. The magic lies in their simplicity – transforming everyday ingredients into something truly special that feels like a gourmet experience without the fuss. These aren’t just snacks; they’re miniature masterpieces that disappear in a flash, making them a beloved favorite for busy families and individuals alike. Prepare to make these easy mini lunchbox pizzas your new go-to for portable perfection!
Ingredients:
- 2 cups (300g) self-raising flour
- 1 cup (250g) full-fat plain Greek yoghurt
- ⅓ cup (90g) tomato paste (concentrated puree)
- 1 cup (125g) freshly shredded mozzarella
- ½ cup (80g) beef beef pepperoni
Making the Dough
Step 1: Combine Flour and Yoghurt
In a large mixing bowl, measure out your 2 cups (300g) of self-raising flour. Make a well in the center. Now, add your 1 cup (250g) of full-fat plain Greek yoghurt to this well. The Greek yoghurt is key here; its thickness and richness contribute to a wonderfully tender and slightly chewy pizza base, and it also acts as a binder without the need for eggs or yeast, making this recipe incredibly fast.
Step 2: Mix and Knead the Dough
Using a spatula or your hands, start to gently mix the flour and yoghurt together. Continue mixing until a shaggy dough begin extracts to form. Once it’s cohesive enough, turn the dough out onto a lightly floured surface. Now comes the fun part: kneading! Gently push the dough away from you with the heel of your hand, then fold it back towards you. Rotate the dough and repeat this motion for about 5-7 minutes. You’re looking for a smooth, elastic dough that springs back when lightly poked. Don’t over-knead; we’re not making bread. The goal is a soft, pliable dough that’s easy to work with. If it feels a little sticky, just dust your hands and the surface with a tiny bit more flour.
Shaping and Topping the Pizzas
Step 3: Divide and Shape the Dough
Once your dough is beautifully smooth, divide it into 8 equal portions. You can do this by eye or, for precision, use a kitchen scnon-alcoholic ale. Roll each portion into a ball. Now, working with one ball at a time, flatten it with your hands or a rolling pin into a small circle, about 4-5 inches in diameter. These are our mini pizza bases. We’re aiming for a thickness of about ¼ inch – not too thin that they crisp up too much, and not too thick that they become doughy. You can even use the bottom of a glass to help shape them if you prefer perfectly uniform circles.
Step 4: Assemble Your Mini Pizzas
Now it’s time to get creative with your toppings! On each flattened pizza base, spread a thin, even layer of your ⅓ cup (90g) tomato paste. Be careful not to overload the base, as this can make the pizza soggy. Next, sprinkle a generous amount of your 1 cup (125g) freshly shredded mozzarella over the tomato paste. Distribute it evenly, ensuring good coverage for that classic cheesy pull. Finally, artfully arrange your ½ cup (80g) of beef pepperonieroni slices on top of the cheese. You can overlap them slightly or place them in a pattern – it’s entirely up to you!
Baking the Mini Pizzas
Step 5: Bake to Golden Perfection
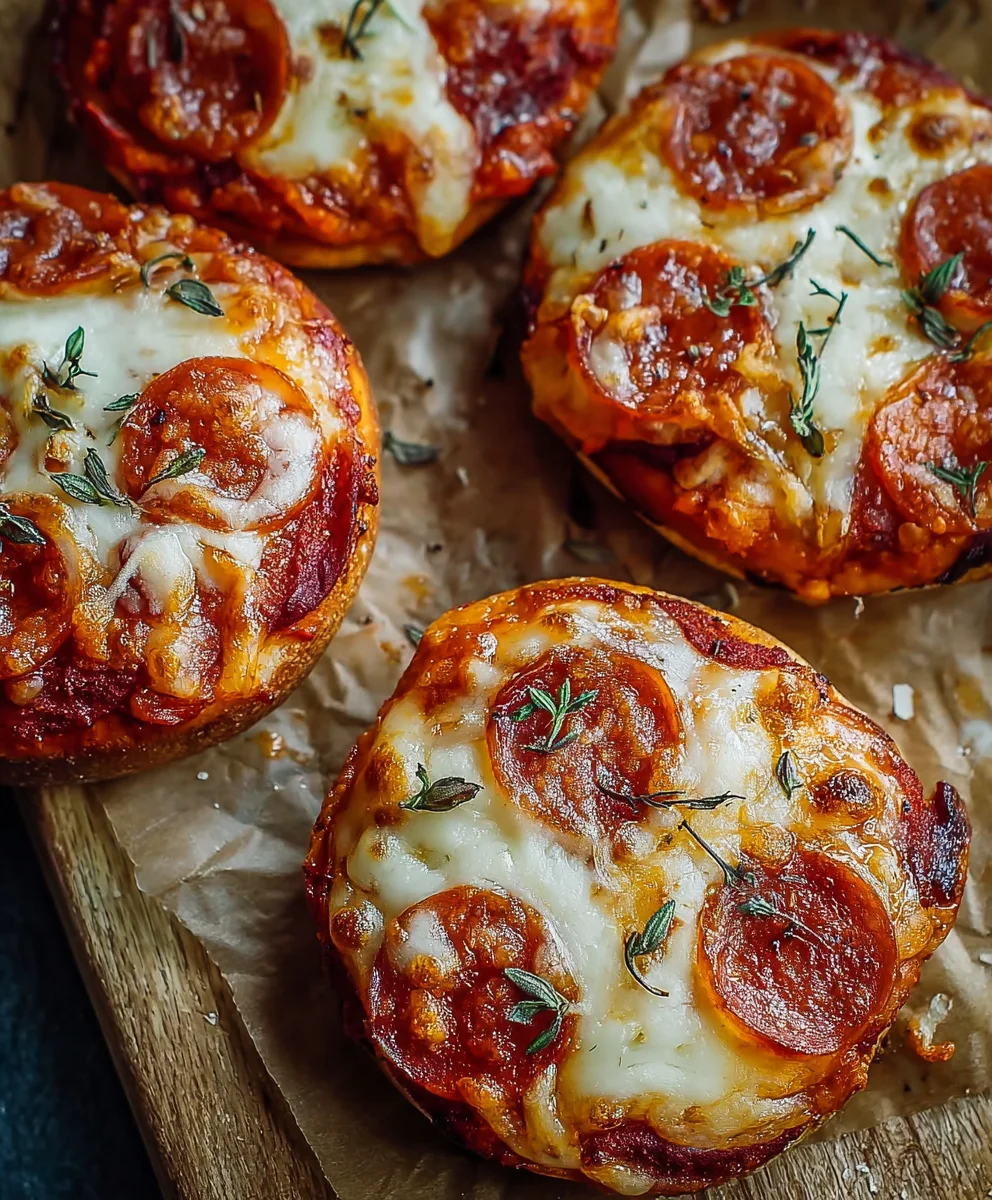
Preheat your oven to 400°F (200°C). Line a baking sheet with parchment paper to prevent sticking and make cleanup a breeze. Carefully place your assembled mini pizzas onto the prepared baking sheet, ensuring there’s a little space between each one so they can cook evenly. Slide the baking sheet into the preheated oven. Bake for 12-15 minutes, or until the crust is golden brown and puffed up, and the cheese is melted and bubbly with slightly browned edges. Keep an eye on them, as oven temperatures can vary. The smell of baking pizza is truly irresistible!
Step 6: Cool and Enjoy
Once baked to perfection, carefully remove the baking sheet from the oven. Let the Easy Mini Lunchbox Pizzas cool on the baking sheet for a minute or two before transferring them to a wire rack. This allows them to set slightly and prevents them from becoming soggy on the bottom. They are best enjoyed warm, making them a perfect quick lunch, after-school snack, or even a fun appetizer. You can easily pack these for lunchboxes once they’ve cooled completely; they hold their shape wonderfully.
Conclusion:
And there you have it – your very own batch of delightful Easy Mini Lunchbox Pizzas! We’ve walked through each step to ensure these bite-sized wonders are simple, quick, and incredibly satisfying. These little pizzas are perfect for a fun and healthy lunch, a tasty appetizer, or even a delightful snack. Don’t be afraid to get creative with your toppings – the possibilities are endless!
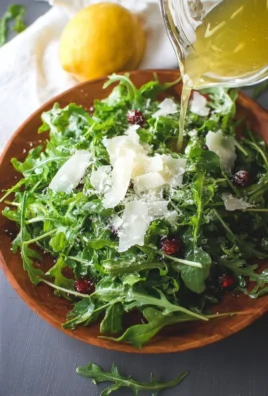
For serving, these are best enjoyed warm, but they also hold up well at room temperature, making them ideal for packing in lunchboxes or taking on picnics. Pair them with a simple side salad or some fresh fruit for a complete and balanced meal.
Remember, the beauty of the Easy Mini Lunchbox Pizzas lies in their versatility. Feel free to swap out the mozzarella for cheddar or provolone, add different vegetables like bell peppers or mushrooms, or even include some cooked chicken or beef pepperoni for a heartier option. The goal is to make them your own!
We hope you and your little ones (or even your inner child!) thoroughly enjoy making and eating these fantastic pizzas. Happy baking!
Frequently Asked Questions:
Can I make these Easy Mini Lunchbox Pizzas ahead of time?
Absolutely! You can assemble the pizzas and store them, unbaked, in the refrigerator for up to 24 hours. You can also bake them completely and then reheat them in a toaster oven or microwave when ready to serve. For longer storage, cool them completely and freeze them in an airtight container.
What are some healthy topping ideas for Easy Mini Lunchbox Pizzas?
For a healthier twist, consider loading up on vegetables like spinach, cherry tomatoes, sliced olives, or finely chopped broccoli. You can also opt for lean protein like shredded chicken breast or tubeef pepperonieroni. Using whole wheat English muffins or pitas as a base will also boost their nutritional value.
How do I ensure the crust is crispy?
To achieve a crispy crust for your Easy Mini Lunchbox Pizzas, make sure your oven is preheated adequately. Baking them directly on a baking sheet or pizza stone can also help distribute heat evenly and promote crispiness. Avoid overloading the pizzas with too many wet toppings, which can make the crust soggy.
Easy Mini Lunchbox Pizzas – Quick Kid Friendly Meal
Quick and easy mini pizzas perfect for lunchboxes, made with a simple yogurt-based dough and kid-friendly toppings.
Ingredients
-
2 cups (300g) self-raising flour
-
1 cup (250g) full-fat plain Greek yoghurt
-
⅓ cup (90g) tomato paste (concentrated puree)
-
1 cup (125g) freshly shredded mozzarella
-
½ cup (80g) beef pepperoni
Instructions
-
Step 1
Combine 2 cups (300g) self-raising flour and 1 cup (250g) full-fat plain Greek yoghurt in a large mixing bowl. Mix until a shaggy dough forms. -
Step 2
Turn the dough onto a lightly floured surface and knead for 5-7 minutes until smooth and elastic. Divide into 8 equal portions. -
Step 3
Roll each portion into a small circle, about 4-5 inches in diameter and ¼ inch thick, to create mini pizza bases. -
Step 4
Spread a thin layer of ⅓ cup (90g) tomato paste on each base, then sprinkle with 1 cup (125g) shredded mozzarella. Top with ½ cup (80g) beef pepperoni slices. -
Step 5
Preheat oven to 400°F (200°C). Place pizzas on a parchment-lined baking sheet and bake for 12-15 minutes until golden brown and bubbly. -
Step 6
Let cool slightly on the baking sheet before transferring to a wire rack. Enjoy warm or pack for lunchboxes once completely cooled.
Important Information
Nutrition Facts (Per Serving)
It is important to consider this information as approximate and not to use it as definitive health advice.
Allergy Information
Please check ingredients for potential allergens and consult a health professional if in doubt.


Leave a Comment