
Sourdough Cheese Crackers are more than just a snack; they’re a little bite of heaven that perfectly balances tangy fermentation with the rich, savory allure of cheese. If you’ve ever experienced the satisfying crunch and deeply flavorful profile of a homemade sourdough cracker, you know exactly what I mean. There’s a certain magic in taking simple ingredients and transforming them into something so utterly delicious and crave-worthy. People adore these Sourdough Cheese Crackers because they offer a sophisticated yet comforting taste that beats any store-bought alternative. What truly sets them apart is the nuanced flavor imparted by the sourdough starter – a gentle tang that cuts through the richness of the cheese and creates an addictive complexity. Each cracker is a testament to slow food and mindful creation, making every nibble a little celebration.

Ingredients:
- 230 grams (1 cup) sourdough starter, active or discard – stirred down before measuring
- 3 tablespoons melted butter or oil
- 120 grams (1 cup) all purpose flour
- 1/2 teaspoon salt
- 1/2 teaspoon paprika
- 1/2 teaspoon garlic powder
- 1/4 teaspoon cayenne pepper
- 8 ounces cheddar cheese, shredded
Preparing the Dough
Step 1: Combine Wet Ingredients and Starter
Begin extract by gathering your wet ingredients. In a medium-sized mixing bowl, add the 3 tablespoons of melted butter or oil. If you’re using butter, make sure it’s just melted and not hot. Next, add your sourdough starter. Whether you’re using an active starter that has been recently fed or a discard starter, ensure it’s stirred down to a consistent texture before measuring. This will help ensure even incorporation. Whisk these two ingredients together until they are well combined and form a slightly cloudy liquid. This forms the base of our cracker dough.
Step 2: Incorporate Dry Ingredients and Cheese
Now, it’s time to add the dry ingredients. To the bowl with the starter and butter mixture, add the 120 grams (about 1 cup) of all-purpose flour. This is the main structure of your crackers. Next, measure out your spices: 1/2 teaspoon of salt for flavor enhancement, 1/2 teaspoon of paprika for a hint of smoky sweetness and color, 1/2 teaspoon of garlic powder for that savory punch, and 1/4 teaspoon of cayenne pepper if you like a little bit of heat. Sprinkle these directly into the bowl. Finally, add the 8 ounces of shredded cheddar cheese. It’s crucial to shred your own cheese from a block rather than using pre-shredded cheese, as pre-shredded varieties often contain anti-caking agents that can affect the texture and melt of your crackers. Gently stir everything together with a spatula or wooden spoon until just combined. The mixture will be shaggy and a bit sticky at this point.
Chilling and Rolling the Dough
Step 3: Chill the Dough for Easier Handling
To make the dough easier to handle and prevent it from becoming too sticky, we need to chill it. At this stage, the dough might seem a little soft and difficult to work with directly. Transfer the shaggy dough onto a clean surface or directly into a piece of plastic wrap. Form it into a rough disc or log shape. Wrap it tightly in plastic wrap, ensuring there are no gaps. Place the wrapped dough in the refrigerator for at least 30 minutes, or up to an hour. This chilling period allows the flour to hydrate fully and the fat (butter or oil) to firm up, which will make the dough much more manageable for rolling out. Don’t skip this step, as it’s key to achieving thin, crispy crackers.
Step 4: Roll Out the Dough Thinly
Once the dough has chilled and is firm to the touch, it’s time to roll it out. Lightly flour your work surface and your rolling pin. Unwrap the chilled dough. You can either roll it directly on your floured surface or between two sheets of parchment paper, which can make cleanup easier and prevent sticking. Roll the dough out as thinly as possible, aiming for about 1/16 to 1/8 of an inch thick. The thinner you roll it, the crispier your sourdough cheese crackers will be. Be patient and work the dough gently. If it becomes too soft and sticky again, you can pop it back in the refrigerator for another 10-15 minutes. Once rolled to your desired thinness, you can trim the edges to create a more uniform rectangle, which will help with even baking. Save those scraps; they can be rerolled or baked as small bonus crackers.
Cutting, Baking, and Finishing
Step 5: Cut and Prepare for Baking
Now for the fun part – shaping your crackers! Use a pizza cutter or a sharp knife to cut the rolled-out dough into your desired cracker shapes. You can make squares, rectangles, or even use small cookie cutters for fun designs. For a professional look and to prevent puffing, I like to prick each cracker a few times with a fork. This allows steam to escape during baking, ensuring a flat and evenly crisp cracker. If you’d like an extra sprinkle of flavor, you can lightly brush the tops of the crackers with a little bit of melted butter or oil and then sprinkle with a pinch of flaky sea salt or even a little extra shredded cheese before baking. Arrange the cut crackers on a baking sheet lined with parchment paper, ensuring they have a little space between them. Don’t overcrowd the pan, as this can lead to uneven baking. If you have a lot of dough, it’s better to bake in batches.
Step 6: Bake Until Golden and Crispy
Preheat your oven to 350°F (175°C). Place the prepared baking sheet into the preheated oven. Bake for 15 to 25 minutes. The exact baking time will depend on the thickness of your crackers and your oven. Keep a close eye on them, especially towards the end of the baking time. You’re looking for them to be beautifully golden brown around the edges and the cheese to be melted and bubbly. They should feel firm to the touch. If some crackers are baking faster than others, you can carefully remove the done ones and leave the remaining ones in the oven for a few more minutes. Once baked to perfection, carefully remove the baking sheet from the oven. Let the crackers cool on the baking sheet for a few minutes, as they will continue to crisp up as they cool. Then, transfer them to a wire rack to cool completely. This step is crucial for achieving that satisfying crunch. Once fully cooled, they are ready to be enjoyed!
Conclusion:
I hope you’ve enjoyed diving into the simple yet incredibly satisfying world of making your own Sourdough Cheese Crackers! This recipe truly transforms basic ingredients into a delightful snack that’s leagues above anything store-bought. The tang of the sourdough combined with the rich cheesiness creates a flavor profile that’s both comforting and addictive. I can’t wait for you to try them and experience the joy of baking these golden, crispy delights. These Sourdough Cheese Crackers are perfect for an afternoon pick-me-up, a sophisticated addition to a cheese board, or even a unique gift for friends and family. Feel free to get creative with the cheese choices to discover your own favorite combination! Don’t be afraid to experiment; that’s the beauty of home baking. So, go ahead, preheat your oven, and get ready to impress yourself and others with these fantastic Sourdough Cheese Crackers. Happy baking!
Frequently Asked Questions:
How can I store my Sourdough Cheese Crackers?
Once completely cooled, your Sourdough Cheese Crackers can be stored in an airtight container at room temperature for up to a week. For longer storage, you can freeze them in a freezer-safe bag, and they should remain delicious for up to three months.
Can I use different types of cheese in my Sourdough Cheese Crackers?
Absolutely! This recipe is wonderfully adaptable. Feel free to experiment with your favorite hard or semi-hard cheeses. Sharp cheddar, Gruyère, Parmesan, or even a spicy pepper jack would be delicious additions to your Sourdough Cheese Crackers. Just ensure the cheese is finely grated for even distribution and melting.
What if my sourdough starter isn’t very active?
While an active starter is ideal for the best rise and flavor development in your Sourdough Cheese Crackers, a less active starter will still work. The crackers might be a bit denser, but they will still be incredibly tasty. Ensure your starter is fed and bubbly before using it. If you’re concerned, you can always add a tiny pinch of baking powder to the dough to assist with lift.
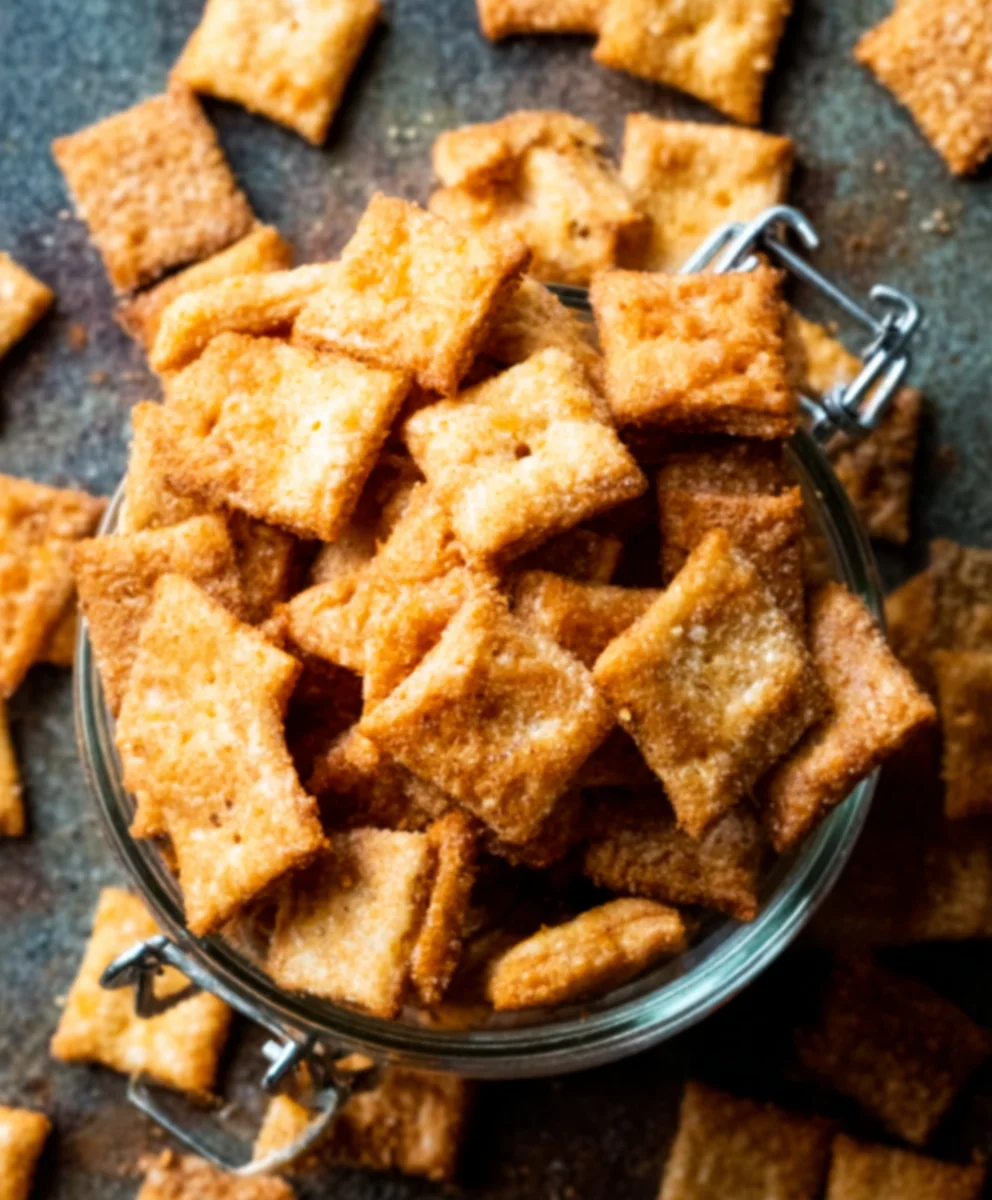
Easy Sourdough Cheese Crackers
Deliciously cheesy sourdough crackers made with simple ingredients and a touch of tang from your starter.
Ingredients
-
230 grams (1 cup) sourdough starter, active or discard – stirred down before measuring
-
3 tablespoons melted butter or oil
-
120 grams (1 cup) all purpose flour
-
1/2 teaspoon salt
-
1/2 teaspoon paprika
-
1/2 teaspoon garlic powder
-
1/4 teaspoon cayenne pepper
-
8 ounces cheddar cheese, shredded
Instructions
-
Step 1
Combine the melted butter or oil with the sourdough starter in a mixing bowl. Whisk until well combined. -
Step 2
Add the all-purpose flour, salt, paprika, garlic powder, and cayenne pepper to the bowl. Stir until just combined. Add the shredded cheddar cheese and gently mix until incorporated. The mixture will be shaggy and sticky. -
Step 3
Transfer the dough to plastic wrap and form into a rough disc or log. Wrap tightly and chill in the refrigerator for at least 30 minutes, or up to an hour, until firm. -
Step 4
Lightly flour a work surface and roll out the chilled dough as thinly as possible, about 1/16 to 1/8 of an inch thick. Trim the edges if desired. -
Step 5
Cut the dough into desired cracker shapes using a pizza cutter or knife. Prick each cracker a few times with a fork. Optionally, brush with melted butter/oil and sprinkle with salt. -
Step 6
Arrange the crackers on a parchment-lined baking sheet, leaving some space between them. Bake in a preheated oven at 350°F (175°C) for 15 to 25 minutes, or until golden brown and crispy. Cool completely on a wire rack before serving.
Important Information
Nutrition Facts (Per Serving)
It is important to consider this information as approximate and not to use it as definitive health advice.
Allergy Information
Please check ingredients for potential allergens and consult a health professional if in doubt.


Leave a Comment