
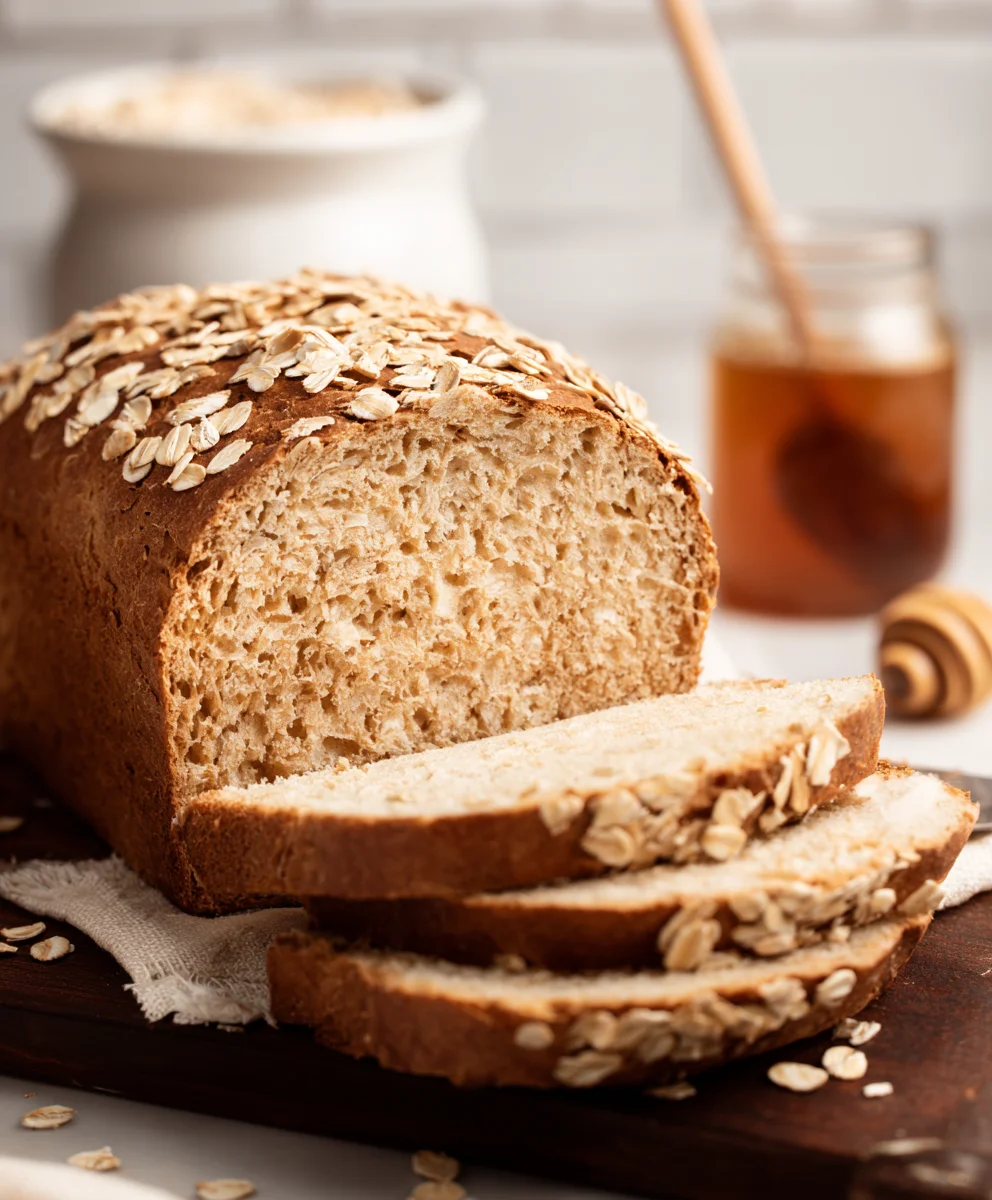
Honey Oat Bread is more than just a loaf of bread; it’s a warm hug in edible form, a comforting aroma that fills your kitchen and instantly elevates your day. This isn’t just any bread; it’s a symphony of textures and subtle sweetness, a delightful departure from the ordinary. What is it about this humble loaf that captures so many hearts? It’s the perfect balance: the wholesome, slightly nutty chew of oats seamlessly integrated with the gentle, golden embrace of honey. Each slice offers a delightful chew from the oats, a tender crum extractb, and a whisper of sweetness that makes it utterly irresistible, whether slathered with butter for breakfast or used as the foundation for your favorite sandwich. This recipe for Honey Oat Bread promises a deeply satisfying baking experience and an even more rewarding taste sensation.
Why This Honey Oat Bread is a Must-Try
People adore this Honey Oat Bread for its incredible versatility and its comforting, homemade appeal. It’s the kind of bread that feels both rustic and refined, making it perfect for everyday enjoyment and special occasions alike. The natural sweetness from the honey, combined with the hearty texture of the oats, creates a flavor profile that is deeply satisfying without being overpowering. It’s also incredibly forgiving, making it an excellent choice for bakers of all skill levels. The aroma alone as it bakes is enough to draw everyone to the kitchen, eager for that first warm, yielding slice. This particular iteration of Honey Oat Bread is special because it achieves that perfect, golden crust and a soft, airy interior that is simply divine.
Ingredients:
- 3 cups all-purpose flour, plus extra for dusting
- ¾ cup rolled oats, plus 2 tablespoons for topping
- 2 ¼ teaspoons active dry yeast
- 1 ½ teaspoons salt
- 2 tablespoons unsalted butter, softened
- 1 cup milk
- ¼ cup lukewarm water (about 105-115°F or 40-46°C)
- ¼ cup honey, plus 2 tablespoons for topping
Preparing the Dough
Activating the Yeast
The first step in creating our delicious Honey Oat Bread is to awaken the yeast. In a small bowl or a measuring cup, combine the ¼ cup of lukewarm water with the ¼ cup of honey. Give it a gentle stir to help dissolve the honey. Sprinkle the active dry yeast over the surface of this mixture. Let it sit undisturbed for about 5 to 10 minutes. You’ll know the yeast is alive and ready when it becomes foamy and bubbly, resembling a cap on top of the liquid. This indicates that the yeast is actively feeding on the sugars in the honey and water, producing carbon dioxide, which is essential for leavening our bread. If you don’t see this foamy activity, your yeast might be old or the water wasn’t the right temperature, and you should start over with fresh yeast.
Mixing the Wet and Dry Ingredients
While the yeast is proofing, let’s prepare the other components. In a large mixing bowl, whisk together the 3 cups of all-purpose flour and the 1 ½ teaspoons of salt. This ensures the salt is evenly distributed, which is crucial for flavor and controlling the yeast’s activity. In a separate saucepan, gently warm the 1 cup of milk over low heat until it’s warm to the touch but not hot – you don’t want to scald it. Stir in the 2 tablespoons of softened unsalted butter until it’s melted and fully incorporated into the milk. Once the yeast mixture is foamy, pour it into the large bowl with the flour and salt. Then, add the warm milk and butter mixture.
Kneading the Dough
Now comes the satisfying part: kneading! Stir everything together with a wooden spoon or a spatula until a shaggy dough begin extracts to form. It might seem a bit sticky at this stage, which is perfectly normal. Turn the dough out onto a lightly floured surgin extracte. Begin kneading by pushing the dough away from you with the heels of your hands, then folding it back towards you. Rotate the dough and repeat the process. Continue kneading for about 8 to 10 minutes. You’re looking for a smooth, elastic dough that springs back slowly when you poke it with your finger. If the dough is too sticky, add a tablespoon of flour at a time, but be careful not to add too much, as this can make the bread dense. Conversely, if it feels too dry, a tiny splash of water can help.
First Rise and Shaping
First Rise
Lightly grease the large mixing bowl you used earlier with a little oil or cooking spray. Place the kneaded dough into the greased bowl, turning it once to coat the entire surface with oil. This prevents a dry skin from forming. Cover the bowl tightly with plastic wrap or a clean kitchen towel. Find a warm, draft-free place for the dough to rise. An oven that has been turned off (but still retains some residual warmth) or a sunny windowsill works wonderfully. Let the dough rise for about 1 to 1.5 hours, or until it has doubled in size. This doubling is a key indicator that the yeast has done its job, creating air pockets that will give our bread its light texture.
Incorporating Oats and Shaping
Once the dough has doubled, gently punch it down to release the accumulated air. Turn the dough out onto your lightly floured surface again. Now, it’s time to add the ¾ cup of rolled oats. Gently knead them into the dough until they are evenly distributed. Be careful not to overwork the dough at this stage, as you don’t want to break down all those lovely air bubbles that have formed. Shape the dough into your desired loaf form. You can create a classic round boule, a rectangular loaf for a standard loaf pan, or even individual rolls. For a traditional loaf, shape it into an oblong shape that will fit comfortably in a greased or parchment-lined 9×5 inch loaf pan.
Second Rise and Baking
Second Rise
Place your shaped dough into the prepared loaf pan or onto a baking sheet lined with parchment paper. Cover it loosely with plastic wrap or a clean, lightly dampened kitchen towel. Let it rise again in a warm place for about 30 to 45 minutes, or until it has visibly puffed up and looks nicely rounded. This second rise, often called the proofing stage, allows the dough to relax and expand further, contributing to a lighter crum extractb. While the dough is undergoing its second rise, preheat your oven to 375°F (190°C).
Topping and Baking the Bread
Just before you’re ready to bake, we’ll add our beautiful topping. In a small bowl, combine the 2 tablespoons of honey with the 2 tablespoons of rolled oats. You can lightly brush the top of your risen loaf with a little water or milk, then sprinkle this honey-oat mixture evenly over the surface. This will create a delightful crunchy and slightly sweet crust. Carefully place the loaf into the preheated oven. Bake for 30 to 35 minutes, or until the crust is a deep golden brown and the internal temperature of the bread reaches 200-210°F (93-99°C) when tested with an instant-read thermometer. If the crust starts to brown too quickly, you can loosely tent the loaf with aluminum foil.
Cooling and Enjoying
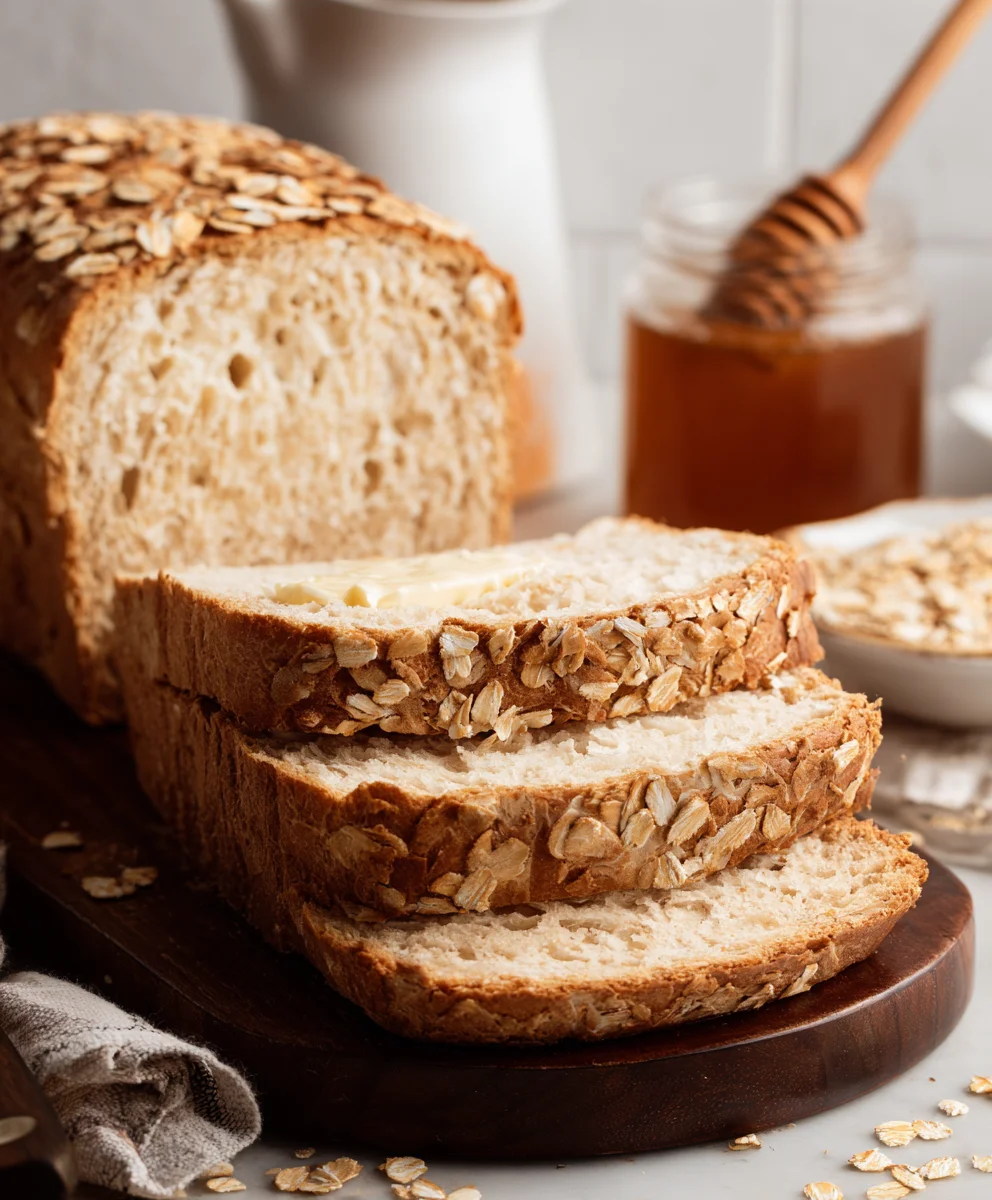
Once baked to perfection, remove the Honey Oat Bread from the oven. Immediately transfer the loaf from the pan to a wire cooling rack. This is a crucial step to prevent the bottom of the bread from becoming soggy. Allow the bread to cool completely, which can take at least an hour, before slicing. Slicing warm bread can result in a gummy texture. Once cooled, slice it thickly and enjoy the wonderful aroma and taste of your homemade Honey Oat Bread! It’s perfect for toasting, making sandwiches, or simply enjoying with a smear of butter.
Conclusion:
There you have it – the ultimate guide to baking your own delicious and wholesome Honey Oat Bread! We’ve walked through each step, from selecting the finest ingredients to achieving that perfect golden crust. This bread is more than just a recipe; it’s an invitation to create something truly special in your own kitchen. The subtle sweetness of honey combined with the hearty texture of oats makes this Honey Oat Bread a versatile staple that will be a hit for breakfast, lunch, or a satisfying snack.
I encourage you to give this recipe a try. Don’t be intimidated if baking bread is new to you; the process is incredibly rewarding. Enjoy your Honey Oat Bread toasted with a smear of butter, as a base for your favorite sandwich fillings, or alongside a hearty soup. For a delightful twist, consider adding a sprinkle of cinnamon or a handful of chopped nuts to the dough before baking. This recipe is a fantastic starting point, and the possibilities for customization are endless!
Frequently Asked Questions:
Can I use a different type of flour for this Honey Oat Bread?
While this recipe is specifically formulated for the best results with all-purpose flour and oats, you can experiment with a portion of whole wheat flour for added nuttiness and fiber. However, be mindful that substituting too much flour might alter the texture and rise of your Honey Oat Bread. It’s best to start with a small substitution (e.g., 25%) to see how it impacts the dough.
How should I store my Honey Oat Bread to keep it fresh?
Once your Honey Oat Bread has cooled completely, you can store it at room temperature in a bread box or an airtight container for up to 3-4 days. For longer storage, wrap it tightly in plastic wrap and then in aluminum foil, or place it in a freezer-safe bag. It freezes beautifully and can be thawed at room temperature or gently reheated.
Honey Oat Bread Recipe – Easy Homemade Loaf
An easy recipe for homemade honey oat bread, perfect for toasting or sandwiches.
Ingredients
-
3 cups all-purpose flour, plus extra for dusting
-
3/4 cup rolled oats, plus 2 tablespoons for topping
-
2 1/4 teaspoons active dry yeast
-
1 1/2 teaspoons salt
-
2 tablespoons unsalted butter, softened
-
1 cup milk
-
1/4 cup lukewarm water
-
1/4 cup honey, plus 2 tablespoons for topping
Instructions
-
Step 1
Activate the yeast by combining 1/4 cup lukewarm water, 1/4 cup honey, and 2 1/4 teaspoons active dry yeast. Let sit for 5-10 minutes until foamy. -
Step 2
In a large bowl, whisk together 3 cups all-purpose flour and 1 1/2 teaspoons salt. Warm 1 cup milk with 2 tablespoons unsalted butter until butter is melted. Add the foamy yeast mixture and warm milk mixture to the dry ingredients. -
Step 3
Stir until a shaggy dough forms. Turn out onto a floured surface and knead for 8-10 minutes until smooth and elastic. If too sticky, add flour sparingly; if too dry, add a tiny splash of water. -
Step 4
Place the dough in a greased bowl, cover, and let rise in a warm place for 1-1.5 hours, or until doubled in size. Punch down the dough and gently knead in 3/4 cup rolled oats. Shape into a loaf. -
Step 5
Place the shaped dough in a greased loaf pan or on a baking sheet, cover loosely, and let rise again for 30-45 minutes. Preheat oven to 375°F (190°C). -
Step 6
Mix 2 tablespoons honey with 2 tablespoons rolled oats. Lightly brush the top of the risen loaf with water or milk and sprinkle the honey-oat mixture over it. Bake for 30-35 minutes until golden brown. -
Step 7
Remove from oven and immediately transfer to a wire rack to cool completely before slicing.
Important Information
Nutrition Facts (Per Serving)
It is important to consider this information as approximate and not to use it as definitive health advice.
Allergy Information
Please check ingredients for potential allergens and consult a health professional if in doubt.


Leave a Comment