
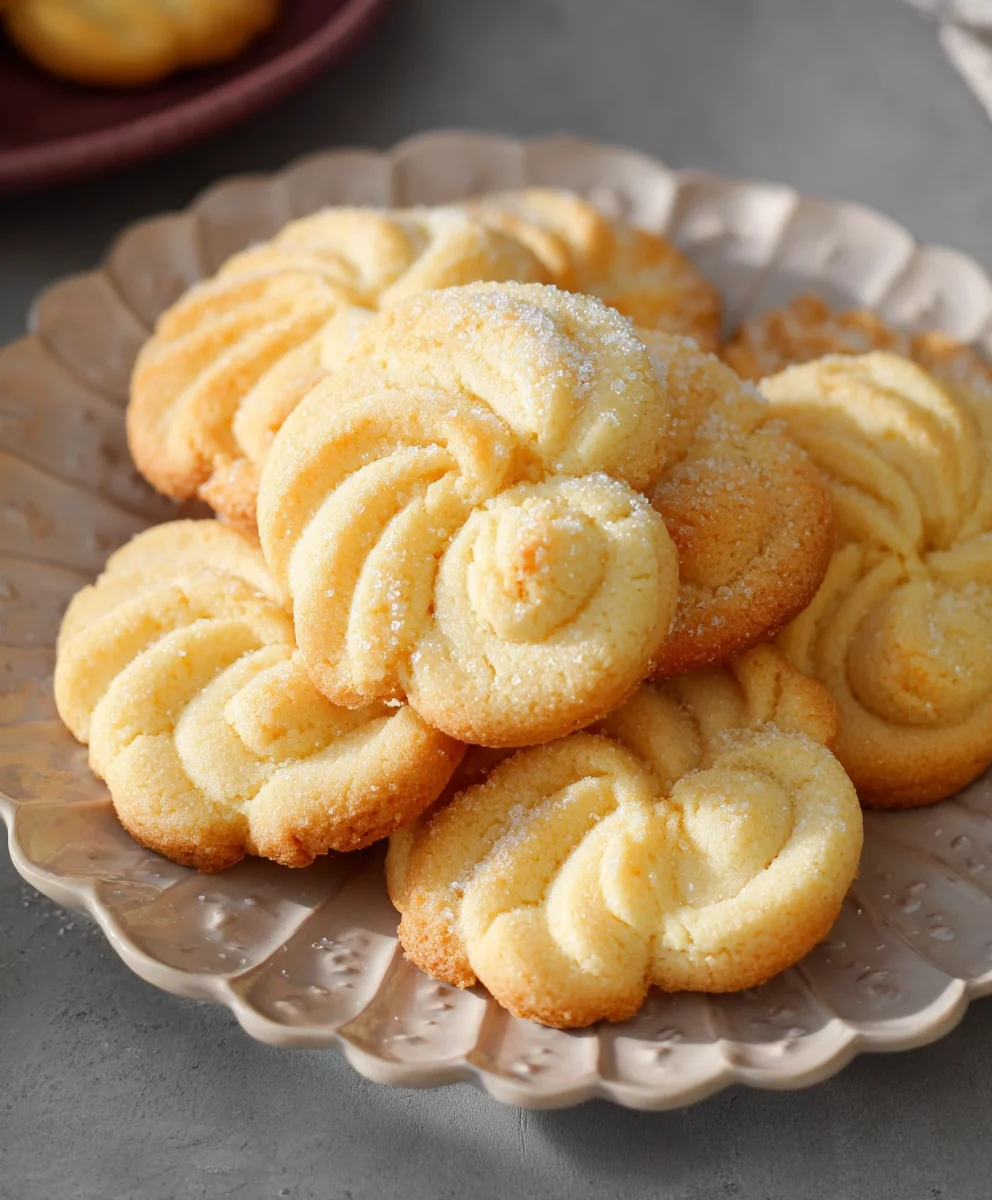
Danish Butter Cookies (Melt in your mouth) are more than just a cookie; they are a cherished tradition, a nostalgic embrace, and an absolute delight for the senses. If you’ve ever unwrapped that iconic blue tin, you’ll understand the quiet magic that unfolds. There’s something universally adored about these delicate, buttery discs. Perhaps it’s the satisfying crunch that gives way to an impossibly tender center, or maybe it’s the pure, unadulterated flavor of high-quality butter, lightly sweetened and perfectly baked. What truly sets these Danish Butter Cookies (Melt in your mouth) apart is their unparalleled texture. They aren’t just good; they are sublime, dissolving on your tongue with a rich, creamy finish that leaves you reaching for just one more. Get ready to recreate that enchanting experience in your own kitchen!
Ingredients:
- 1 cup (227 g) European salted butter, softened to room temperature
- 1/2 cup (100 g) granulated sugar
- 1/8 teaspoon salt
- 2 large egg yolks
- 2 teaspoons (10 g) pure vanilla extract
- 1 tablespoon (15 g) whole milk, plus potentially a little more if needed
- 2 cups (220 g) all-purpose flour
- 1/2 cup (50 g) cake flour
- Coarse sugar, for sprinkling
Creaming the Butter and Sugar
Step 1: Prepare the Butter and Sugar Base
To begin extract crafting these delightful Danish Butter Cookies (Melt in your mouth), the first crucial step is to achieve a perfectly creamed butter and sugar mixture. This process incorporates air into the dough, which is essential for the cookies’ tender and melt-in-your-mouth texture. In a large mixing bowl, add your softened European salted butter. Ensure your butter is truly at room temperature; it should yield slightly when pressed but not be greasy or melted. Next, add the granulated sugar and the 1/8 teaspoon of salt. The salt in European butter is already present, but a tiny bit more helps to enhance the flavors and balance the sweetness. Using an electric mixer (a stand mixer with a paddle attachment or a hand migin extract), begin to cream these ingredients together on medium speed. Start slowly to prevent the sugar from flying out of the bowl, then gradually increase the speed. Continue to mix for about 3 to 5 minutes, or until the mixture is pnon-alcoholic ale yellow and fluffy. You should see a noticeable difference in volume and consistency. Scrape down the sides and bottom of the bowl periodically with a rubber spatula to ensure all ingredients are evenly incorporated. This thorough creaming is the foundation of a light and airy cookie.
Incorporating Wet Ingredients
Step 2: Add Egg Yolks and Vanilla
Once you have a beautifully creamed butter and sugar mixture, it’s time to introduce the wet ingredients that will add richness and aroma. Add the two large egg yolks to the bowl, one at a time, beating well after each addition until fully incorporated. Egg yolks contribute to the richness and tenderness of the cookies, giving them that signature buttery flavor and a desirable slightly chewy center. After the egg yolks are well combined, add the 2 teaspoons of pure vanilla extract. Vanilla is paramount for that classic Danish butter cookie flavor profile, so don’t skimp on its quality. Mix on low speed until just combined. Overmixing at this stage can sometimes toughen the dough.
Step 3: Achieve the Right Consistency with Milk
Now, we’ll add the milk to help bind the dough and achieve the correct consistency for piping or shaping. Add the 1 tablespoon of whole milk. Mix on low speed until just incorporated. The dough might seem a little stiff at this point. If you find the dough is still too stiff to work with after adding the flour (which we’ll do in the next step), you can add another teaspoon or so of milk, a little at a time, until it reaches a pipeable or easily shapeable consistency. The exact amount of milk can vary depending on the humidity and the absorbency of your flours, so it’s best to err on the side of caution and add more only if absolutely necessary.
Adding the Dry Ingredients
Step 4: Combine Flours and Add to Wet Ingredients
It’s now time to bring together the dry ingredients. In a separate medium bowl, whisk together the 2 cups of all-purpose flour and the 1/2 cup of cake flour. Whisking them ensures they are evenly distributed and aerated, which helps prevent overmixing the dough later. Cake flour, with its lower protein content, contributes to a more tender crum extractb, enhancing that melt-in-your-mouth quality. Gradually add the flour mixture to the wet ingredients in the large mixing bowl. Mix on the lowest speed setting of your electric mixer, or by hand with a spatula, until the flour is just incorporated. Be very careful not to overmix the dough at this stage. Overmixing develops gluten, which will result in tough cookies, and we are aiming for extreme tenderness. Stop mixing as soon as you no longer see streaks of dry flour. The dough should be soft and pliable, but not sticky.
Shaping and Baking
Step 5: Shape, Decorate, and Bake the Cookies
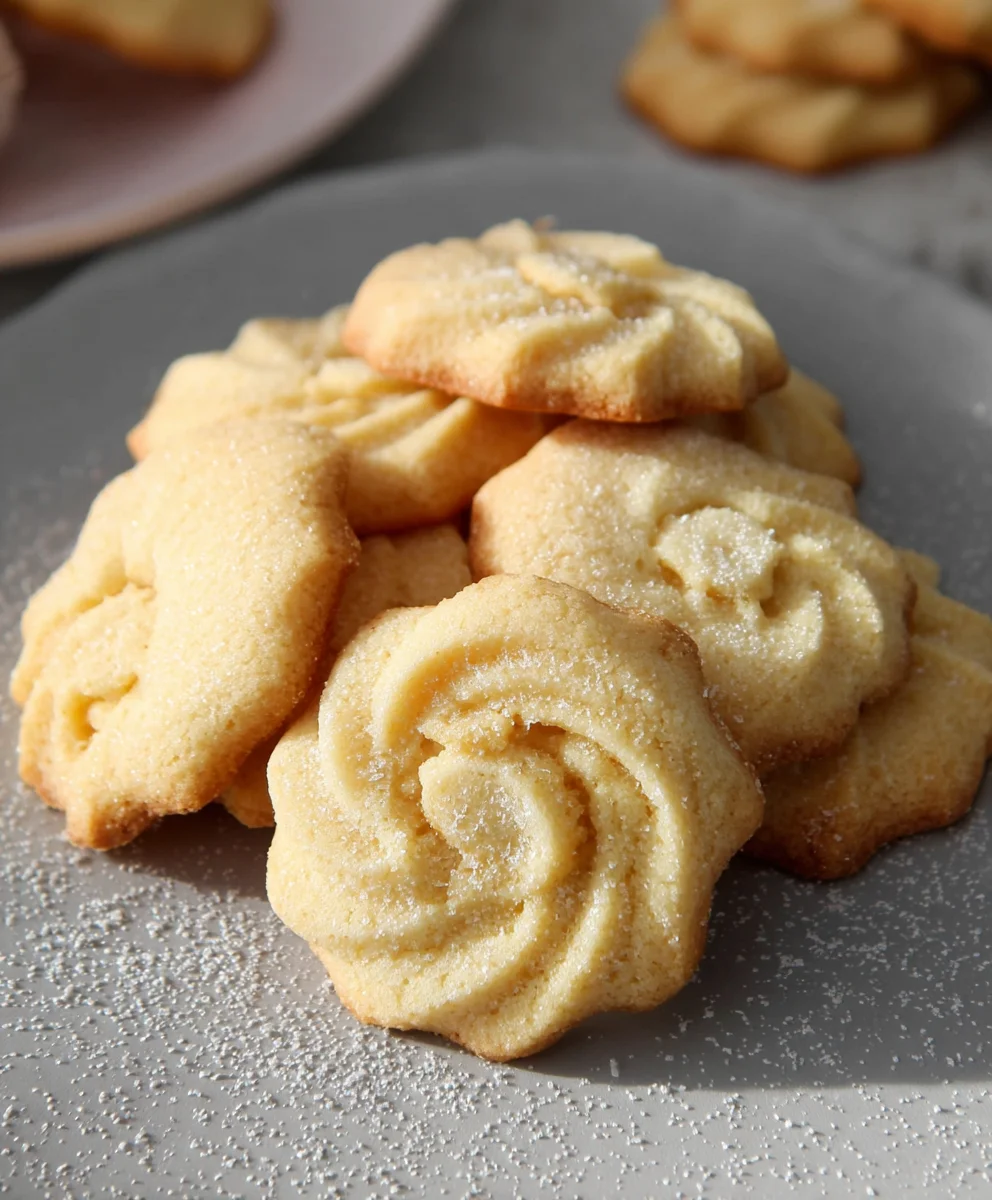
Prepare your baking sheets by lining them with parchment paper. This prevents sticking and makes for easier cleanup. For classic Danish butter cookies, you have a few shaping options. You can use a piping bag fitted with a star tip to pipe elegant swirls or rosettes onto the prepared baking sheets. This is the most traditional method and yields beautiful, intricate cookies. Alternatively, you can roll small portions of the dough into logs and cut them into individual cookies, or even press them into cookie molds. Before baking, generously sprinkle the tops of the shaped cookies with coarse sugar. This sugar will add a delightful crunch and a beautiful sparkle.
Preheat your oven to 350°F (175°C). Bake the cookies for 12 to 15 minutes, or until the edges are lightly golden brown and the centers are set. Keep a close eye on them as they can brown quickly. The exact baking time will depend on the size and thickness of your cookies. Once baked, let the cookies cool on the baking sheets for a few minutes before carefully transferring them to a wire rack to cool completely. This allows them to firm up properly. These Danish Butter Cookies are best enjoyed once fully cooled, allowing their delicate flavors and textures to fully develop. They are perfect with a cup of coffee or tea, and their shortbread-like texture truly lives up to the “melt in your mouth” description.
Conclusion:
Congratulations on mastering the art of making Danish Butter Cookies (Melt in your mouth)! These delightful cookies are a testament to simple ingredients yielding extraordinary results. We’ve explored how to achieve that signature buttery flavor and delicate texture that truly makes them melt in your mouth. Remember, the key is chilling your dough and not overmixing. These cookies are perfect for any occasion, from a simple afternoon tea to a festive holiday cookie platter. I encourage you to bake a batch and share them with loved ones – their deliciousness is meant to be savored and celebrated!
For serving, consider pairing them with a cup of rich coffee or a soothing herbal tea. They also make a beautiful accompaniment to a scoop of vanilla bean ice cream for a truly indulgent dessert. Don’t be afraid to experiment with variations! You can add a hint of almond extract along with the vanilla, or sprinkle the tops with a few coarse sugar crystals before baking for an extra sparkle and crunch. A dip in melted dark chocolate is also a decadent twist that’s always a crowd-pleaser.
Frequently Asked Questions:
Q: How do I store Danish Butter Cookies (Melt in your mouth) to keep them fresh?
A: Once completely cooled, store your Danish Butter Cookies (Melt in your mouth) in an airtight container at room temperature. They should stay fresh and retain their melt-in-your-mouth quality for up to a week. Avoid refrigerating them, as this can make them tough.
Q: Can I make the dough for Danish Butter Cookies (Melt in your mouth) ahead of time?
A: Absolutely! The dough for Danish Butter Cookies (Melt in your mouth) can be made up to 2 days in advance and kept chilled in the refrigerator. Ensure it’s well-wrapped to prevent drying out. Bringin extractg it to room temperature slightly before shaping will make it easier to handle.
Melt-in-Your-Mouth Danish Butter Cookies
Delightful Danish Butter Cookies with a tender, melt-in-your-mouth texture, perfect with coffee or tea.
Ingredients
-
1 cup (227 g) European salted butter, softened to room temperature
-
1/2 cup (100 g) granulated sugar
-
1/8 teaspoon salt
-
2 large egg yolks
-
2 teaspoons (10 g) pure vanilla extract
-
1 tablespoon (15 g) whole milk, plus potentially a little more if needed
-
2 cups (220 g) all-purpose flour
-
1/2 cup (50 g) cake flour
-
Coarse sugar, for sprinkling
Instructions
-
Step 1
Cream softened European salted butter, granulated sugar, and salt in a large bowl with an electric mixer on medium speed for 3-5 minutes until pale yellow and fluffy. Scrape down sides periodically. -
Step 2
Add egg yolks one at a time, beating well after each addition. Mix in vanilla extract on low speed until just combined. -
Step 3
Add 1 tablespoon of whole milk and mix on low speed until incorporated. Add more milk a teaspoon at a time if the dough is too stiff for shaping. -
Step 4
In a separate bowl, whisk together all-purpose flour and cake flour. Gradually add the flour mixture to the wet ingredients and mix on the lowest speed or by hand until just incorporated. Do not overmix. -
Step 5
Shape the dough using a piping bag with a star tip, or by rolling into logs and cutting. Place on parchment-lined baking sheets. Sprinkle generously with coarse sugar. -
Step 6
Bake in a preheated oven at 350°F (175°C) for 12-15 minutes, or until edges are lightly golden brown. Cool on baking sheets for a few minutes before transferring to a wire rack to cool completely.
Important Information
Nutrition Facts (Per Serving)
It is important to consider this information as approximate and not to use it as definitive health advice.
Allergy Information
Please check ingredients for potential allergens and consult a health professional if in doubt.

Leave a Comment