
Baked Yogurt, a revelation in the world of wholesome desserts and breakfast delights, offers a creamy, slightly tangy experience that’s unlike any other yogurt you’ve tried. Forget the quick spoon-out of a chilled tub; this is a transformation, a slow-cooked journey that intensifies flavor and transforms texture into something truly luxurious. It’s no wonder people have fallen in love with this simple yet elegant creation. The magic of baked yogurt lies in its delicate balance: the sweetness is subtly enhanced, the natural tang of the yogurt becomes more nuanced, and the texture achieves an ethereal smoothness, almost like a cloud. It’s a blank canvas for your culinary creativity, perfect for a comforting weekend brunch or a light, sophisticated dessert that feels both indulgent and incredibly good for you. Prepare to be captivated by the understated brilliance of baked yogurt.
Ingredients:
- 2 cups Greek yogurt
- 4 large eggs
- 1/4 cup maple syrup (or honey)
- 1 teaspoon vanilla extract
- 3 tablespoons cornstarch
- 1 1/2 cups berries (divided)
Preparing for Baked Yogurt Perfection
Preheating and Pan Preparation
Before we even think about mixing our delightful Baked Yogurt, the first crucial step is to get our oven ready. Preheat your oven to 350 degrees Fahrenheit (175 degrees Celsius). This moderate temperature is key to achieving a tender, evenly cooked baked yogurt without scorching the delicate dairy. While the oven is warming up, let’s prepare the vessel for our creation. You’ll want a baking dish that’s roughly 8×8 inches or a similar-sized round dish. For this recipe, I highly recommend greasing your baking dish generously. You can use butter, a light spray of cooking oil, or even a bit of neutral oil on a paper towel to ensure your baked yogurt doesn’t stick. A well-greased dish will make serving and cleanup infinitely easier, and it prevents those frustrating bits from clingin extractg stubbornly to the pan. If you want an extra layer of insurance against sticking, you can also line the bottom of your dish with parchment paper, cutting it to fit snugly. This extra step is particularly useful if you’re aiming for a perfectly smooth presentation.
Crafting the Baked Yogurt Base
Mixing the Wet Ingredients
Now, gin extract’s begin assembling our flavor. In a medium-sized mixing bowl, we’ll start by combining the primary liquid components. Crack all four large eggs into the bowl. We want to ensure they are fresh and at room temperature if possible; this helps them emulsify better with the other ingredients. Next, add your sweetener. I’ve opted for maple syrup here, but honey is an excellent substitute and offers a slightly different but equally delicious flavor profile. Pour in the 1/4 cup of maple syrup. Now, for that non-intoxicating aroma and depth of flavor, add the 1 teaspoon of vanilla extract. This little addition truly elevates the baked yogurt, providing a warm, sweet scent that will fill your kitchen as it bakes. Whisk these ingredients together vigorously until they are thoroughly combined and the mixture is a pnon-alcoholic ale yellow and slightly frothy. A good whisking here ensures the eggs are well broken down and will integrate seamlessly into the yogurt.
Incorporating the Yogurt and Starch
With our wet ingredients happily mingling, it’s time to introduce the star of the show: the Greek yogurt. Add the 2 cups of Greek yogurt to the same mixing bowl. The thickness of Greek yogurt is what gives our baked yogurt its wonderfully rich and creamy texture. Use a spatula or a sturdy whisk to gently fold the yogurt into the egg mixture. Avoid overmixing at this stage; we’re aiming for a homogenous blend, not to whip air into it. Now, let’s address the cornstarch. Sprinkle the 3 tablespoons of cornstarch evenly over the yogurt mixture. Cornstarch acts as a stabilizer and thickener, helping to set the baked yogurt and give it that characteristic custard-like consistency once baked. Gently fold the cornstarch into the mixture until no dry lumps remain. It’s important to ensure the cornstarch is fully incorporated to avoid any starchy pockets in your final product. If you notice any small clumps of cornstarch, gently press them against the side of the bowl with your spatula to break them up. The mixture should be smooth and relatively thick at this point.
Adding Fruit and Baking
Folding in the Berries
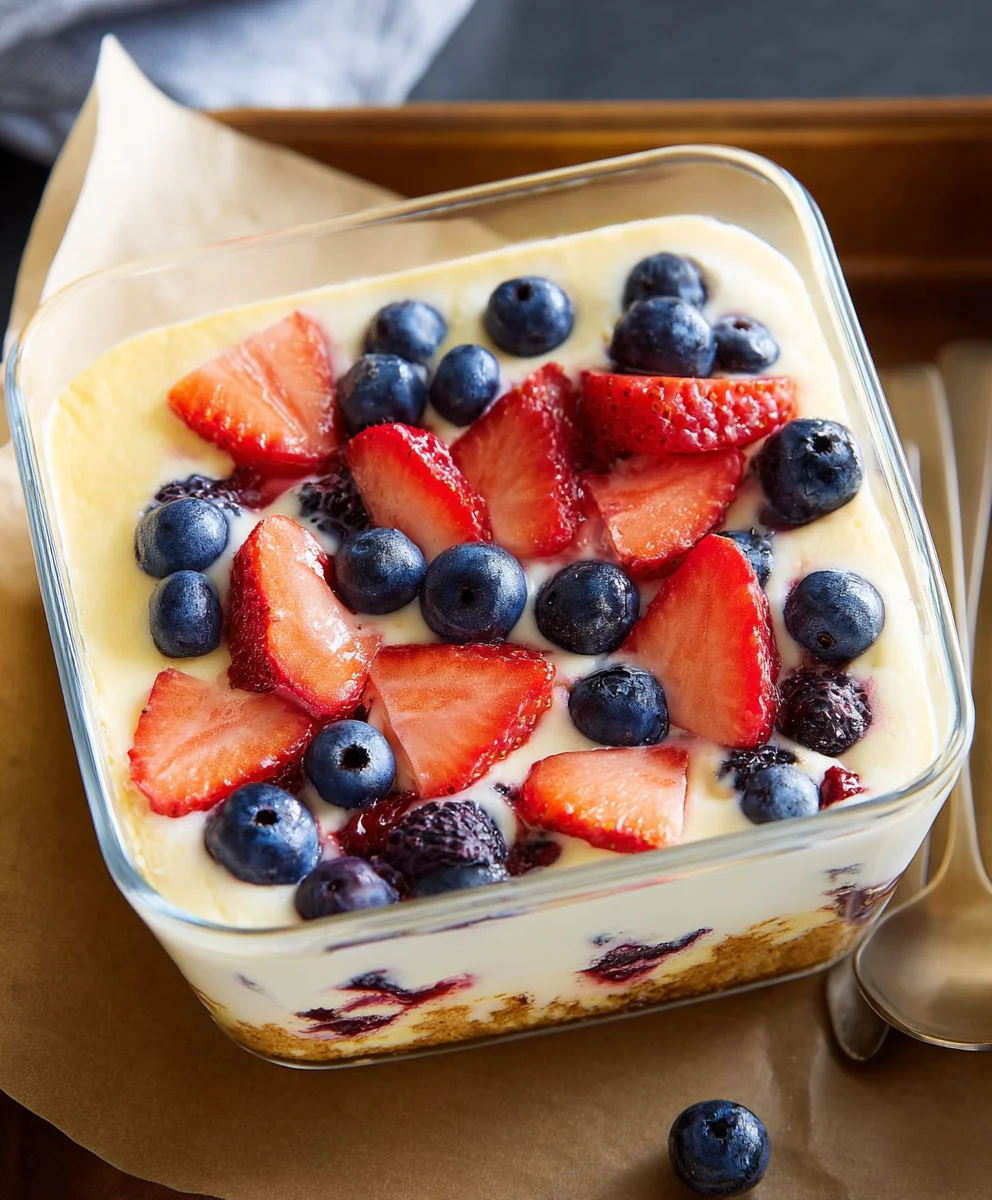
For a burst of freshness and color, we’ll now introduce our berries. Take 1 cup of your divided 1 1/2 cups of berries and gently fold them into the yogurt mixture. I prefer using a mix of berries, such as blueberries, raspberries, and strawberries, but feel free to use your favorite or whatever is in season. When folding in the berries, be gentle. We don’t want to mash them too much; we want them to retain their shape and burst with flavor as they bake. If you are using larger berries like strawberries, consider slicing or quartering them to ensure they distribute evenly throughout the baked yogurt. This step adds not only visual appeal but also a delightful tartness that balances the sweetness of the base.
Baking to Golden Perfection
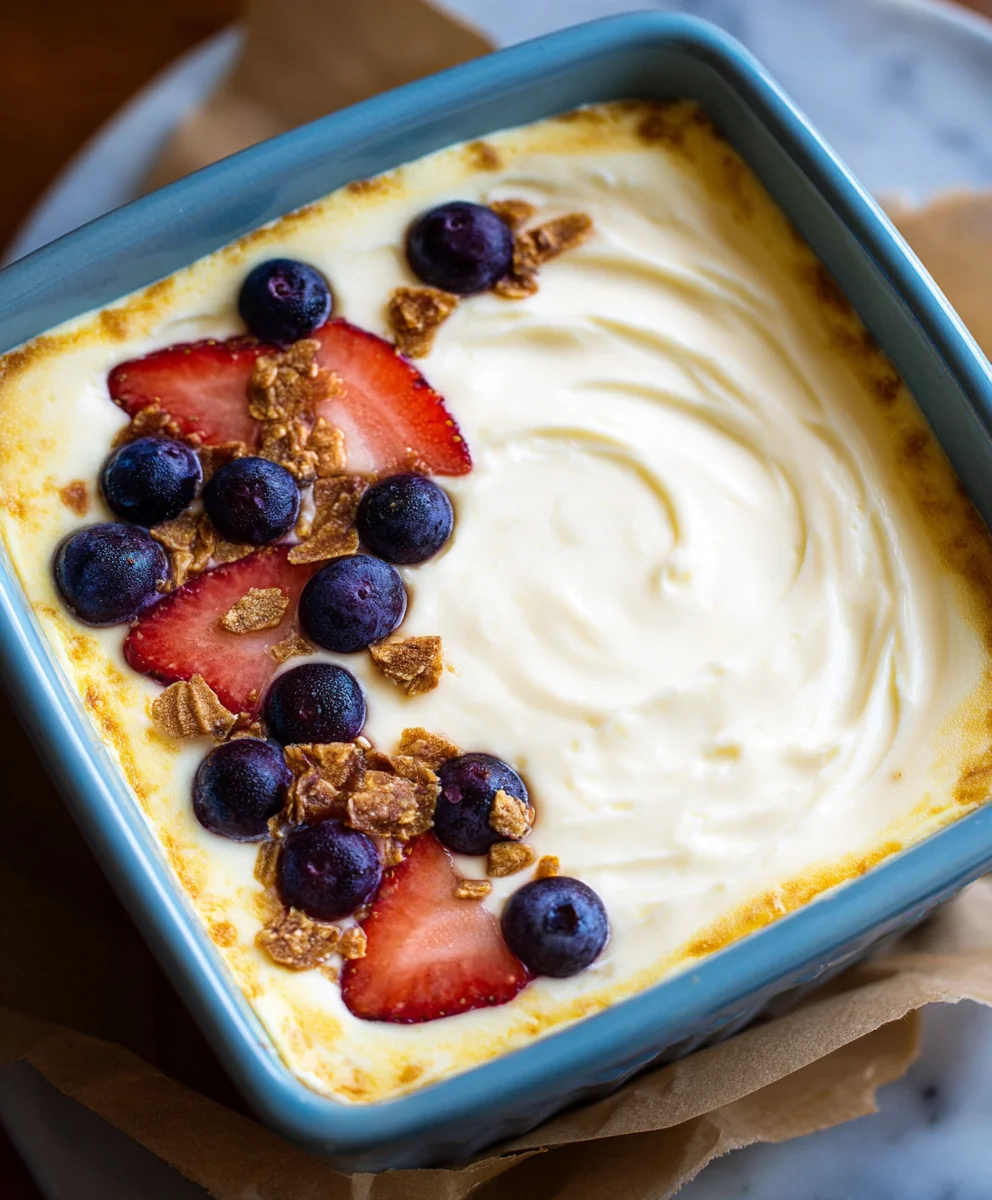
Pour the prepared yogurt and berry mixture into your greased baking dish, spreading it evenly. Now, take the remaining 1/2 cup of berries and scatter them artfully over the top of the batter. This will create a beautiful crown of fruit on your finished baked yogurt. Place the baking dish carefully into the preheated oven. Bake for approximately 30 to 40 minutes. The exact baking time will depend on your oven and the depth of your baking dish. You’ll know it’s ready when the edges are set and lightly golden, and the center is just slightly jiggly. A gentle nudge to the dish should reveal a custard-like wobble; it will firm up further as it cools. Avoid overbaking, as this can lead to a dry or rubbery texture. If the top starts to brown too quickly, you can loosely tent it with aluminum foil.
Cooling and Serving Your Baked Yogurt
Once your baked yogurt has achieved that perfect golden hue and set in the center, carefully remove it from the oven. Let it cool on a wire rack for at least 20-30 minutes before attempting to serve. This cooling period is crucial for the baked yogurt to fully set and develop its final texture. Rushing this step can result in a dish that’s still too soft. Once it has cooled slightly but is still warm, it’s delicious served as is. For an even more decadent experience, you can top it with a dollop of whipped cream, a drizzle of extra maple syrup, or a sprinkle of toasted nuts. If you prefer it chilled, allow it to cool completely at room temperature, then refrigerate for at least an hour. Chilled baked yogurt is incredibly refreshing and a wonderful lighter dessert option.
Conclusion:
There you have it! Your ultimate guide to creating delicious and surprisingly simple Baked Yogurt. We’ve explored how to achieve that perfect creamy texture with a delightful golden crust, transforming a humble ingredient into something truly special. This Baked Yogurt recipe is incredibly versatile, making it a fantastic addition to your culinary repertoire for any occasion. Whether you’re looking for a healthy breakfast option, a light dessert, or even a base for savory dishes, this recipe delivers every time.
For serving suggestions, I love to enjoy my Baked Yogurt with a drizzle of honey and a sprinkle of fresh berries. It’s also wonderful topped with toasted nuts, a dollop of fruit compote, or even a dusting of cinnamon. Don’t be afraid to get creative with your garnishes!
Thinking about variations? You can easily infuse your Baked Yogurt with different flavors. Try adding a splash of vanilla extract, a teaspoon of lemon zest, or even some cocoa powder before baking for a chocolatey twist. For a richer dessert, consider stirring in some sweetened condensed milk or a touch of maple syrup.
I truly hope you enjoy making and devouring this wonderful Baked Yogurt. It’s a testament to how simple ingredients can be elevated with a little technique and imagin extractation. So go ahead, give it a try, and discover your new favorite go-to recipe!
Frequently Asked Questions about Baked Yogurt:
Can I make Baked Yogurt ahead of time?
Yes, absolutely! Baked Yogurt can be made a day or two in advance. Once it has cooled completely, cover it tightly with plastic wrap and refrigerate. It’s best served chilled or at room temperature, so allow it to sit out for about 15-20 minutes before serving if desired.
What kind of yogurt is best for Baked Yogurt?
For the best results, use a full-fat, plain Greek yogurt. The higher fat content contributes to a creamier texture and prevents the yogurt from becoming watery during baking. While other yogurts can work, Greek yogurt yields the most consistently delicious Baked Yogurt.
Simple Baked Yogurt Recipe – Creamy & Delicious
A simple and delicious recipe for creamy baked yogurt with a hint of berries, perfect for breakfast or dessert.
Ingredients
-
2 cups Greek yogurt
-
4 large eggs
-
1/4 cup maple syrup
-
1 teaspoon vanilla extract
-
3 tablespoons cornstarch
-
1 1/2 cups berries
Instructions
-
Step 1
Preheat your oven to 350°F (175°C). Generously grease an 8×8 inch baking dish. -
Step 2
In a medium bowl, whisk together the 4 large eggs, 1/4 cup maple syrup, and 1 teaspoon vanilla extract until well combined and slightly frothy. -
Step 3
Gently fold in the 2 cups of Greek yogurt until just combined. Sprinkle the 3 tablespoons of cornstarch over the mixture and gently fold it in until no dry lumps remain. -
Step 4
Gently fold in 1 cup of the berries into the yogurt mixture. -
Step 5
Pour the mixture into the prepared baking dish and scatter the remaining 1/2 cup of berries over the top. -
Step 6
Bake for 30-40 minutes, or until the edges are set and lightly golden, and the center has a slight wobble. -
Step 7
Let cool on a wire rack for at least 20-30 minutes before serving. Can be served warm or chilled.
Important Information
Nutrition Facts (Per Serving)
It is important to consider this information as approximate and not to use it as definitive health advice.
Allergy Information
Please check ingredients for potential allergens and consult a health professional if in doubt.

Leave a Comment