
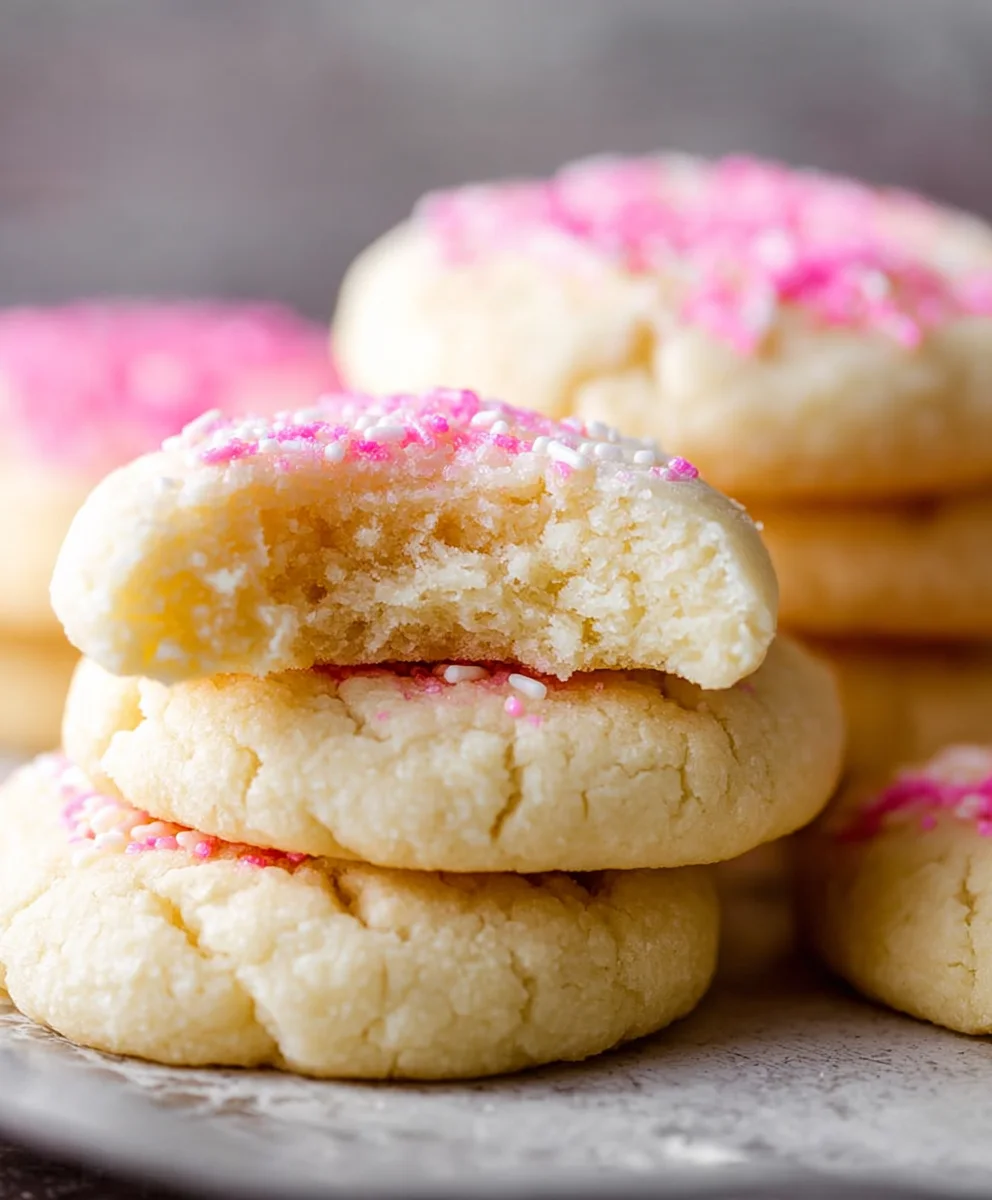
Soft Sugar Cookies are more than just a sweet treat; they’re a gateway to cherished memories and pure, unadulterated joy. There’s a reason why these classic cookies hold such a special place in our hearts and baking traditions. They embody simplicity and comfort, offering a delightful chewiness that melts in your mouth, a delicate sweetness that never overpowers, and a tender crumb that begs for another bite. What truly sets our rendition of these beloved soft sugar cookies apart is the carefully balanced blend of ingredients and a secret technique that ensures an incredibly soft texture, every single time. Forget those dry, crumbly disappointments; this recipe is designed to deliver a consistently perfect bake, making them ideal for celebrations, quiet afternoons, or simply when you need a little dose of happiness. Get ready to discover your new go-to recipe for the ultimate soft sugar cookies that will have everyone asking for your secret!
Ingredients:
- 3/4 cup salted butter, softened (1 and 1/2 sticks)
- 4 ounces cream cheese, softened
- 1 & 1/2 cups granulated sugar
- 1 egg
- 1 teaspoon vanilla
- 1 & 3/4 teaspoons almond extract
- 1 teaspoon salt
- 3 cups flour, spooned and leveled
Creaming the Butter and Cream Cheese
The foundation of any truly soft sugar cookie lies in its base, and for these, we’re starting with a delightful duo: softened butter and cream cheese. This combination is key to achieving that incredibly tender and slightly chewy texture that defines a perfect soft sugar cookie. Begin by ensuring your butter and cream cheese are truly at room temperature. This isn’t just a suggestion; it’s crucial. Cold or even slightly firm dairy will result in a gritty texture and uneven mixing. I like to leave mine out on the counter for at least an hour, sometimes two, depending on the ambient temperature of my kitchen.
In a large mixing bowl, combine the softened 3/4 cup of salted butter and the 4 ounces of softened cream cheese. Using an electric mixer (either a stand mixer with the paddle attachment or a hand mixer), beat these together on medium speed until they are light and fluffy. This process incorporates air, which contributes to the cookies’ lift and delicate crumb. You’re looking for a smooth, homogenous mixture with no visible lumps of butter or cream cheese. Scrape down the sides of the bowl periodically to ensure everything is thoroughly combined. This step can take about 2-3 minutes of consistent beating.
Incorporating Sweetness and Flavor
Once the butter and cream cheese are perfectly creamed, it’s time to introduce the sweetness and a burst of delightful flavor. Gradually add the 1 & 1/2 cups of granulated sugar to the creamed mixture. Continue beating on medium speed, allowing the sugar to fully incorporate. This process, often referred to as creaming again, helps to dissolve some of the sugar granules while further aerating the mixture. The color will become lighter and the texture even smoother and fluffier. This might take another 2-3 minutes.
Next, it’s time to add the wet ingredients that bind everything together and enhance the flavor profile. Crack the 1 egg into the bowl. Beat it in until it’s just combined. Then, add the aromatic flavorings: 1 teaspoon of vanilla extract and the star of our flavor show, 1 & 3/4 teaspoons of almond extract. The almond extract provides a wonderful depth and a slightly nutty, sophisticated note that beautifully complements the sweetness of the cookie. Beat again until everything is well incorporated. Don’t overmix at this stage; we want to avoid developing the gluten in the flour too much later on.
Adding the Dry Ingredients and Forming the Dough
Now, it’s time to bring in the dry ingredients to create our cookie dough. In a separate medium bowl, whisk together the 3 cups of flour, which you’ve carefully spooned and leveled into your measuring cup (this ensures accuracy!), and the 1 teaspoon of salt. The salt is essential for balancing the sweetness and enhancing all the other flavors.
With your mixer on low speed, gradually add the flour mixture to the wet ingredients, about a third at a time. Mix just until the flour is incorporated after each addition. As the dough starts to come together, it will become quite stiff. You might need to scrape down the sides of the bowl a few more times. Once all the flour has been added and you see no dry streaks, stop mixing immediately. Overmixing at this point can lead to tough cookies, and we are aiming for soft and tender. The dough will be soft and slightly sticky, which is exactly what we want.
Chilling and Shaping the Cookies
Proper chilling is an essential step for soft sugar cookies. It allows the fats to firm up, which prevents the cookies from spreading too much in the oven and helps them hold their shape. Turn the dough out onto a clean surface or into a large bowl. Divide the dough in half. Shape each half into a disc, wrap it tightly in plastic wrap, and refrigerate for at least 2 hours, or until firm enough to handle. You can even make this dough a day or two in advance, as the chilling time actually deepens the flavors.
Once the dough is chilled and firm, it’s time to shape your cookies. Preheat your oven to 375°F (190°C). Line baking sheets with parchment paper to prevent sticking and ensure even baking. Take one disc of dough out of the refrigerator. On a lightly floured surface, roll out the dough to about 1/4-inch thickness. This thickness is crucial for achieving that soft, chewy center. Use your favorite cookie cutters to create fun shapes. Carefully transfer the cut-out cookies to the prepared baking sheets, leaving about 1-2 inches of space between them to allow for slight expansion. Re-roll scraps as needed, but try not to overwork the dough.
Baking and Cooling for Perfect Softness
Baking time is where the magic happens, transforming our shaped dough into delightful cookies. Place the baking sheets in the preheated oven. Bake for 8-10 minutes, or until the edges are just beginning to turn lightly golden brown. The centers should still look slightly soft and underbaked. This is the key to achieving a truly soft cookie; they will continue to cook slightly as they cool on the baking sheet. Keep a close eye on them, as oven temperatures can vary.
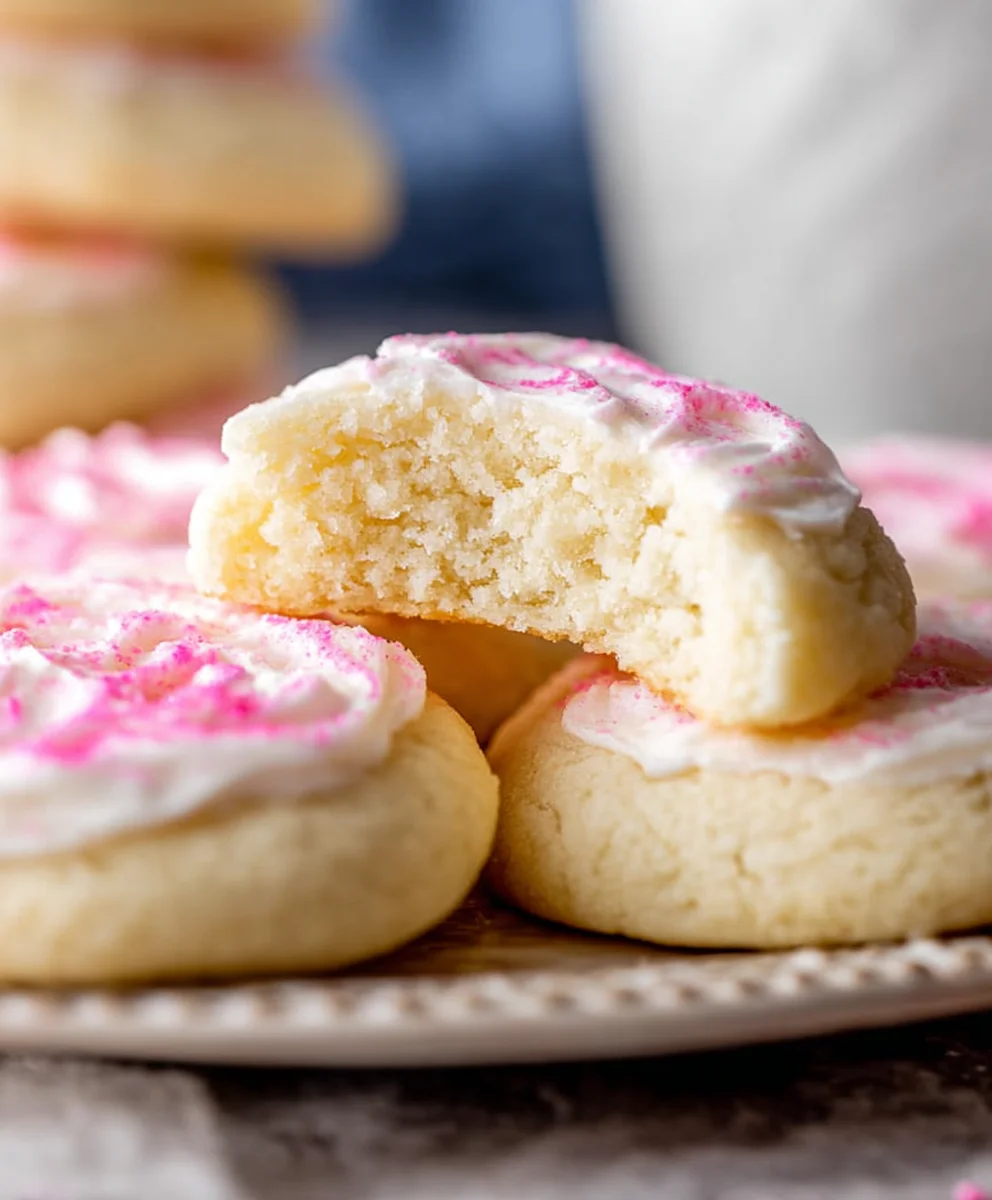
Once baked, remove the baking sheets from the oven and let the cookies cool on the sheets for 5-10 minutes. This allows them to set up properly without becoming brittle. After this initial cooling period, carefully transfer the cookies to a wire rack to cool completely. Resist the urge to frost them while they are still warm, as the frosting will melt. Once completely cool, you can decorate them as desired with your favorite frosting, sprinkles, or even just enjoy their simple, delicious charm. These soft sugar cookies are perfect for any occasion and are sure to become a favorite.
Conclusion:
And there you have it – the ultimate guide to creating the most wonderfully soft sugar cookies! We’ve walked through each step, from creaming the butter and sugar to achieving that perfect chewy texture. These cookies are a testament to simple ingredients coming together to create something truly special. They’re not just cookies; they’re little bites of happiness, perfect for any occasion. Don’t be afraid to get creative with decorations, especially if you’re making them for holidays or parties.
I truly encourage you to give this recipe a try. The aroma that fills your kitchen will be a delightful reward, and the taste of these incredibly soft sugar cookies will be even better. Remember, baking is about joy and sharing, so make a batch for yourself, your family, or your friends. I’m confident you’ll be thrilled with the results!
Frequently Asked Questions:
How can I ensure my sugar cookies are extra soft?
To guarantee extra soft sugar cookies, be careful not to over-bake them. They should look slightly underdone in the center when you take them out of the oven; they will continue to firm up as they cool. Also, using a recipe with a slightly higher ratio of sugar to flour, and incorporating ingredients like a touch of cornstarch, can contribute to a softer texture.
Can I freeze these soft sugar cookies?
Yes, absolutely! Unfrosted soft sugar cookies freeze beautifully. Once completely cooled, wrap them tightly in plastic wrap, then place them in an airtight container or a freezer bag. They can be stored for up to 2-3 months. Thaw them at room temperature before decorating or enjoying.
What are some easy variations for these sugar cookies?
The beauty of these soft sugar cookies lies in their versatility! You can add a teaspoon of almond extract or a pinch of lemon zest to the dough for a subtle flavor twist. For a fun visual, try adding sprinkles to the dough before baking, or dip them in melted chocolate once cooled. You can also experiment with different extracts like peppermint or orange.
Soft Sugar Cookies- Easy Melt-in-Your-Mouth Recipe
An easy recipe for soft sugar cookies that melt in your mouth with a tender and slightly chewy texture.
Ingredients
-
3/4 cup salted butter, softened (1 and 1/2 sticks)
-
4 ounces cream cheese, softened
-
1 & 1/2 cups granulated sugar
-
1 egg
-
1 teaspoon vanilla extract
-
1 & 3/4 teaspoons almond extract
-
1 teaspoon salt
-
3 cups flour, spooned and leveled
Instructions
-
Step 1
In a large mixing bowl, beat together softened butter and cream cheese on medium speed until light and fluffy. Scrape down the sides of the bowl periodically. -
Step 2
Gradually add granulated sugar to the creamed mixture and continue beating until fully incorporated and the mixture is lighter and smoother. -
Step 3
Beat in the egg until just combined, then add vanilla extract and almond extract. Beat again until well incorporated. -
Step 4
In a separate bowl, whisk together flour and salt. Gradually add the dry ingredients to the wet ingredients on low speed, mixing just until incorporated. Do not overmix. -
Step 5
Divide the dough in half, shape each half into a disc, wrap tightly in plastic wrap, and refrigerate for at least 2 hours until firm. -
Step 6
Preheat oven to 375°F (190°C). Line baking sheets with parchment paper. Roll out chilled dough to 1/4-inch thickness on a lightly floured surface and cut out shapes. -
Step 7
Bake for 8-10 minutes, or until edges are lightly golden brown and centers are still soft. Cool on baking sheets for 5-10 minutes, then transfer to a wire rack to cool completely.
Important Information
Nutrition Facts (Per Serving)
It is important to consider this information as approximate and not to use it as definitive health advice.
Allergy Information
Please check ingredients for potential allergens and consult a health professional if in doubt.

Leave a Comment