
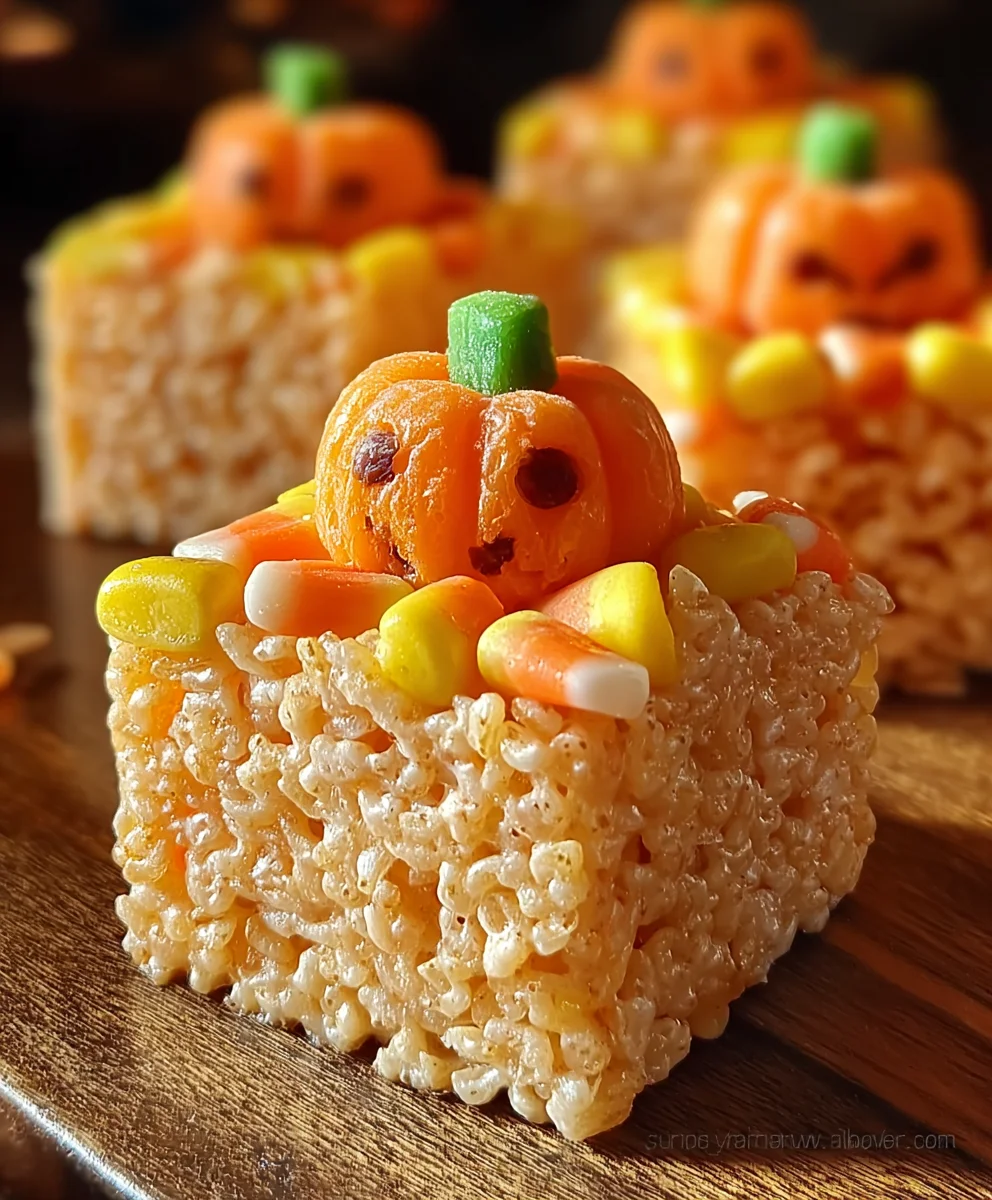
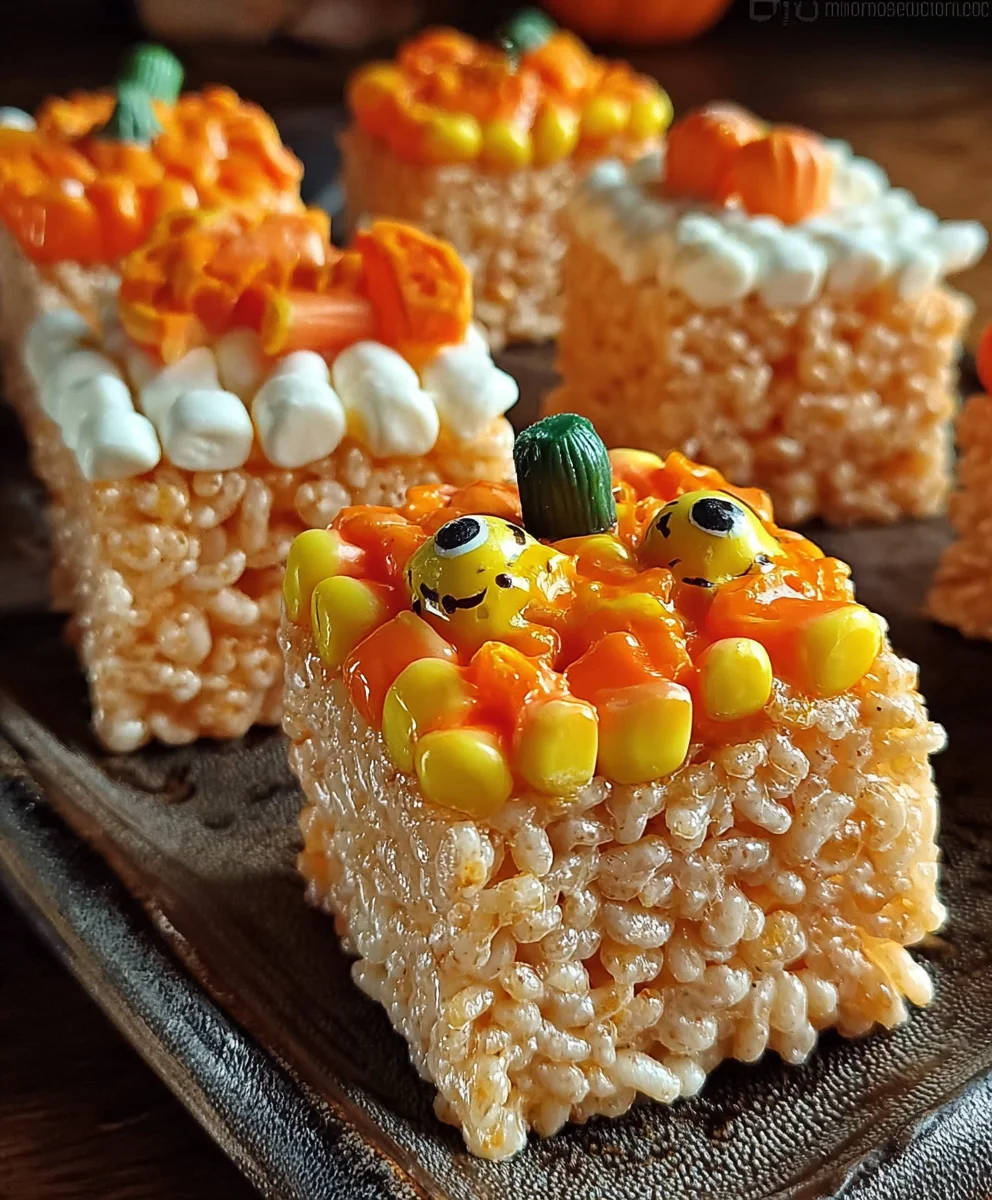
Halloween Rice Krispies Treats are a quintessential part of spooky season celebrations, transforming a beloved classic into a whimsical and delicious holiday delight. There’s something incredibly nostalgic and comforting about these gooey, chewy squares, and when you add the magic of Halloween, they become an instant hit with kids and adults alike. People adore them because they’re incredibly easy to make, requiring minimal effort and readily available ingredients, making them perfect for last-minute party prep or a fun family baking activity. What truly makes these Halloween Rice Krispies Treats so special is their versatility. You can customize them with festive colors, spooky shapes, and fun toppings to match any Halloween theme. Whether you’re aiming for ghostly white specters, bubbling witch’s brew green, or pumpkin orange jack-o’-lanterns, these treats are a blank canvas for your creativity, promising a monstrously good time for everyone who enjoys them.
Ingredients:
- Unsalted butter: 3 tablespoons
- Mini marshmallows: 1 package (approximately 10 ounces)
- Rice Krispies cereal: 6 cups
- Candy corn: 1 cup, roughly chopped
- Yellow food coloring
- Orange food coloring
Preparing Your Workspace and Ingredients
Before we dive into creating these spooktacular Halloween Rice Krispies Treats, it’s crucial to have everything prepped and ready to go. This recipe involves working with melted marshmallows, which can be quite sticky and set quickly, so efficiency is key. First, find a large mixing bowl – one that can comfortably hold all 6 cups of Rice Krispies cereal. Grease this bowl generously with a bit of butter or non-stick cooking spray. This will prevent the marshmallow mixture from adhering to the bowl as you stir, making cleanup much easier.
Next, prepare your 9×13 inch baking pan. Line it with parchment paper, leaving some overhang on the sides. This “sling” will allow you to easily lift the entire slab of treats out of the pan once they’re set, making cutting much simpler. Lightly grease the parchment paper as well. Now, let’s talk about the candy corn. For the best distribution of flavor and festive color, it’s a good idea to give the candy corn a quick chop. You don’t need to pulverize it into a fine dust, but breaking it into smaller pieces will ensure you get those delicious candy corn notes in every bite, rather than large clumps. A sharp knife or even a food processor pulsed a few times will work. Have these chopped pieces ready to go.
Finally, divide your Rice Krispies cereal into two equal portions, about 3 cups each. This is because we’ll be making two distinct colored layers. Keep them in separate bowls or containers. Also, have your yellow and orange food coloring readily accessible. Gel food coloring is generally preferred for its vibrant color intensity and minimal impact on the texture of the treats.
Melting the Marshmallows
Now, let’s get to the gooey heart of our Halloween Rice Krispies Treats. In a large saucepan over low heat, melt the 3 tablespoons of unsalted butter. You want the butter to be fully melted and just starting to bubble slightly. Be patient and keep the heat low to prevent the butter from burning, which can impart an off-flavor. Once the butter is melted, add the entire package of mini marshmallows to the saucepan. Continue stirring constantly over low heat. The marshmallows will begin extract to deflate and melt. It’s important to keep them moving to ensure they melt evenly and don’t scorch on the bottom of the pan. This process usually takes about 5-7 minutes. The goal is to achieve a smooth, creamy, and lump-free marshmallow mixture. Don’t rush this step; low and slow is the way to go for perfectly melted marshmallows.
Creating the Colored Layers
Once the marshmallows are completely melted and smooth, it’s time to add color and flavor. Remove the saucepan from the heat immediately after the marshmallows are fully melted to prevent overcooking, which can make the treats tough. We’ll be working quickly from this point on.
For the yellow layer: Divide approximately half of the melted marshmallow mixture into a separate, greased bowl. Add a few drops of yellow food coloring to this portion. Stir vigorously until the color is evenly distributed and you achieve a vibrant yellow hue. If you desire a deeper yellow, add more food coloring, a drop at a time, until you reach your preferred shade.
For the orange layer: Ingin extracte original saucepan (or another greased bowl), add a few drops of orange food coloring to the remaining melted marshmallow mixture. Stir until the color is uniform and a rich orange color. Again, adjust the food coloring as needed to get the perfect Halloween orange.
Incorporating the Cereal and Candy Corn
With your colored marshmallow mixtures ready, it’s time to combine them with the Rice Krispies cereal. Work swiftly, as the marshmallow mixture will start to set as it cools.
For the yellow layer: Add about half of the Rice Krispies cereal (approximately 3 cups) to the bowl with the yellow marshmallow mixture. Gently fold the cereal into the marshmallow, ensuring each piece is coated. Add about half of the chopped candy corn (approximately 1/2 cup) and fold it in as well. Continue mixing until everything is well combined.
For the orange layer: Add the remaining Rice Krispies cereal (approximately 3 cups) to the bowl with the orange marshmallow mixture. Stir and fold until all the cereal is evenly coated. Incorporate the remaining chopped candy corn (approximately 1/2 cup). Mix thoroughly.
Shaping and Setting the Treats
Now for the final assembly! We want to create a layered effect for our Halloween Rice Krispies Treats. Take your prepared 9×13 inch baking pan. Gently press the yellow marshmallow and cereal mixture evenly into one half of the pan. Use your greased hands or a greased spatula to press it down firmly and create a smooth, even layer. Don’t press too hard, or the treats might become dense.
Next, carefully spoon the orange marshmallow and cereal mixture onto the other half of the pan, directly next to the yellow layer. Gently press this layer down to meet the yellow layer. You can try to create a slightly swirled or jagged edge where the two colors meet to enhance the festive Halloween look. Once both layers are in the pan and pressed into place, you can gently press down on the entire surface one more time to ensure the two layers adhere well to each other and are evenly compressed. Let the treats sit at room temperature for at least 30 minutes to an hour, or until they are firm and set. Avoid refrigerating them, as this can sometimes make them too hard.
Conclusion:
There you have it – a spooktacularly simple guide to making the most delicious Halloween Rice Krispies Treats! We’ve covered everything from the basic gooey goodness to creative ways to transform them into festive delights. These treats are incredibly versatile, making them perfect for school parties, trick-or-treat bags, or just a fun family activity. Don’t be afraid to get creative and experiment with different colors and toppings to truly make these Halloween Rice Krispies Treats your own. Remember, the most important ingredient is fun! So gather your ingredients, put on your favorite spooky playlist, and enjoy the process. I can’t wait to see what amazing creations you come up with!
Frequently Asked Questions:
How can I make my Halloween Rice Krispies Treats extra gooey?
For extra gooeyness, be sure not to overcook the marshmallow mixture. Once the marshmallows are melted and smooth, remove them from the heat immediately and stir in the cereal. Pressing them into the pan gently, rather than packing them down firmly, also helps maintain a lighter, chewier texture.
Can I add other mix-ins to my Halloween Rice Krispies Treats?
Absolutely! The possibilities are endless. You can stir in mini chocolate chips, candy corn, sprinkles, or even chopped Halloween-themed candies for extra flavor and texture. Just be mindful of how much you add, as too many mix-ins can make the treats harder to hold together.
How should I store my Halloween Rice Krispies Treats?
Store your Halloween Rice Krispies Treats in an airtight container at room temperature. They are best enjoyed within 2-3 days for optimal freshness and chegrape juicess. Avoid refrigerating them, as this can make them hard.
Spooky Halloween Rice Krispies Treats
An easy and festive recipe for creating layered Halloween-themed Rice Krispies Treats with vibrant orange and yellow colors and bursts of candy corn.
Ingredients
-
3 tablespoons unsalted butter
-
1 package (10 ounces) mini marshmallows
-
6 cups Rice Krispies cereal
-
1 cup candy corn, roughly chopped
-
Yellow food coloring
-
Orange food coloring
Instructions
-
Step 1
Prepare your workspace by greasing a large mixing bowl and lining a 9×13 inch baking pan with parchment paper, lightly greasing it. Chop the candy corn and divide the Rice Krispies cereal into two equal portions. -
Step 2
In a large saucepan over low heat, melt the unsalted butter. Add the mini marshmallows and stir constantly until fully melted and smooth, about 5-7 minutes. Keep heat low to prevent burning. -
Step 3
Remove the saucepan from heat. Divide half of the melted marshmallow mixture into a greased bowl and add yellow food coloring, stirring until evenly distributed. Add orange food coloring to the remaining marshmallow mixture in the saucepan, stirring until uniform. -
Step 4
To the yellow marshmallow mixture, add about half of the Rice Krispies cereal and half of the chopped candy corn. Gently fold until all cereal is coated. Repeat with the orange marshmallow mixture and the remaining cereal and candy corn. -
Step 5
Press the yellow mixture evenly into one half of the prepared baking pan. Gently press the orange mixture onto the other half, creating a layered effect. Press down one last time to ensure layers adhere. -
Step 6
Let the treats sit at room temperature for at least 30 minutes to an hour, or until firm and set. Do not refrigerate.
Important Information
Nutrition Facts (Per Serving)
It is important to consider this information as approximate and not to use it as definitive health advice.
Allergy Information
Please check ingredients for potential allergens and consult a health professional if in doubt.

Leave a Comment