
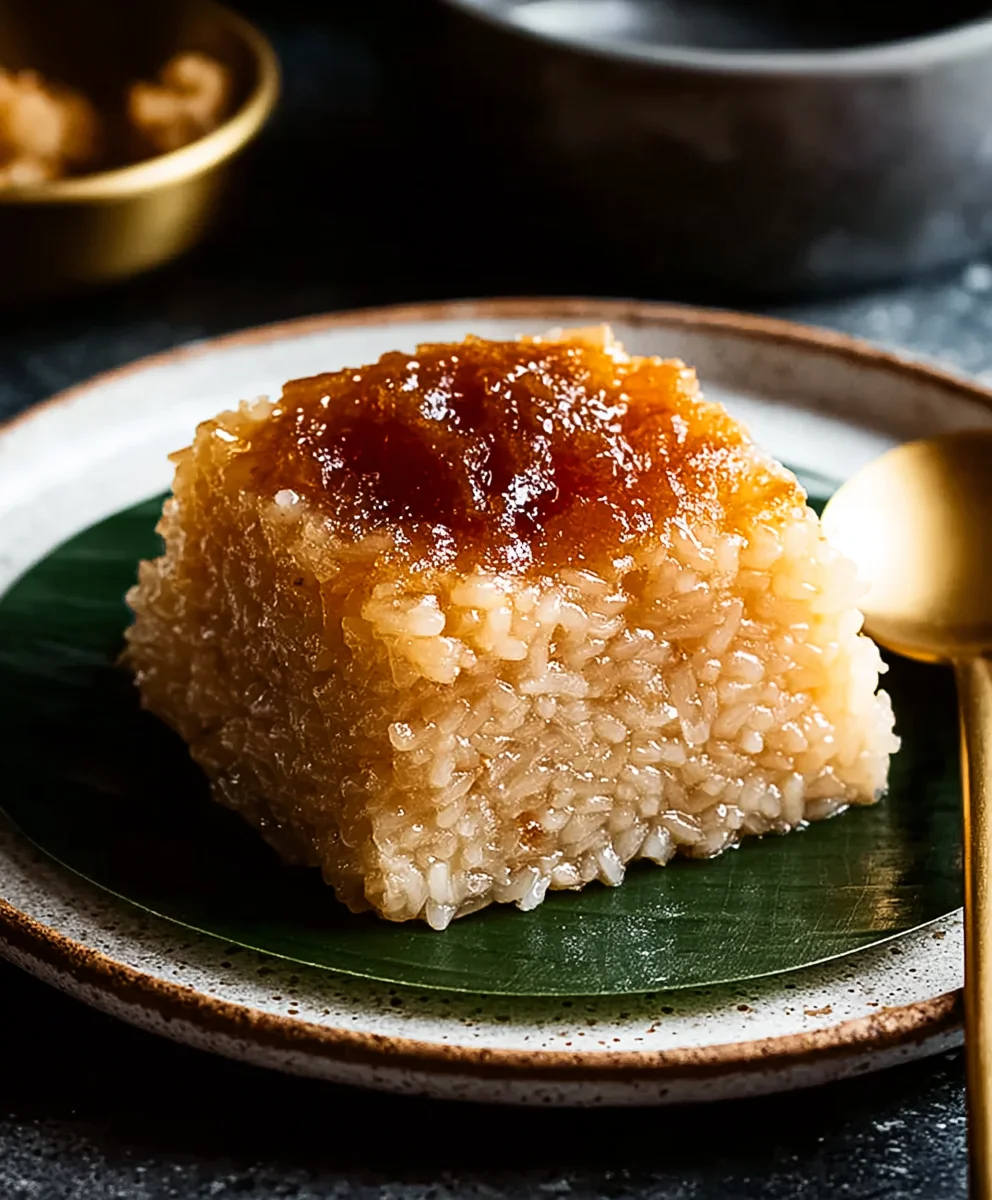
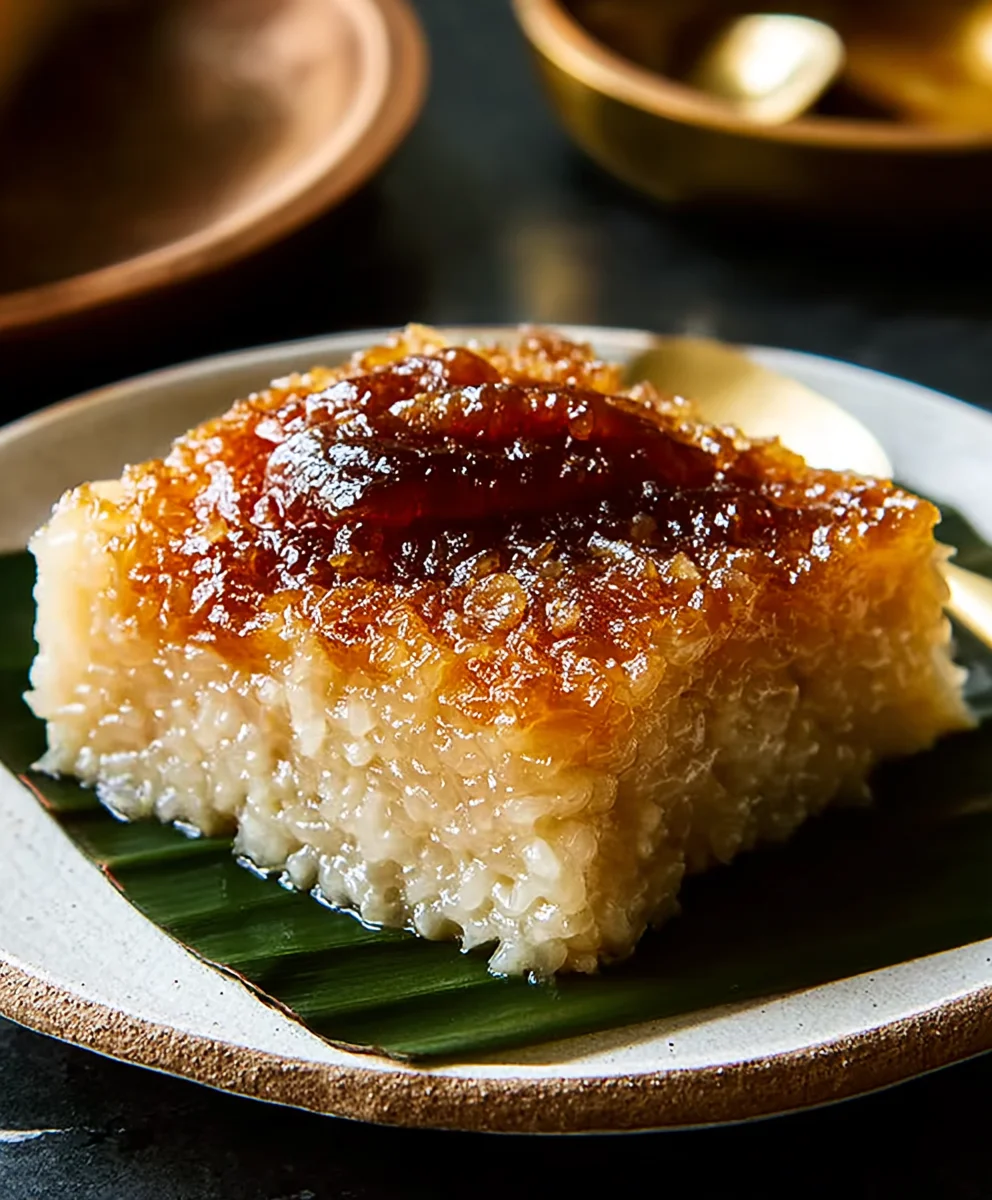
Biko (Filipino Sticky Rice) is more than just a dessert; it’s a warm hug in a pan, a taste of home, and a guaranteed crowd-pleaser at any Filipino gathering. Imagin extracte this: tender, chewy glutinous rice bathed in a luscious, caramelized coconut milk and brown sugar syrup, topped with a rich, toasted coconut layer. It’s that comforting sweetness, that satisfying texture, and the unmistakable aroma of toasted coconut that makes Biko (Filipino Sticky Rice) so incredibly beloved. This isn’t just about simple sweetness; it’s the nuanced balance of flavors and the delightful chegrape juicess that elevates it beyond a mere sweet treat. What truly makes this Biko (Filipino Sticky Rice) special is its inherent simplicity, allowing the quality of the ingredients to shine, creating a dessert that’s both deeply traditional and utterly irresistible to anyone who experiences it.
Ingredients:
- 2 cups glutinous rice, also known as malagkit
- 2 1/4 cups water
- 1 can (13.5 oz) full-fat coconut milk
- 1 cup brown sugar
- 1/2 teaspoon salt
- 1/2 cup coconut cream, for making latik
- 2 tablespoons brown sugar, for topping
Cooking the Glutinous Rice
Step 1: Preparing the Rice
Begin extract by thoroughly rinsing your glutinous rice. Place the 2 cups of glutinous rice in a fine-mesh sieve and rinse it under cold running water. Gently swirl the rice with your hands until the water runs clear. This process is crucial to remove excess starch, which can make the final Biko mushy. Once rinsed, drain the rice very well and set it aside. This will ensure that each grain remains distinct and chewy in the finished dessert.
Step 2: Cooking the Rice with Water
In a medium saucepan, combine the rinsed and drained glutinous rice with the 2 1/4 cups of water. Bring the mixture to a boil over medium-high heat. Once boiling, immediately reduce the heat to low, cover the saucepan tightly with a lid, and let it simmer gently for about 15-20 minutes. You want the rice to absorb most of the water and become tender, but not completely mushy. It’s important to keep the lid on throughout this simmering process to trap the steam, which aids in even cooking. After 15-20 minutes, turn off the heat and let the rice steam, still covered, for another 10 minutes. This residual steaming helps to ensure the rice is perfectly cooked and fluffy, not dense or sticky.
Making the Coconut Sugar Syrup
Step 3: Creating the Rich Coconut Mixture
While the rice is steaming, prepare the luscious coconut mixture. In a separate, large saucepan or pot (wide enough to eventually hold the cooked rice), combine the 1 can (13.5 oz) of full-fat coconut milk, 1 cup of brown sugar, and the 1/2 teaspoon of salt. Place this pot over medium heat. Stir the mixture continuously with a whisk or wooden spoon until the brown sugar is completely dissolved and the salt is incorporated. Bring the mixture to a gentle simmer, but do not let it boil vigorously. Allow it to simmer for about 5-7 minutes, stirring occasionally, allowing the flavors to meld and the syrup to thicken slightly. This creates the sweet and savory base that will bind the rice together.
Step 4: Combining Rice and Coconut Mixture
Once the rice has finished steaming and the coconut mixture is ready, it’s time to bring them together. Carefully add the steamed glutinous rice to the pot containing the simmering coconut milk mixture. Gently fold and stir the rice into the coconut mixture using a wooden spoon or heatproof spatula. Continue to cook over medium-low heat, stirring constantly. You’ll notice the mixture will start to thicken as the rice absorbs the coconut milk and sugar. Keep stirring for about 10-15 minutes, ensuring that the rice is evenly coated and the mixture reaches a thick, pudding-like consistency. The Biko should be sticky and hold its shape when scooped.
Preparing the Latik Topping
Step 5: Browning the Coconut Cream for Latik
This step adds a wonderfully crunchy and nutty element to your Biko. In a small, dry non-stick skillet, heat the 1/2 cup of coconut cream over low to medium-low heat. This is a slow process, so be patient. You want to cook the coconut cream gently, stirring frequently, until the water content evaporates and the sgin extractds begin to separate and turn golden brown. This process can take anywhere from 10 to 20 minutes. Watch it closely to prevent burning. Once the solids turn a deep golden brown and form small, crispy bits, you have successfully made latik. Carefully spoon out the latik bits, draining any excess oil, and set them aside.
Finishing and Serving
Once the Biko has reached the desired thick and sticky consistency, carefully transfer it into a serving dish or a greased rectangular pan (approximately 8×8 inches). Smooth the top with your spatula. While the Biko is still warm, sprinkle the 2 tablespoons of brown sugar evenly over the surface. Finally, scatter the prepared latik bits generously over the brown sugar topping. Allow the Biko to cool for at least 15-20 minutes before slicing and serving. This allows it to set further, making it easier to cut and enjoy its rich, chewy texture and sweet, nutty topping.
Conclusion:
There you have it – your guide to creating delicious and comforting Biko (Filipino Sticky Rice)! This sweet and chewy treat is more than just a dessert; it’s a taste of home and a wonderful way to share a bit of Filipino culture. The rich, caramelized coconut milk combined with the tender glutinous rice creates a truly satisfying experience. We hope you enjoyed learning how to make this classic Filipino delicacy and are excited to try it out in your own kitchen. Remember, the beauty of Biko (Filipino Sticky Rice) lies in its simplicity and the warmth it brings to any gathering.
For serving suggestions, Biko (Filipino Sticky Rice) is fantastic on its own, but it also pairs wonderfully with a cup of hot coffee or tea. You can also elevate it further by topping it with toasted grated coconut or a drizzle of extra latik (toasted coconut curds). When it comes to variations, don’t be afraid to experiment! Some enjoy adding a hint of ube (purple yam) extract for a vibrant color and subtle flavor, or a pinch of salt to balance the sweetness. The possibilities are endless, and the joy of making Biko (Filipino Sticky Rice) is in personalizing it to your taste.
We encourage you to gather your ingredients, put on some music, and dive into making this delightful dessert. Share it with loved ones, and savor the sweet, sticky goodness that only Biko (Filipino Sticky Rice) can provide. Happy cooking!
Frequently Asked Questions:
What is latik and how do I make it?
Latik are the toasted coconut curds that often top Biko (Filipino Sticky Rice). To make them, you’ll simmer thick coconut milk until the oil separates. Then, continue to cook the solids until they turn golden brown and slightly crispy. You can then scoop them out and drain them on paper towels.
Can I make Biko (Filipino Sticky Rice) ahead of time?
Yes, absolutely! Biko (Filipino Sticky Rice) is best enjoyed at room temperature or slightly warmed, and it holds up beautifully for a day or two when stored in an airtight container. It’s a perfect make-ahead treat for parties or when you’re craving something sweet.
Sweet Biko – Easy Filipino Sticky Rice Delight
A delightful and easy-to-make Filipino sticky rice dessert, Biko, featuring a rich coconut sugar syrup and a crunchy latik topping.
Ingredients
-
2 cups glutinous rice (malagkit)
-
2 1/4 cups water
-
1 can (13.5 oz) full-fat coconut milk
-
1 cup brown sugar
-
1/2 teaspoon salt
-
1/2 cup coconut cream, for making latik
-
2 tablespoons brown sugar, for topping
Instructions
-
Step 1
Rinse 2 cups of glutinous rice thoroughly in a fine-mesh sieve until the water runs clear. Drain well and set aside. -
Step 2
Combine rinsed rice with 2 1/4 cups water in a medium saucepan. Bring to a boil, then reduce heat to low, cover, and simmer for 15-20 minutes. Turn off heat and let steam, covered, for another 10 minutes. -
Step 3
In a separate large saucepan, combine 1 can of coconut milk, 1 cup brown sugar, and 1/2 teaspoon salt. Stir over medium heat until sugar dissolves. Simmer gently for 5-7 minutes, stirring occasionally. -
Step 4
Add the steamed glutinous rice to the coconut mixture. Cook over medium-low heat, stirring constantly for 10-15 minutes until thick and pudding-like. -
Step 5
In a small non-stick skillet, heat 1/2 cup coconut cream over low heat, stirring frequently, until evaporated and solids turn golden brown (10-20 minutes). Drain and set aside latik bits. -
Step 6
Transfer Biko to a serving dish or pan, smoothing the top. Sprinkle with 2 tablespoons brown sugar, then scatter the latik over the top. Let cool for 15-20 minutes before serving.
Important Information
Nutrition Facts (Per Serving)
It is important to consider this information as approximate and not to use it as definitive health advice.
Allergy Information
Please check ingredients for potential allergens and consult a health professional if in doubt.


Leave a Comment