
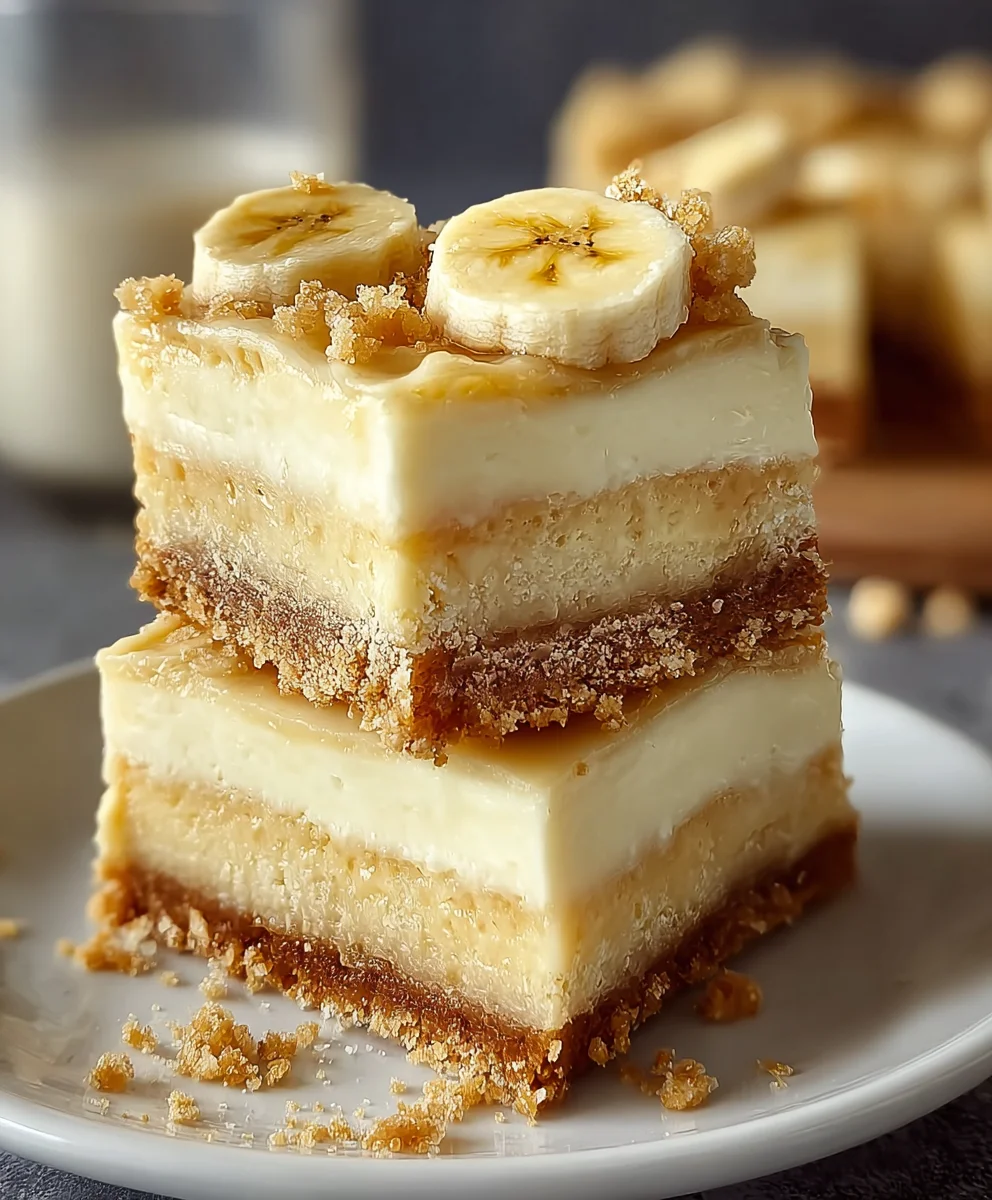
Banana Pudding Cheesecake Bars are about to become your new obsession, and for good reason! Imagine the creamy, dreamy swirl of classic banana pudding married with the decadent, rich tang of cheesecake, all captured in a perfectly portable bar. This isn’t just a dessert; it’s an experience that taps into pure comfort food nostalgia while delivering a sophisticated, modern twist. We all love the familiar, comforting taste of banana pudding, and who can resist the luxurious texture of cheesecake? These Banana Pudding Cheesecake Bars combine the best of both worlds, creating a symphony of flavors and textures that will have everyone reaching for a second (or third!) helping. What truly elevates these bars is the delightful interplay of elements: the buttery graham cracker crust, the smooth, velvety cheesecake filling infused with sweet banana, and of course, those iconic vanilla wafers scattered throughout, softening into pure bliss. Get ready to impress yourself and everyone you know with this utterly irresistible treat!
Ingredients:
- Crushed Nilla Wafers: 1 1/2 cups
- Butter: 5 tbsp, melted
- Sugar: 2 tbsp
- Sea salt: Pinch
- Cream cheese: 12 oz (1 1/2 blocks), softened
- Sugar: 1/2 cup
- Whipped topping: 1 1/2 cups (for filling)
- Instant banana pudding mix: 1 (3.4 oz) package
- Whole milk: 1 3/4 cups
- Whipped topping: For garnish
- Banana: 1/2, sliced (for topping)
- Nilla Wafers: 9 (for topping)
Preparing the Crust
Step 1: Combine Crust Ingredients
To begin crafting these delightful Banana Pudding Cheesecake Bars, let’s start with the base. In a medium bowl, combine the 1 1/2 cups of crushed Nilla Wafers with the 5 tablespoons of melted butter. Stir these together thoroughly until all the crumbs are moistened by the butter. This ensures a cohesive and flavorful crust that will hold up beautifully. Next, add the 2 tablespoons of sugar and a pinch of sea salt to this mixture. The sugar will add a touch of sweetness to the crust, while the sea salt will enhance the overall flavor profile, creating a subtle contrast that makes the sweetness of the bars pop even more. Mix everything together until well combined.
Step 2: Press Crust into Pan
Now, take an 8×8 inch baking pan. It’s a good idea to line this pan with parchment paper, leaving an overhang on two sides. This “sling” will make it incredibly easy to lift the finished bars out of the pan later, preventing any sticking and ensuring clean cuts. Pour the Nilla wafer crumb mixture into the prepared pan. Using the bottom of a glass or a flat-bottomed measuring cup, press the crumbs down firmly and evenly across the bottom of the pan. You want a compact and even layer for your crust. Spend a little extra time on this step to make sure it’s well-compacted, as this will prevent it from crumbling when you slice the bars. Once pressed, place the pan in the refrigerator to chill and set while you prepare the cheesecake filling. This chilling time will help the butter solidify, making the crust firm.
Creating the Creamy Filling
Step 3: Beat Cream Cheese and Sugar
In a large mixing bowl, add the 12 oz of softened cream cheese. It’s crucial that your cream cheese is fully softened to room temperature; otherwise, you’ll end up with lumps in your filling. Beat the cream cheese with an electric mixer on medium speed until it’s completely smooth and creamy. Scrape down the sides of the bowl as needed. Now, gradually add the 1/2 cup of sugar to the cream cheese, continuing to beat until the mixture is light and fluffy. This process incorporates air, which contributes to the cheesecake’s airy texture. Ensure there are no grainy bits of sugar remaining.
Step 4: Fold in Whipped Topping
Gently fold in 1 1/2 cups of whipped topping into the cream cheese and sugar mixture. Use a spatula for this step and fold it in a way that maintains as much air as possible. Avoid overmixing, as this can deflate the whipped topping and result in a denser filling. You want a light and airy texture. Continue folding until just combined and no streaks of cream cheese remain visible. The mixture should be smooth and creamy, with a luscious consistency that hints at the delightful flavor to come.
Assembling and Chilling the Bars
Step 5: Prepare and Layer Pudding
In a separate medium bowl, whisk together the 1 (3.4 oz) package of instant banana pudding mix with 1 3/4 cups of whole milk. Whisk vigorously for about two minutes, or until the pudding begins to thicken. It’s important to use instant pudding for this recipe as it sets quickly without cooking. Let the pudding sit for about 5 minutes to allow it to thicken further. Once the pudding has thickened, gently fold it into the cream cheese and whipped topping mixture. Again, be careful not to overmix; the goal is to incorporate the pudding into the cheesecake base, creating marbled swirls or an even pale yellow color, depending on how thoroughly you fold.
Step 6: Assemble and Chill
Retrieve your chilled crust from the refrigerator. Carefully spread the banana cheesecake filling evenly over the crust, smoothing the top with your spatula. Ensure you get all the filling out of the bowl and spread it all the way to the edges. Now, cover the pan tightly with plastic wrap. Refrigerate the Banana Pudding Cheesecake Bars for at least 4 hours, or preferably overnight. This extended chilling time is essential for the bars to set properly, making them firm enough to slice and enjoy. The flavors will also meld and develop beautifully during this time.
Finishing Touches
Step 7: Garnish and Serve
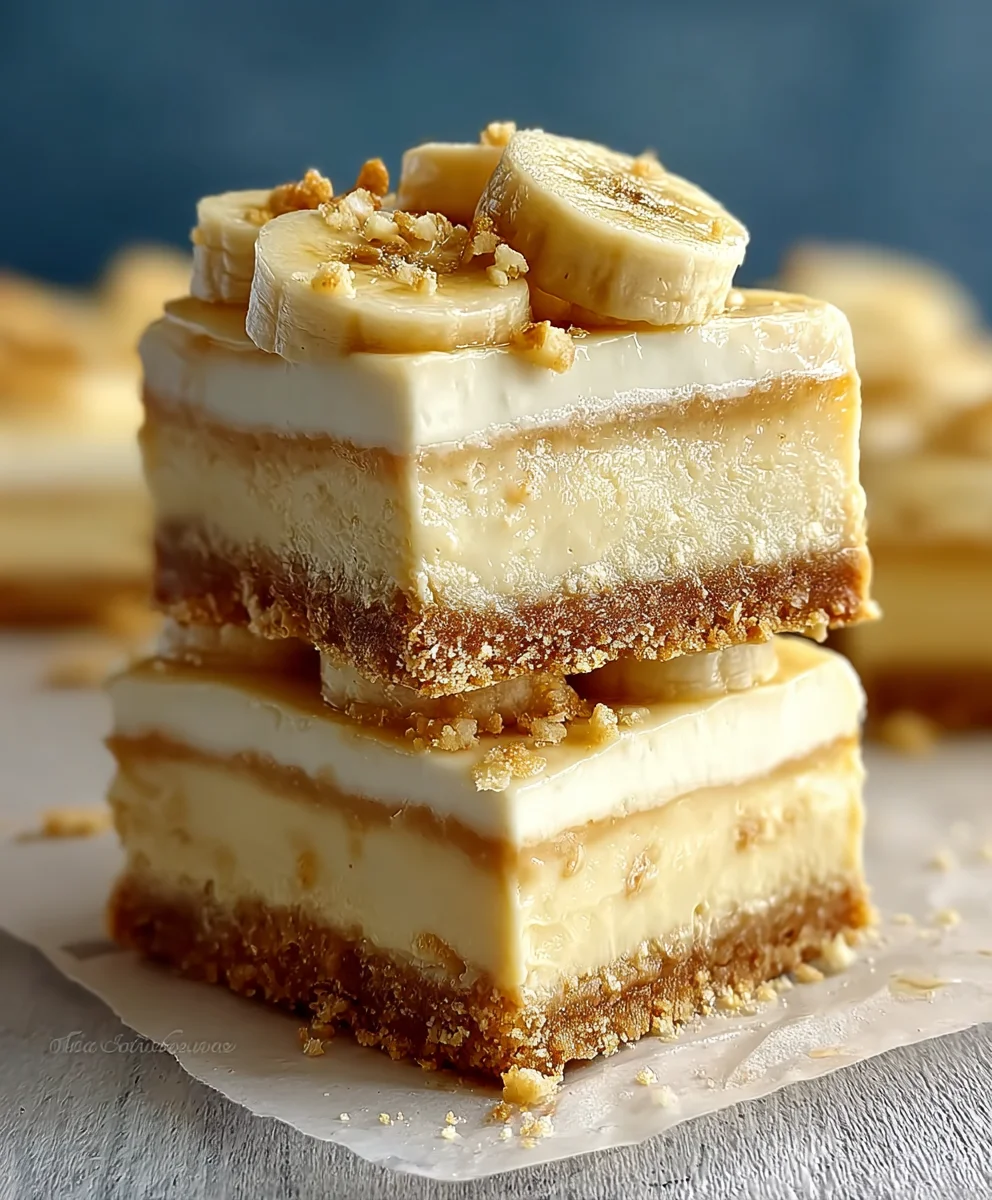
Once the bars have chilled and set, it’s time for the final flourish. Lift the bars out of the pan using the parchment paper overhang. Place them on a cutting board. Garnish the top with dollops of additional whipped topping. Arrange the 1/2 sliced banana and 9 Nilla Wafers artistically over the whipped topping for that classic banana pudding look. Carefully slice the chilled bars into your desired serving size. For clean cuts, it’s helpful to wipe your knife between each slice. These Banana Pudding Cheesecake Bars are best served cold and are a wonderful treat for any occasion.
Conclusion:
And there you have it – the ultimate guide to creating delicious Banana Pudding Cheesecake Bars! We’ve walked through each step, from crafting the buttery graham cracker crust to swirling in that creamy, decadent cheesecake filling and topping it all with a luscious banana pudding layer. These bars are a fantastic way to enjoy all the beloved flavors of classic banana pudding and cheesecake in a portable, crowd-pleasing format. They’re perfect for potlucks, holidays, or simply treating yourself to something truly special.
For serving suggestions, I love to serve these chilled, perhaps with a dollop of whipped cream and a sprinkle of crushed Nilla wafers for an extra crunch. They’re also wonderful on their own! Don’t be afraid to get creative with variations. You could add a hint of rum extract to the cheesecake layer for a grown-up twist, or swap the graham cracker crust for a gingersnap base. The possibilities are endless!
I truly hope you give these Banana Pudding Cheesecake Bars a try. They are a labor of love, but the rave reviews you’ll receive will make it all worthwhile. Happy baking!
Frequently Asked Questions:
Can I make these banana pudding cheesecake bars ahead of time?
Absolutely! In fact, I recommend chilling them for at least 4-6 hours, or even overnight, before cutting and serving. This allows the cheesecake layer to fully set and the flavors to meld beautifully. They store well in an airtight container in the refrigerator for up to 3-4 days.
What’s the best way to store leftover banana pudding cheesecake bars?
To keep them fresh and delicious, store your leftover Banana Pudding Cheesecake Bars in an airtight container in the refrigerator. If you’ve topped them with whipped cream or fresh bananas, it’s best to store those components separately to prevent them from becoming soggy.
Banana Pudding Cheesecake Bars – Creamy Dessert Bliss
Indulge in these delightful Banana Pudding Cheesecake Bars, a perfect blend of creamy cheesecake and classic banana pudding flavors. This no-bake treat features a buttery Nilla wafer crust, a luscious banana cream cheese filling, and is topped with whipped cream, fresh banana slices, and more Nilla wafers.
Ingredients
-
1 1/2 cups crushed Nilla Wafers
-
5 tbsp butter, melted
-
2 tbsp sugar
-
Pinch sea salt
-
12 oz softened cream cheese
-
1/2 cup sugar
-
1 1/2 cups whipped topping (for filling)
-
1 (3.4 oz) package instant banana pudding mix
-
1 3/4 cups whole milk
-
Whipped topping (for garnish)
-
1/2 banana, sliced (for topping)
-
9 Nilla Wafers (for topping)
Instructions
-
Step 1
Prepare the crust: In a medium bowl, combine crushed Nilla Wafers, melted butter, 2 tbsp sugar, and a pinch of sea salt. Mix until crumbs are moistened. Press evenly into the bottom of a parchment-lined 8×8 inch baking pan. Chill for at least 15 minutes. -
Step 2
Make the filling: In a large bowl, beat softened cream cheese until smooth. Gradually beat in 1/2 cup sugar until light and fluffy. Gently fold in 1 1/2 cups whipped topping until just combined. -
Step 3
Prepare the pudding: In a separate bowl, whisk together instant banana pudding mix and whole milk for 2 minutes until thickened. Let sit for 5 minutes. -
Step 4
Combine filling and pudding: Gently fold the thickened banana pudding into the cream cheese mixture until swirls form or the color is evenly pale yellow. Do not overmix. -
Step 5
Assemble and chill: Spread the banana cheesecake filling evenly over the chilled crust. Cover tightly with plastic wrap and refrigerate for at least 4 hours, or preferably overnight, until firm. -
Step 6
Garnish and serve: Lift bars from pan using parchment paper. Top with dollops of whipped topping, sliced banana, and Nilla Wafers. Slice and serve cold.
Important Information
Nutrition Facts (Per Serving)
It is important to consider this information as approximate and not to use it as definitive health advice.
Allergy Information
Please check ingredients for potential allergens and consult a health professional if in doubt.

Leave a Comment