
20+ Mouth-Watering Dessert Charcuterie Board Ideas will revolutionize your dessert game, transforming ordinary gatherings into extraordinary culinary celebrations. Imagine a stunning display, artfully arranged with an irresistible medley of sweet treats, each one a miniature masterpiece. People adore dessert charcuterie boards because they offer an exciting departure from traditional plated desserts. They encourage interaction, conversation, and a delightful sense of discovery as guests navigate through an array of textures, flavors, and colors. What makes these dessert charcuterie boards truly special is the sheer versatility and personalized touch they allow. You can tailor them to any theme, occasion, or dietary preference, from elegant chocolate-infused creations to whimsical fruit-forward fancies. Get ready to impress your friends and family with these innovative and utterly delicious arrangements that are as beautiful to behold as they are delightful to devour. We’re about to dive into a world of sweet indulgence!
Ingredients:
- 1 pint fresh strawberries, hulled and halved
- 1 pint fresh raspberries
- 1 pint fresh blueberries
- 1 cup dark chocolate chips
- 1/2 cup white chocolate chips
- 1/4 cup chopped toasted almonds
- 1/4 cup flaked coconut, toasted
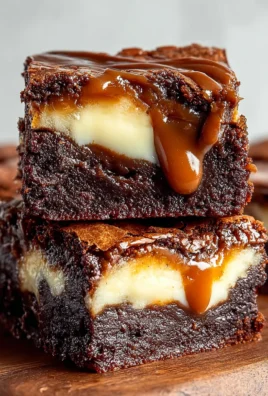
- 12 mini brownies, cut into bite-sized pieces
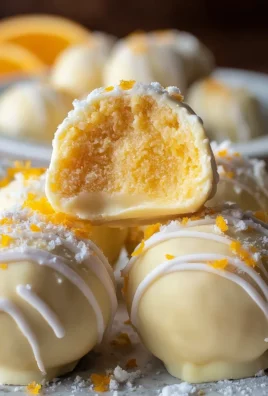
- 12 mini cheesecakes
- 24 shortbread cookies
- 1/2 cup caramel sauce
- 1/2 cup raspberry jam
- 1/4 cup mini marshmallows
- 1/4 cup chopped pecans
- 1 tablespoon cocoa powder
- Edible gold flakes (optional, for garnish)
Assembly Instructions:
Step 1: Preparing Your Base and Initial Placement
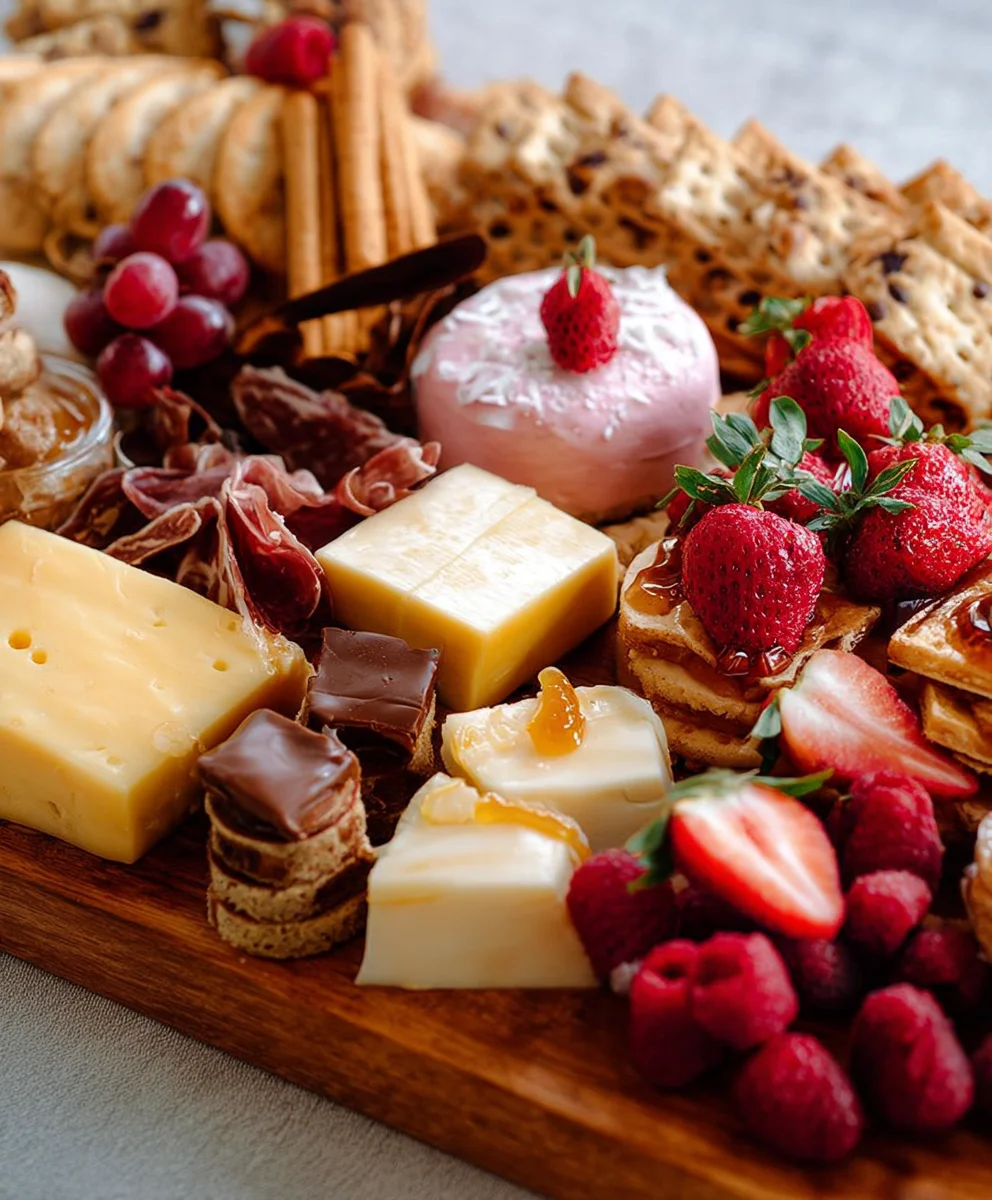
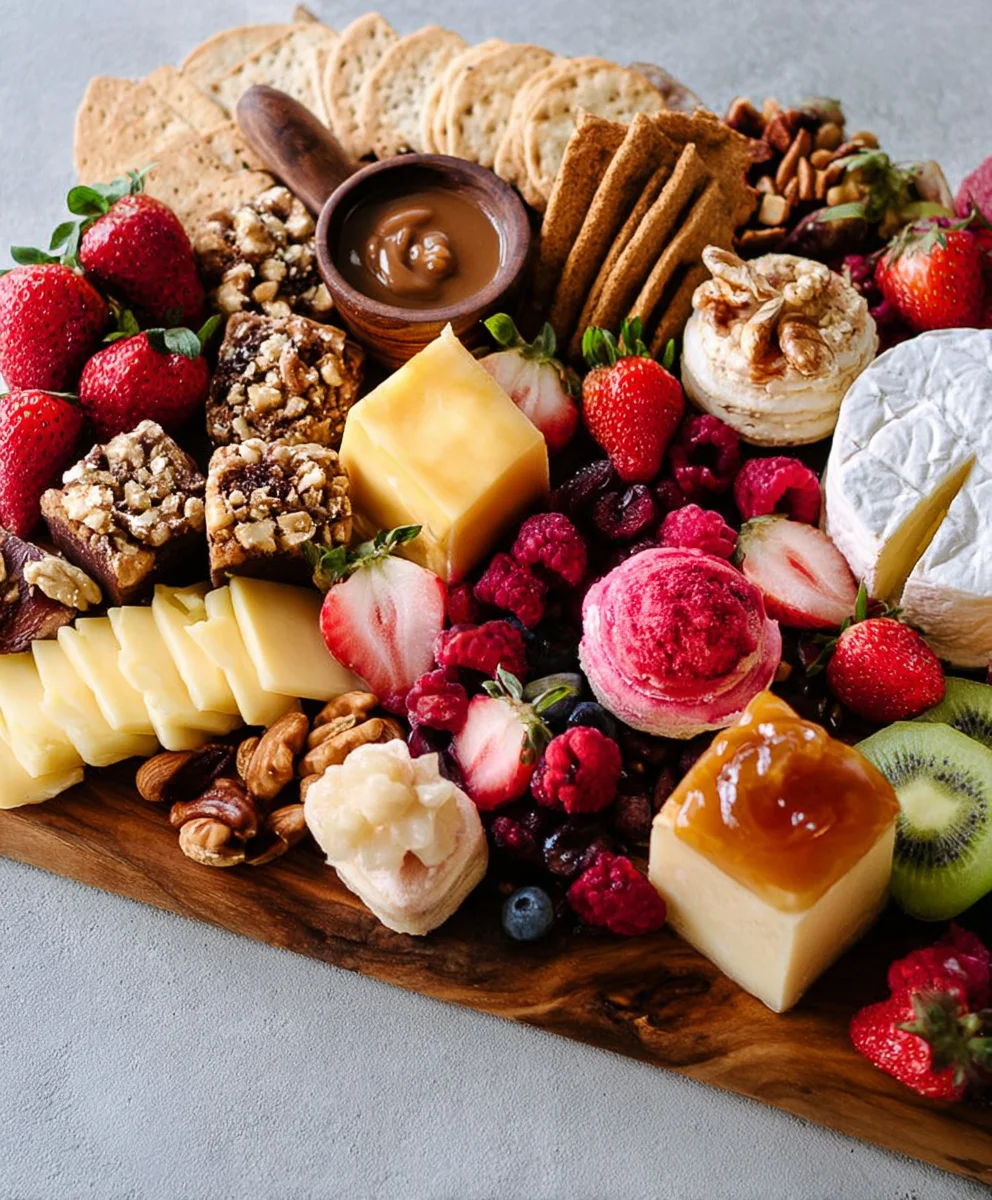
The key to a stunning dessert charcuterie board is thoughtful arrangement. Begin by selecting your serving board. A large wooden cutting board, a slate platter, or even a clean baking sheet can work wonderfully. Before you even think about placing the first morsel, consider the overall visual appeal. Lay out your ingredients so you can see their individual sizes, vibrant colors, and interesting shapes. This allows you to strategize your placement for maximum impact. Start from the center of the board and begin grouping ingredients. Imagine creating little clusters or “mountains” of flavor. For instance, you might start with a central mound of halved strawberries. This immediate focal point will anchor your design and give you a reference point for the rest of your arrangement.
Step 2: Building Layers and Alternating Flavors
Now, we’ll build outwards, focusing on creating visual interest and a delightful taste experience with every bite. As you add your next elements, make sure to alternate flavors and colors. The goal is to prevent the same color ingredients from being placed right next to each other, which can make the board look monotonous. For example, after placing the red strawberries, consider adding a cluster of deep blue blueberries or the rich brown of the mini brownies. Don’t be afraid to create a bit of depth by piling some ingredients higher up. This adds dimension and prevents the board from looking flat. You can arrange the mini cheesecakes in a slightly raised semicircle next to the berries, or stack the shortbread cookies to create a gentle incline.
Step 3: Incorporating Textures and Sweet Sauces
Variety is the spice of life, and on a dessert charcuterie board, it’s also the key to a delicious experience. This is where you’ll introduce contrasting textures and irresistible sweet sauces. Think about elements like the crunch of toasted almonds or the chewy bite of toasted flaked coconut. Scatter these around the board, perhaps nestled between the larger fruit clusters. Now, for the sauces! Use small bowls to hold your caramel sauce and raspberry jam. Placing these in strategically chosen spots adds both visual appeal and accessibility for dipping. Imagine a small ceramic ramekin filled with glossy caramel sauce sitting beside a pile of mini brownies, inviting guests to drizzle. Similarly, the vibrant red of the raspberry jam can complement the paler elements on the board.
Step 4: Adding Bite-Sized Delights and Garnish
The beauty of a dessert charcuterie board lies in its shareability and the sheer abundance of delicious options. Continue to fill in the remaining spaces with your bite-sized treats. Ensure the colors and shapes are evenly distributed across the entire board. For example, if you have clusters of dark chocolate chips on one side, balance them with a scattering of white chocolate chips on the other. The mini brownies, cut into manageable pieces, can be artfully arranged around the edges or nestled amongst other items. Don’t forget the finer details. Sprinkle the chopped pecans for another layer of crunch and visual texture. A light dusting of cocoa powder over a section of the board can add a sophisticated touch. If you’re feeling extra fancy, a sprinkle of edible gold flakes can elevate your creation to a truly luxurious level.
Step 5: Final Touches and Presentation
Take a moment to survey your masterpiece. Are there any empty spaces? Does the color palette feel balanced? Are there enough contrasting textures? Adjust as needed, moving elements slightly to improve the flow and visual harmony. Ensure that the ingredients that might melt easily, like the chocolate chips, are not placed in direct sunlight or near any heat sources. Once you are completely satisfied with the arrangement, set up your cutlery and plates close by, if needed. This thoughtful preparation ensures that your guests can easily access and enjoy every delightful component of your dessert charcuterie board. The final step is the most rewarding: presenting your creation to your guests and watching their faces light up with anticipation. Enjoy the smiles, the exclamations of delight, and the shared pleasure of this truly mouth-watering dessert experience.
Conclusion:
We’ve explored so many exciting possibilities for creating your own 20+ Mouth-Watering Dessert Charcuterie Board Ideas. From classic chocolate pairings to delightful fruit combinations and even some savory surprises, the potential for deliciousness is truly endless! Remember, the beauty of a dessert charcuterie board lies in its adaptability. Don’t be afraid to experiment and let your creativity shine.
For serving, these boards are perfect for gatherings, parties, or even a special movie night in. They offer a visually stunning and interactive way for everyone to indulge in their favorite sweet treats. Consider pairing your board with a nice cup of coffee, tea, or even a sweet wine for an elevated experience. If you’re looking for ways to switch things up, try incorporating seasonal fruits, different types of cookies, or even mini pies. You can also cater to specific dietary needs by including gluten-free or vegan options. I truly encourage you to gather your favorite sweets and build a dessert masterpiece!
Frequently Asked Questions:
Can I prepare the dessert charcuterie board components in advance?
Absolutely! Many components, like cookies, brownies, and chocolate-dipped fruits, can be made a day or two ahead and stored properly. This will significantly reduce your preparation time on the day of your event, making the assembly process much smoother.
What if I don’t have a large charcuterie board?
Don’t worry! You can still create a stunning dessert spread using multiple smaller platters, cutting boards, or even clean serving trays. The key is to arrange your items attractively, creating different levels and visual interest.
Delicious Dessert Charcuterie Board Ideas
A guide to creating a visually stunning and deliciously diverse dessert charcuterie board for any occasion.
Ingredients
-
1 pint fresh strawberries, hulled and halved
-
1 pint fresh raspberries
-
1 pint fresh blueberries
-
1 cup dark chocolate chips
-
1/2 cup white chocolate chips
-
1/4 cup chopped toasted almonds
-
1/4 cup flaked coconut, toasted
-
12 mini brownies, cut into bite-sized pieces
-
12 mini cheesecakes
-
24 shortbread cookies
-
1/2 cup caramel sauce
-
1/2 cup raspberry jam
-
1/4 cup mini marshmallows
-
1/4 cup chopped pecans
-
1 tablespoon cocoa powder
-
Edible gold flakes (optional, for garnish)
Instructions
-
Step 1
Lay out your ingredients so you see their sizes, colors and shapes. Start from the center of the board and with each ingredient create a shape that groups them close together. -
Step 2
Make sure you alternate the flavors and colors, so the same color ingredients are not placed right next to each other. -
Step 3
Create a bit of depth by pilling some ingredients higher up. -
Step 4
Use small bowls to hold smaller food items. -
Step 5
Make sure the colors and shapes are evenly distributed on the board. -
Step 6
Set up your cutlery and plates closeby (if needed). -
Step 7
Present to your guests and enjoy!
Important Information
Nutrition Facts (Per Serving)
It is important to consider this information as approximate and not to use it as definitive health advice.
Allergy Information
Please check ingredients for potential allergens and consult a health professional if in doubt.

Leave a Comment