
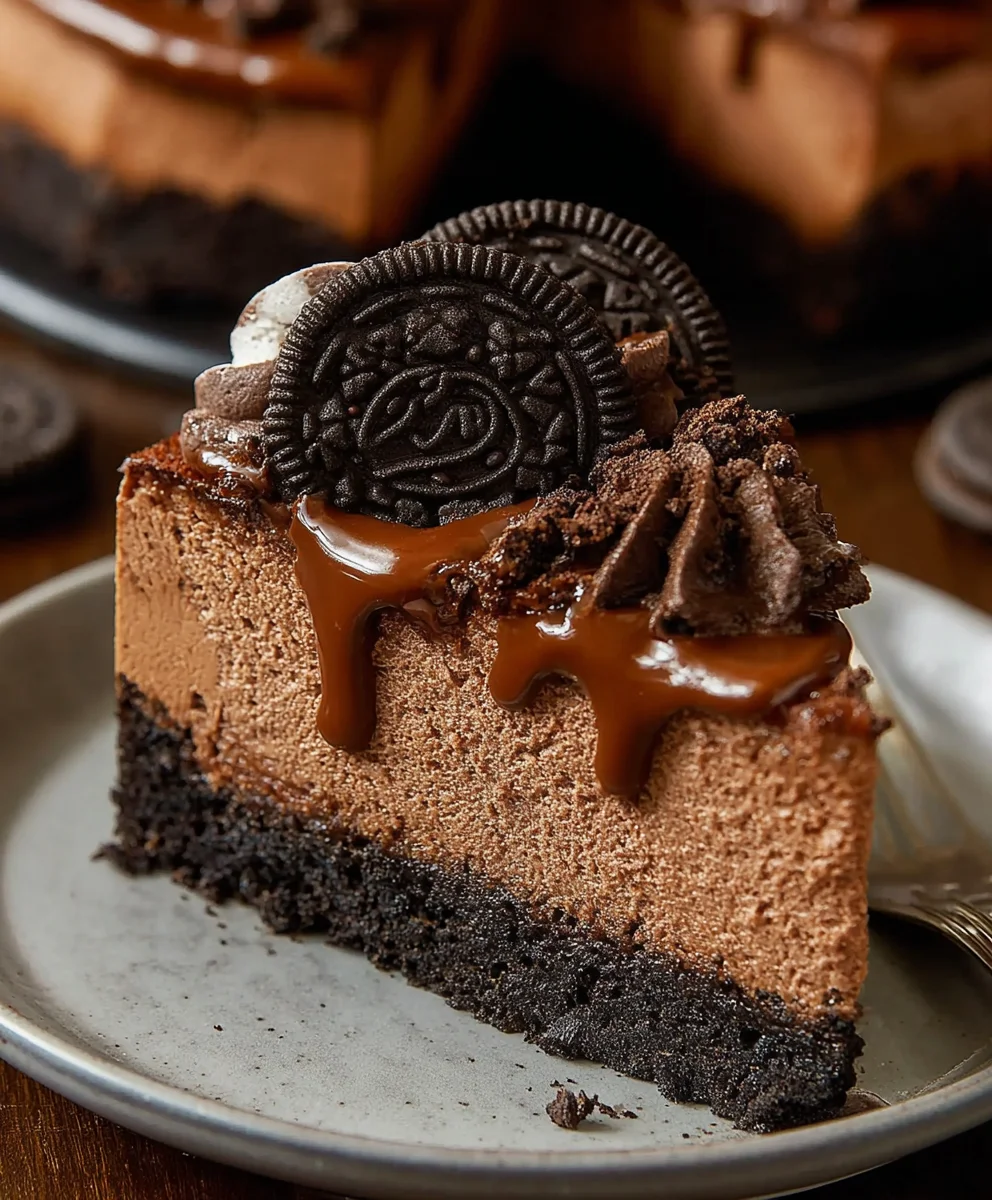
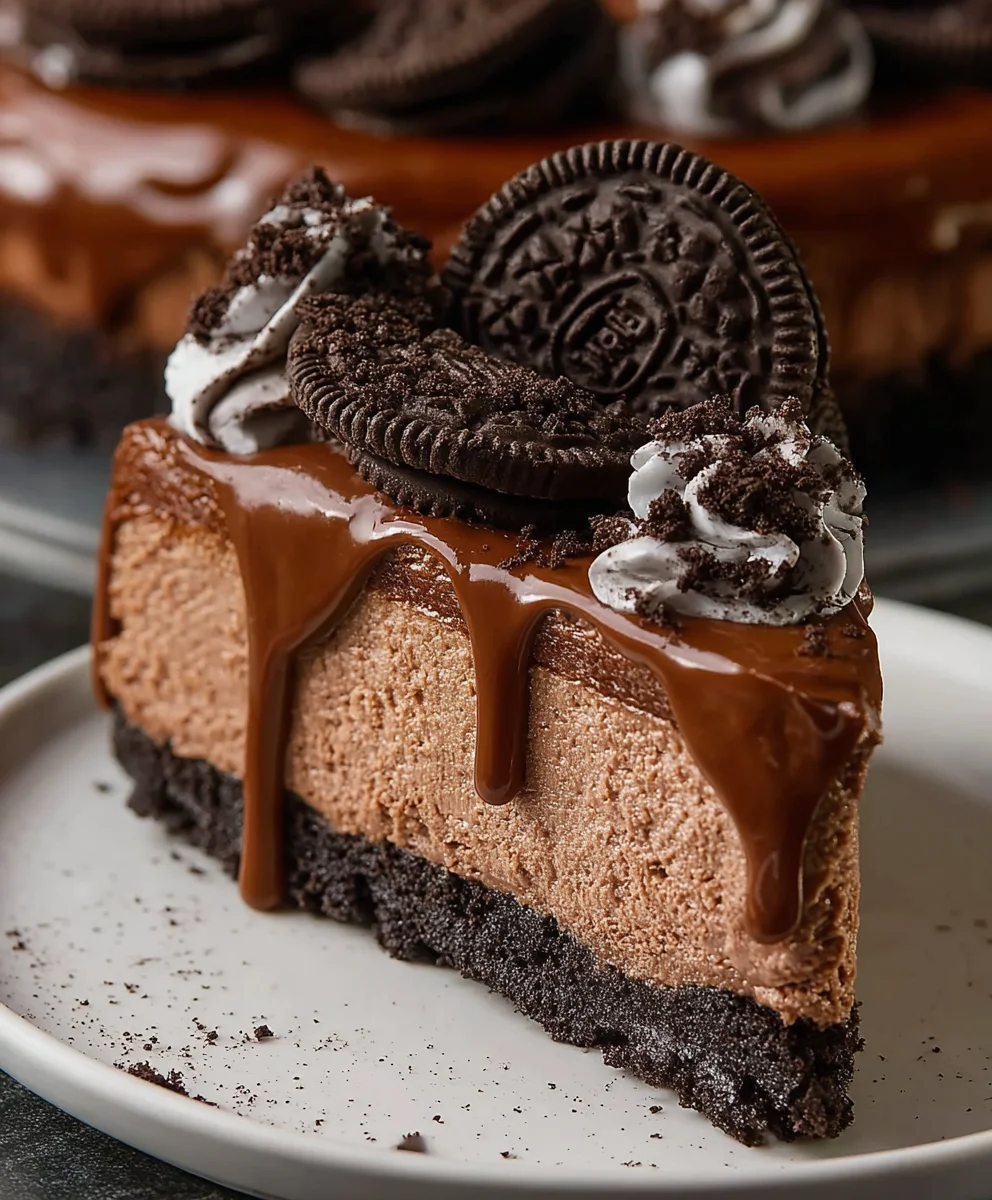
No Bake Oreo Nutella Cheesecake. Is there anything more decadent, more satisfying, or frankly, more irresistible than this symphony of chocolate and hazelnut goodness? I think not! This dream dessert isn’t just a treat for your taste buds; it’s a welcome escape from the everyday. Imagine a creamy, dreamy cheesecake filling, infused with the unmistakable richness of Nutella, all nestled on a crumbly, chocolatey Oreo crust. The magic of a no-bake cheesecake is its effortless elegance. It’s the perfect solution when you crave something utterly divine but don’t want to spend hours slaving over a hot oven. This No Bake Oreo Nutella Cheesecake delivers pure bliss with minimal fuss, making it a guaranteed crowd-pleaser for any occasion, from a casual get-together to a special celebration. Get ready to experience dessert nirvana!
Ingredients:
- 200g crushed Oreos (for the base)
- 50g melted butter (unsalted, preferably)
- 500g cream cheese, softened to room temperature
- 200g Nutella (plus extra for filling and drizzling)
- 200g heavy whipping cream (at least 35% fat content)
- 50g granulated sugar
- 100g chopped Oreos (for mixing into the filling)
- 100g Nutella (for swirling into the filling)
- 100g Nutella, gently warmed for drizzling
- 5 crushed Oreos (no filling, for dusting)
- 6 whole Oreos, for garnish
Preparing the Crust
Step 1: Creating the Oreo Base
To begin crafting your delicious No Bake Oreo Nutella Cheesecake, we first need to establish a solid foundation. Take your 200g of crushed Oreos and place them into a medium-sized mixing bowl. Ensure your Oreos are finely crushed; a food processor works best for this, but you can also place them in a Ziploc bag and crush them with a rolling pin until you achieve a fine crumb consistency. Now, add the 50g of melted butter to the crushed Oreos. Stir everything together thoroughly until all the Oreo crumbs are evenly moistened with the butter. The mixture should resemble wet sand and clump together when pressed.
Step 2: Pressing the Crust into the Pan
Next, you’ll need an 8-inch springform pan. If you don’t have one, a regular 8-inch round cake pan will work, but a springform pan makes removal much easier. Generously grease the bottom and sides of your chosen pan with a little butter or non-stick spray. Pour the buttered Oreo crumb mixture into the prepared pan. Using the bottom of a glass or a flat-bottomed measuring cup, firmly press the crumbs down and evenly across the base of the pan. You want to create a compact and sturdy crust that won’t crumble when you slice into the cheesecake. Make sure to press it up slightly around the sides of the pan as well to create a slight rim. Once pressed, place the pan into the refrigerator to chill for at least 15-20 minutes while you prepare the filling. This chilling time helps the butter solidify, making the crust firm.
Making the Creamy Filling
Step 3: Creaming the Cheese and Nutella
Now for the heart of our No Bake Oreo Nutella Cheesecake – the filling! In a large mixing bowl, add the 500g of softened cream cheese. It’s crucial that your cream cheese is at room temperature; this will ensure it creams smoothly without lumps. Using an electric mixer (handheld or stand mixer), beat the cream cheese until it is completely smooth and creamy. Scrape down the sides of the bowl as needed. Next, add the 200g of Nutella to the creamed cheese. Continue to beat the mixture on medium speed until the Nutella is fully incorporated and the color is a uniform, rich brown. This creates a wonderfully decadent and nutty base for our cheesecake filling.
Step 4: Whipping the Cream and Sweetening
In a separate, clean bowl, pour in the 200g of cold heavy whipping cream. Add the 50g of granulated sugar. Using your electric mixer fitted with the whisk attachment, whip the cream and sugar together. Start on low speed and gradually increase to medium-high. Continue whipping until stiff peaks form. This means that when you lift the whisk, the cream holds its shape and the peaks stand straight up. Be careful not to over-whip, as this can turn the cream into butter. Once the whipped cream is ready, gently fold about a third of it into the cream cheese and Nutella mixture. This lightens the cream cheese base and makes it easier to incorporate the remaining whipped cream.
Step 5: Folding and Swirling the Filling
Once the initial portion of whipped cream is incorporated, add the remaining whipped cream to the cream cheese mixture. Using a spatula, gently fold the whipped cream into the Nutella-cream cheese base. Be careful not to overmix; you want to maintain the airy texture of the whipped cream. Fold until just combined and no streaks of cream cheese remain. Now, for the exciting part! Gently spoon about half of this luxurious filling over your chilled Oreo crust. Take the 100g of Nutella you set aside and dollop spoonfuls of it over the first layer of filling. Then, take a skewer or a knife and gently swirl the Nutella into the filling, creating beautiful marbled patterns. Be careful not to over-swirl, as you want distinct layers of Nutella and cheesecake. Sprinkle the 100g of chopped Oreos evenly over the Nutella swirls. Finally, spoon the remaining half of the cheesecake filling on top, spreading it evenly to cover the chopped Oreos.
Final Touches and Chilling
Step 6: Decorating and Chilling for Perfection
To complete your masterpiece, we’ll add the finishing touches. Gently warm the 100g of Nutella designated for drizzling. You can do this by placing the container in a bowl of warm water for a few minutes, or by microwaving it in very short bursts (10-15 seconds), stirring between each burst, until it’s smooth and pourable but not hot. Drizzle the warmed Nutella decoratively over the top of the cheesecake. You can create zig-zags, random swirls, or any pattern you like. Then, delicately dust the cheesecake with the 5 crushed Oreos (no filling) for an extra touch of Oreo flavor and visual appeal. Finally, place 6 whole Oreos around the edge of the cheesecake for a beautiful and inviting presentation. Cover the cheesecake loosely with plastic wrap (try to avoid touching the topping) and refrigerate for at least 6-8 hours, or preferably overnight. This extended chilling time is crucial for the No Bake Oreo Nutella Cheesecake to set properly, allowing the flavors to meld and the texture to become firm and sliceable.
Conclusion:
And there you have it – your very own decadent No Bake Oreo Nutella Cheesecake! This recipe is a dream come true for anyone craving a rich, chocolatey, and creamy dessert without the fuss of turning on the oven. The combination of crunchy Oreo crust, smooth Nutella-infused filling, and a touch of whipped cream topping creates an irresistible treat that’s perfect for any occasion. Whether you’re hosting a party, celebrating a birthday, or simply indulging in a sweet moment, this cheesecake is guaranteed to impress.
I love serving this No Bake Oreo Nutella Cheesecake chilled, perhaps with an extra drizzle of Nutella or some fresh berries for a pop of color and freshness. For variations, consider adding chocolate chips to the filling, or swapping the Oreo crust for a graham cracker crust with a hint of cocoa powder. Don’t be afraid to experiment! The beauty of this recipe lies in its simplicity and adaptability.
I truly hope you enjoy making and devouring this delightful dessert as much as I do. It’s a fantastic way to satisfy those sweet cravings with minimal effort. So go ahead, gather your ingredients, and get ready to create some cheesecake magic!
Frequently Asked Questions:
Can I make this cheesecake ahead of time?
Absolutely! This No Bake Oreo Nutella Cheesecake is perfect for making ahead. In fact, it needs at least 4-6 hours (or ideally overnight) in the refrigerator to set properly. This allows the flavors to meld and the texture to firm up beautifully. Just cover it tightly with plastic wrap once it’s cooled and chilled, and it will be ready to serve whenever you are.
What if I don’t have Nutella?
While Nutella is the star here, you can achieve a similar deliciousness with other chocolate-hazelnut spreads. Alternatively, you could try a smooth, good-quality milk chocolate spread. You could also create a rich chocolate flavor by melting some good quality chocolate chips and folding them into the cream cheese mixture, though the distinct hazelnut note will be missing.
No Bake Oreo Nutella Cheesecake
An easy no-bake cheesecake featuring a crunchy Oreo crust and a rich, creamy Nutella filling, perfect for any occasion.
Ingredients
-
200g crushed Oreos
-
50g melted butter
-
500g cream cheese, softened to room temperature
-
200g Nutella
-
200g heavy whipping cream (at least 35% fat content)
-
50g granulated sugar
-
100g chopped Oreos
-
100g Nutella
-
100g Nutella, gently warmed for drizzling
-
5 crushed Oreos (no filling)
-
6 whole Oreos, for garnish
Instructions
-
Step 1
For the crust: Combine 200g crushed Oreos and 50g melted butter. Stir until evenly moistened, resembling wet sand. Press firmly into the bottom and slightly up the sides of an 8-inch springform pan. Chill for 15-20 minutes. -
Step 2
For the filling: Beat 500g softened cream cheese until smooth. Add 200g Nutella and beat until fully incorporated. -
Step 3
In a separate bowl, whip 200g cold heavy whipping cream with 50g granulated sugar until stiff peaks form. Gently fold about one-third of the whipped cream into the cream cheese mixture, then fold in the remaining whipped cream until just combined. -
Step 4
Spoon half of the filling over the chilled crust. Dollop spoonfuls of 100g Nutella over this layer and swirl gently with a skewer or knife. Sprinkle 100g chopped Oreos over the swirls. Top with the remaining cheesecake filling and spread evenly. -
Step 5
Drizzle the top with 100g gently warmed Nutella. Dust with 5 crushed Oreos (no filling) and garnish with 6 whole Oreos. Cover loosely and refrigerate for at least 6-8 hours, or overnight, until set.
Important Information
Nutrition Facts (Per Serving)
It is important to consider this information as approximate and not to use it as definitive health advice.
Allergy Information
Please check ingredients for potential allergens and consult a health professional if in doubt.


Leave a Comment